Late last week, Woolworths Australia released a new advertisement, featuring high profile personal trainer Michelle Bridges. The ad is spruiking a new line of frozen meals the supermarket chain developed with Bridges. During the advertisement, Bridges described people who grow their own food as “freaks” and suggested that precooked frozen food was preferable to fresh fruit and vegetables. As you can probably imagine, the uproar on social media was big enough to make the supermarket pull the ad almost immediately. There’s an article worth reading at the Guardian Australia.
Well, I guess I’ve been called worse in my time.
But it got me thinking about all the ways growing my own food makes me healthier and happier. First and foremost, I get a lot of physical exercise all year round gardening. Some of you might be aware I have a degenerative spinal condition, coupled with body-wide osteoarthritis. Over ten years ago, my then GP told me that I’d most likely be in a wheelchair within a couple of years. Not bloody likely! Occasionally, it lays me low and I need to use a walking stick but fortunately, acute episodes are rare these days. My current GP is convinced that my half an hour minimum in the garden has improved my core strength, muscle mass and general well-being – not to mention raise my normally low vitamin D levels and provide me with food.
And then there’s the food.
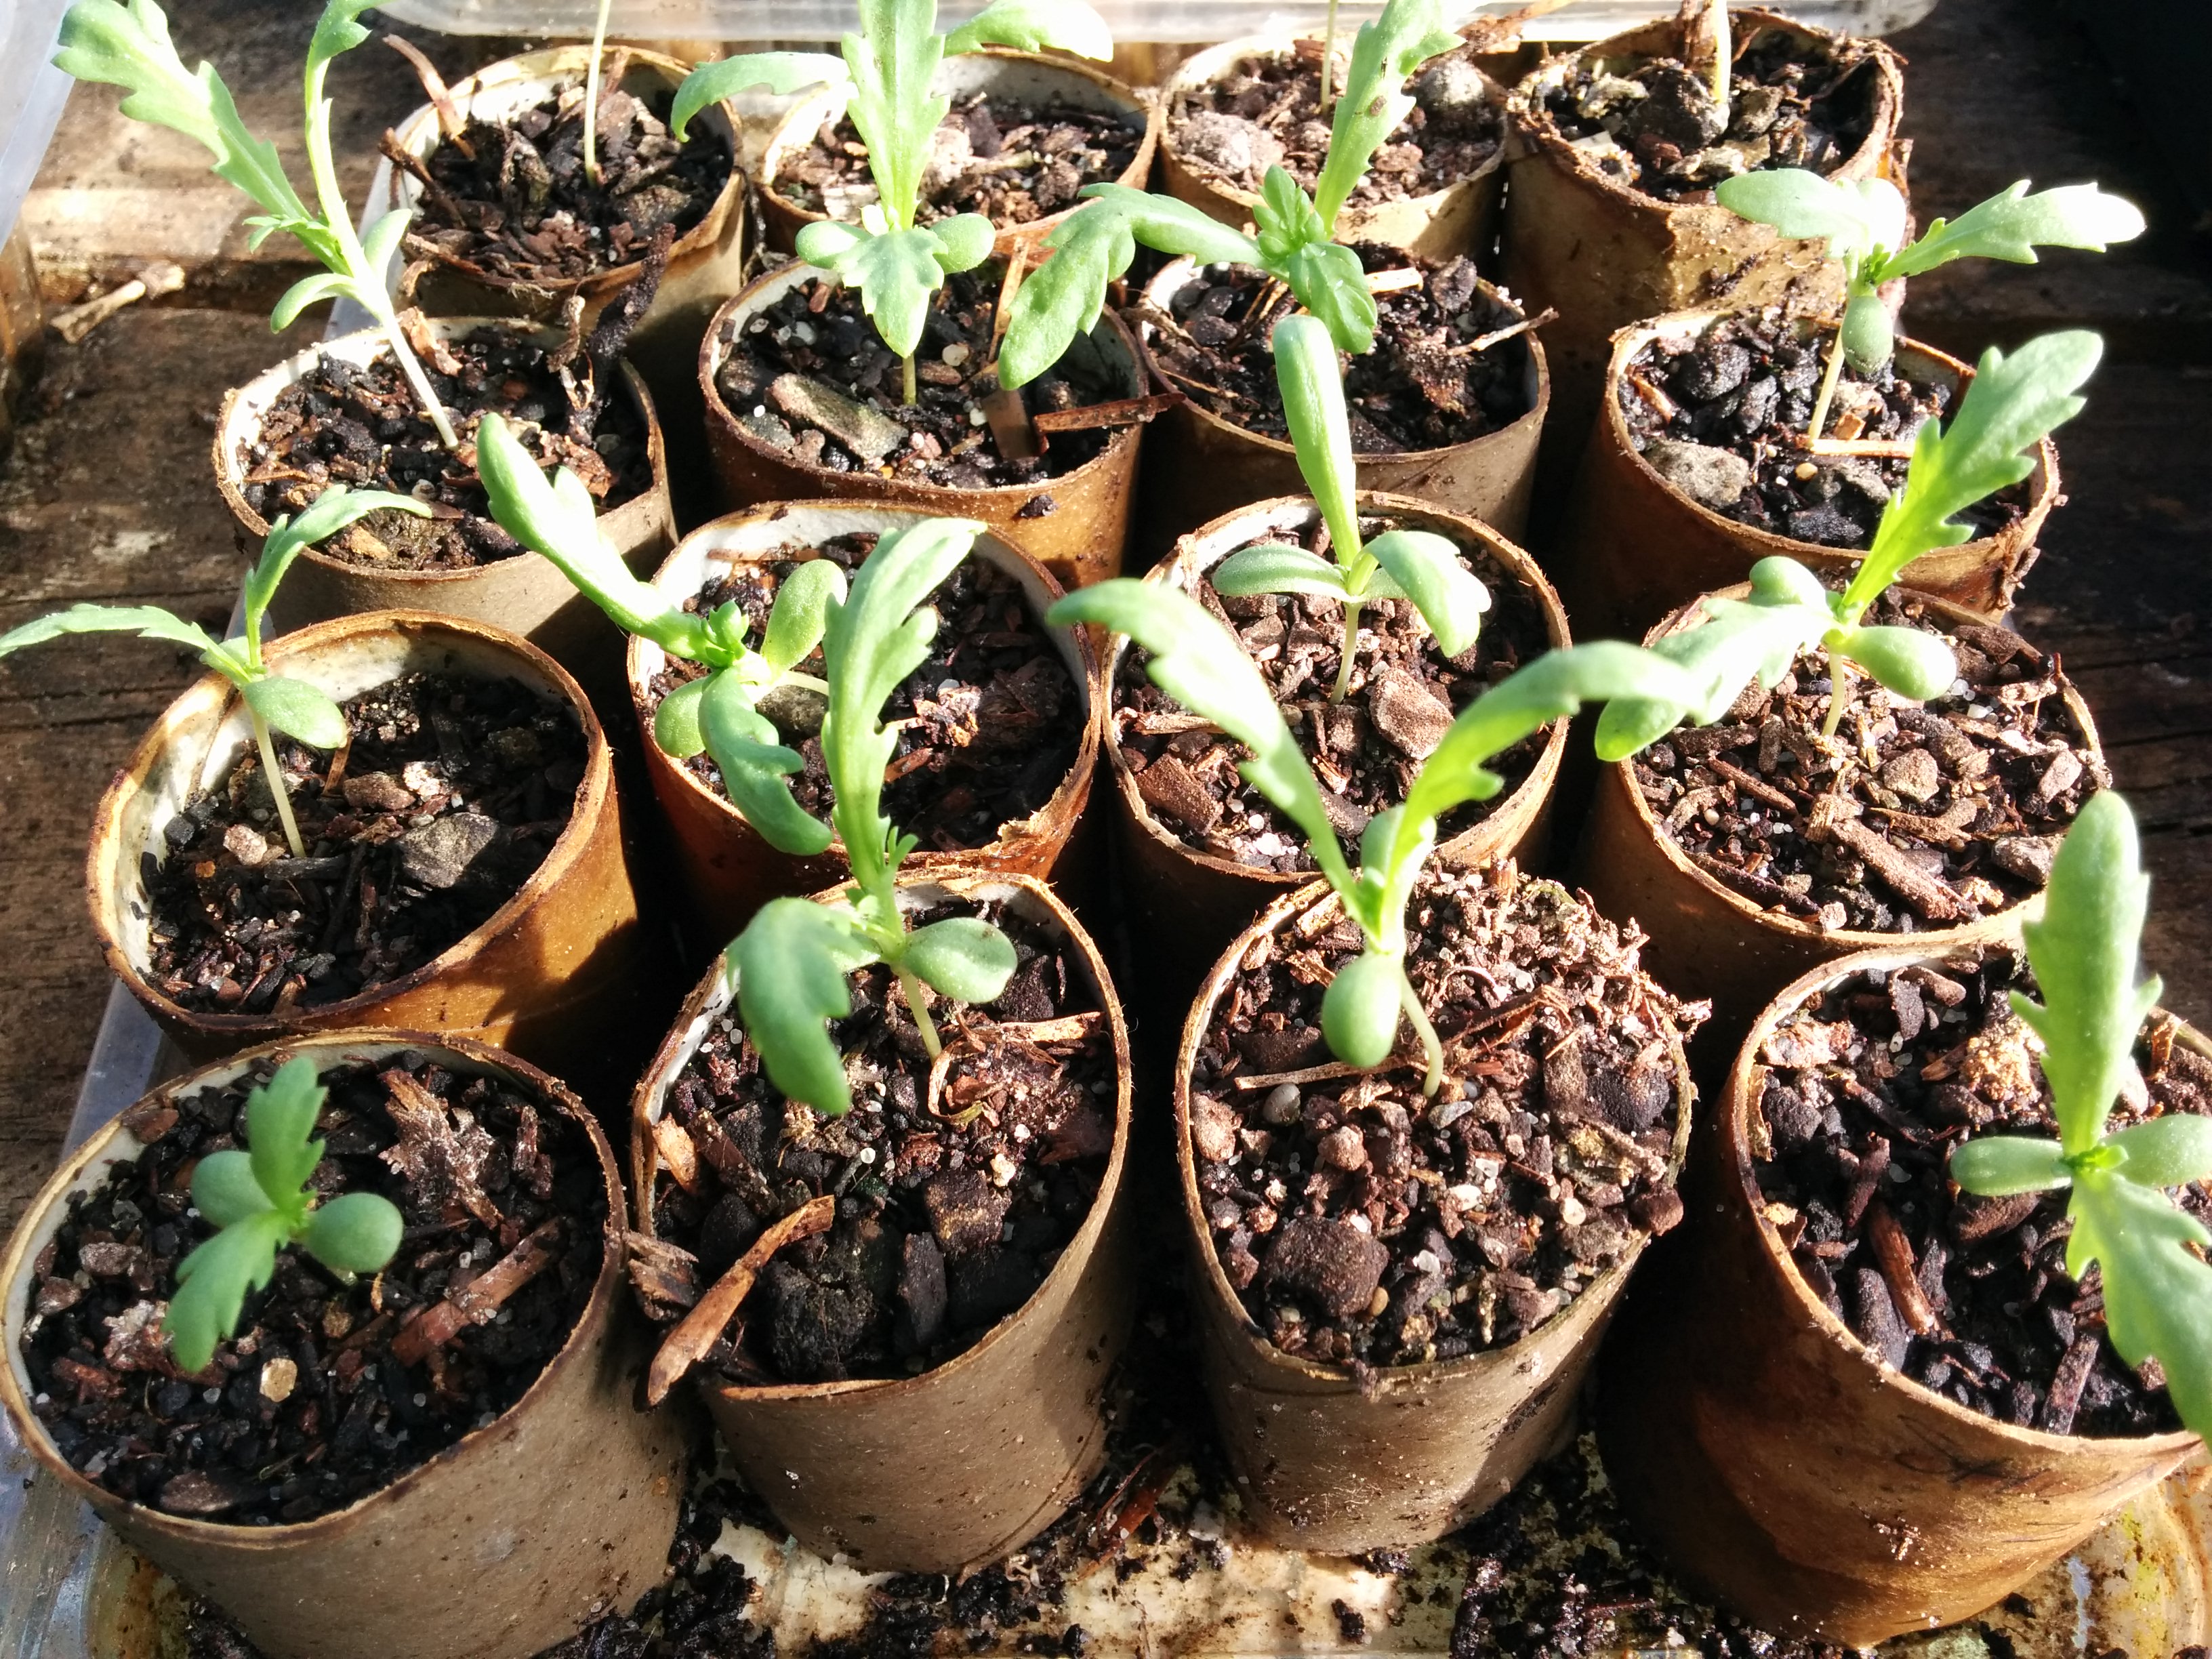
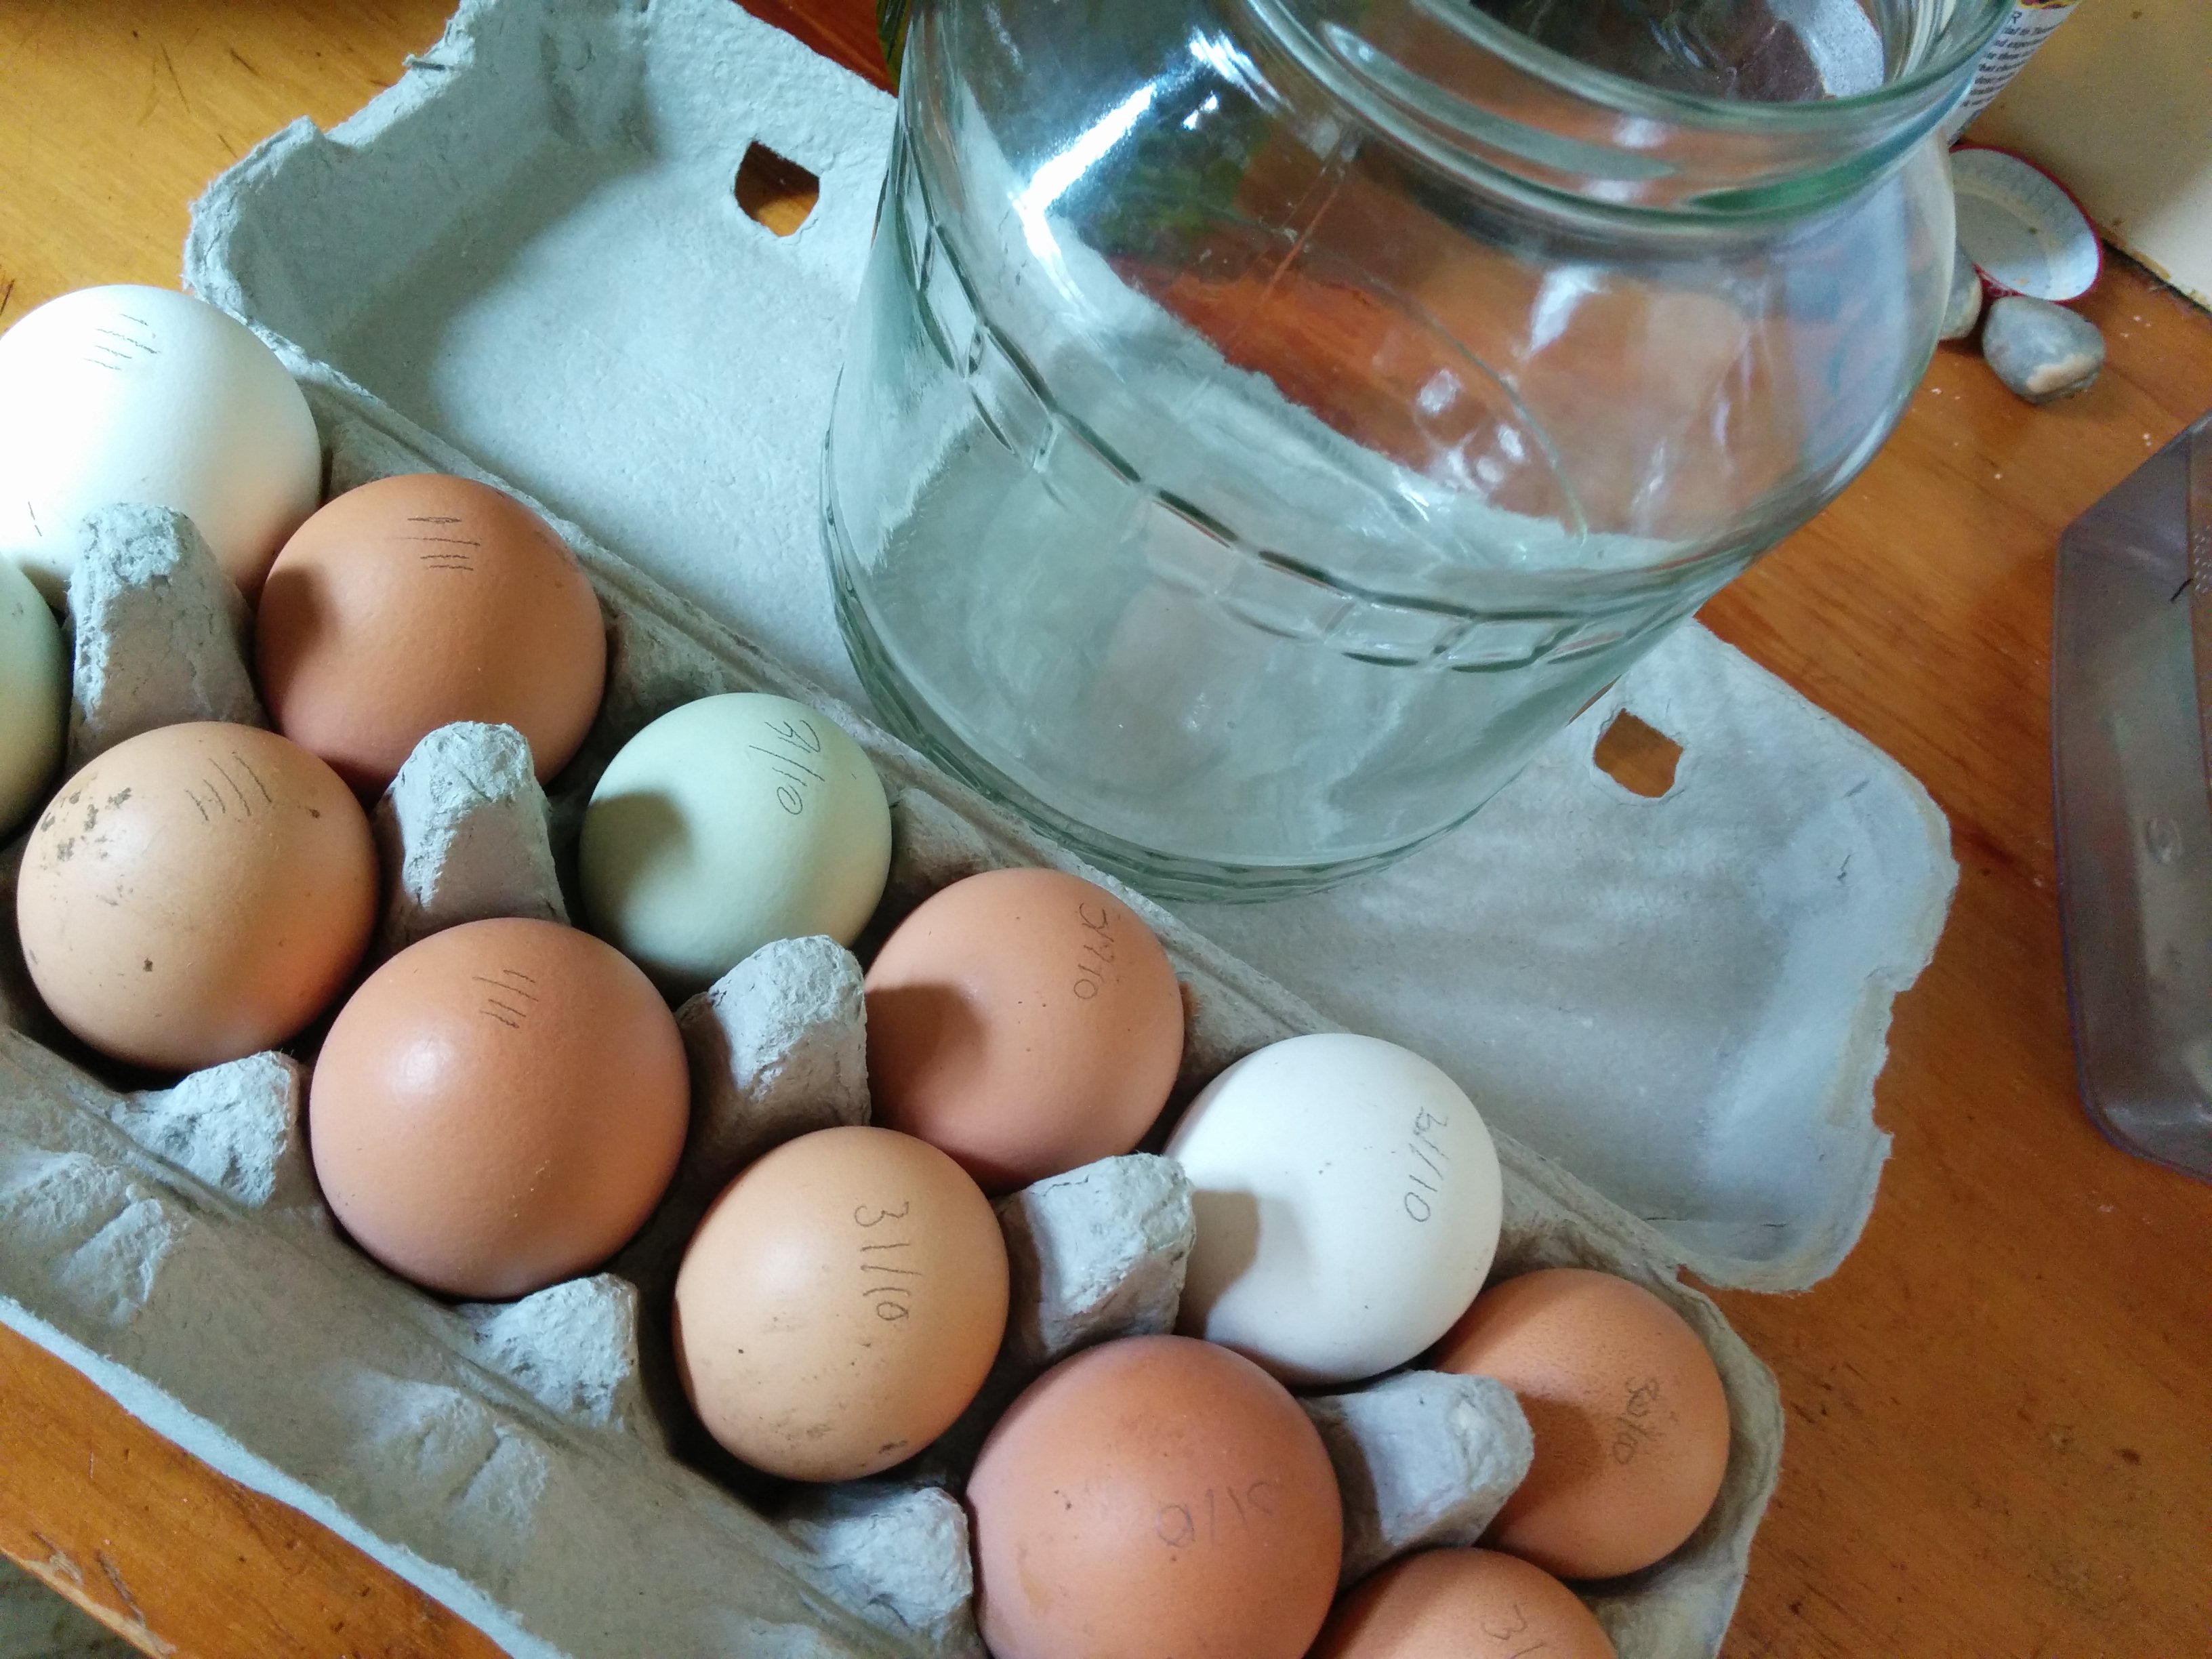
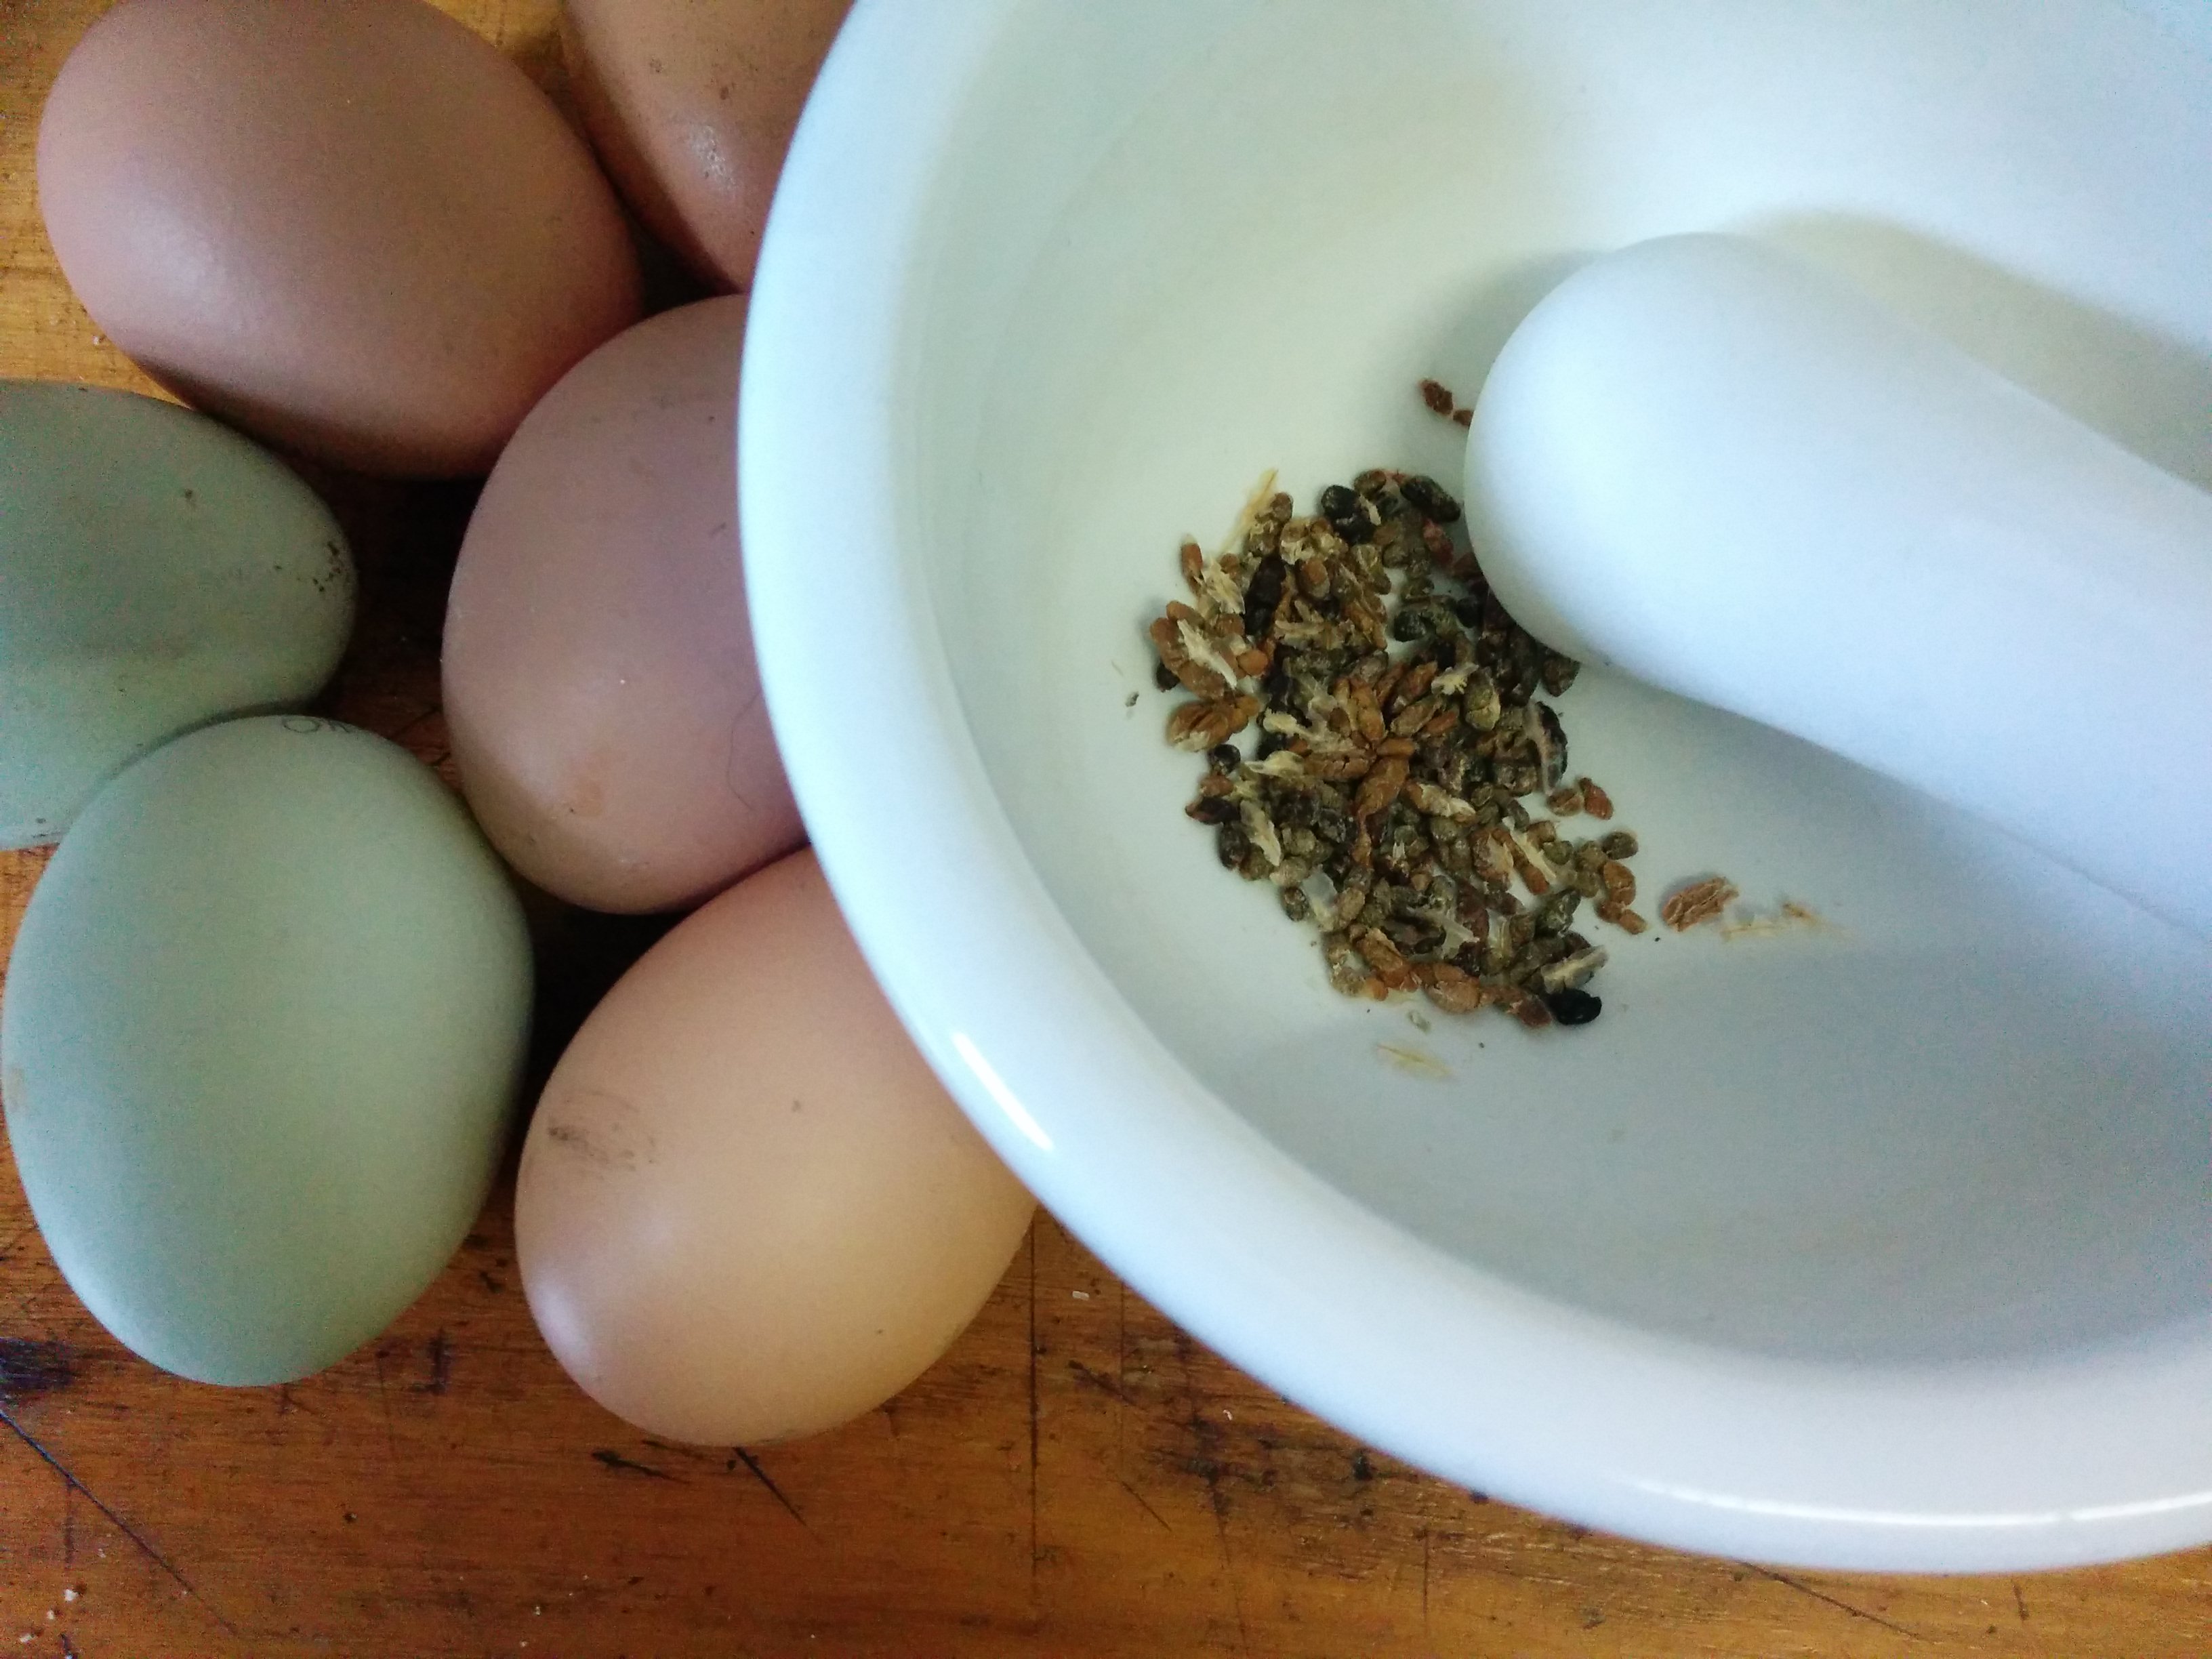
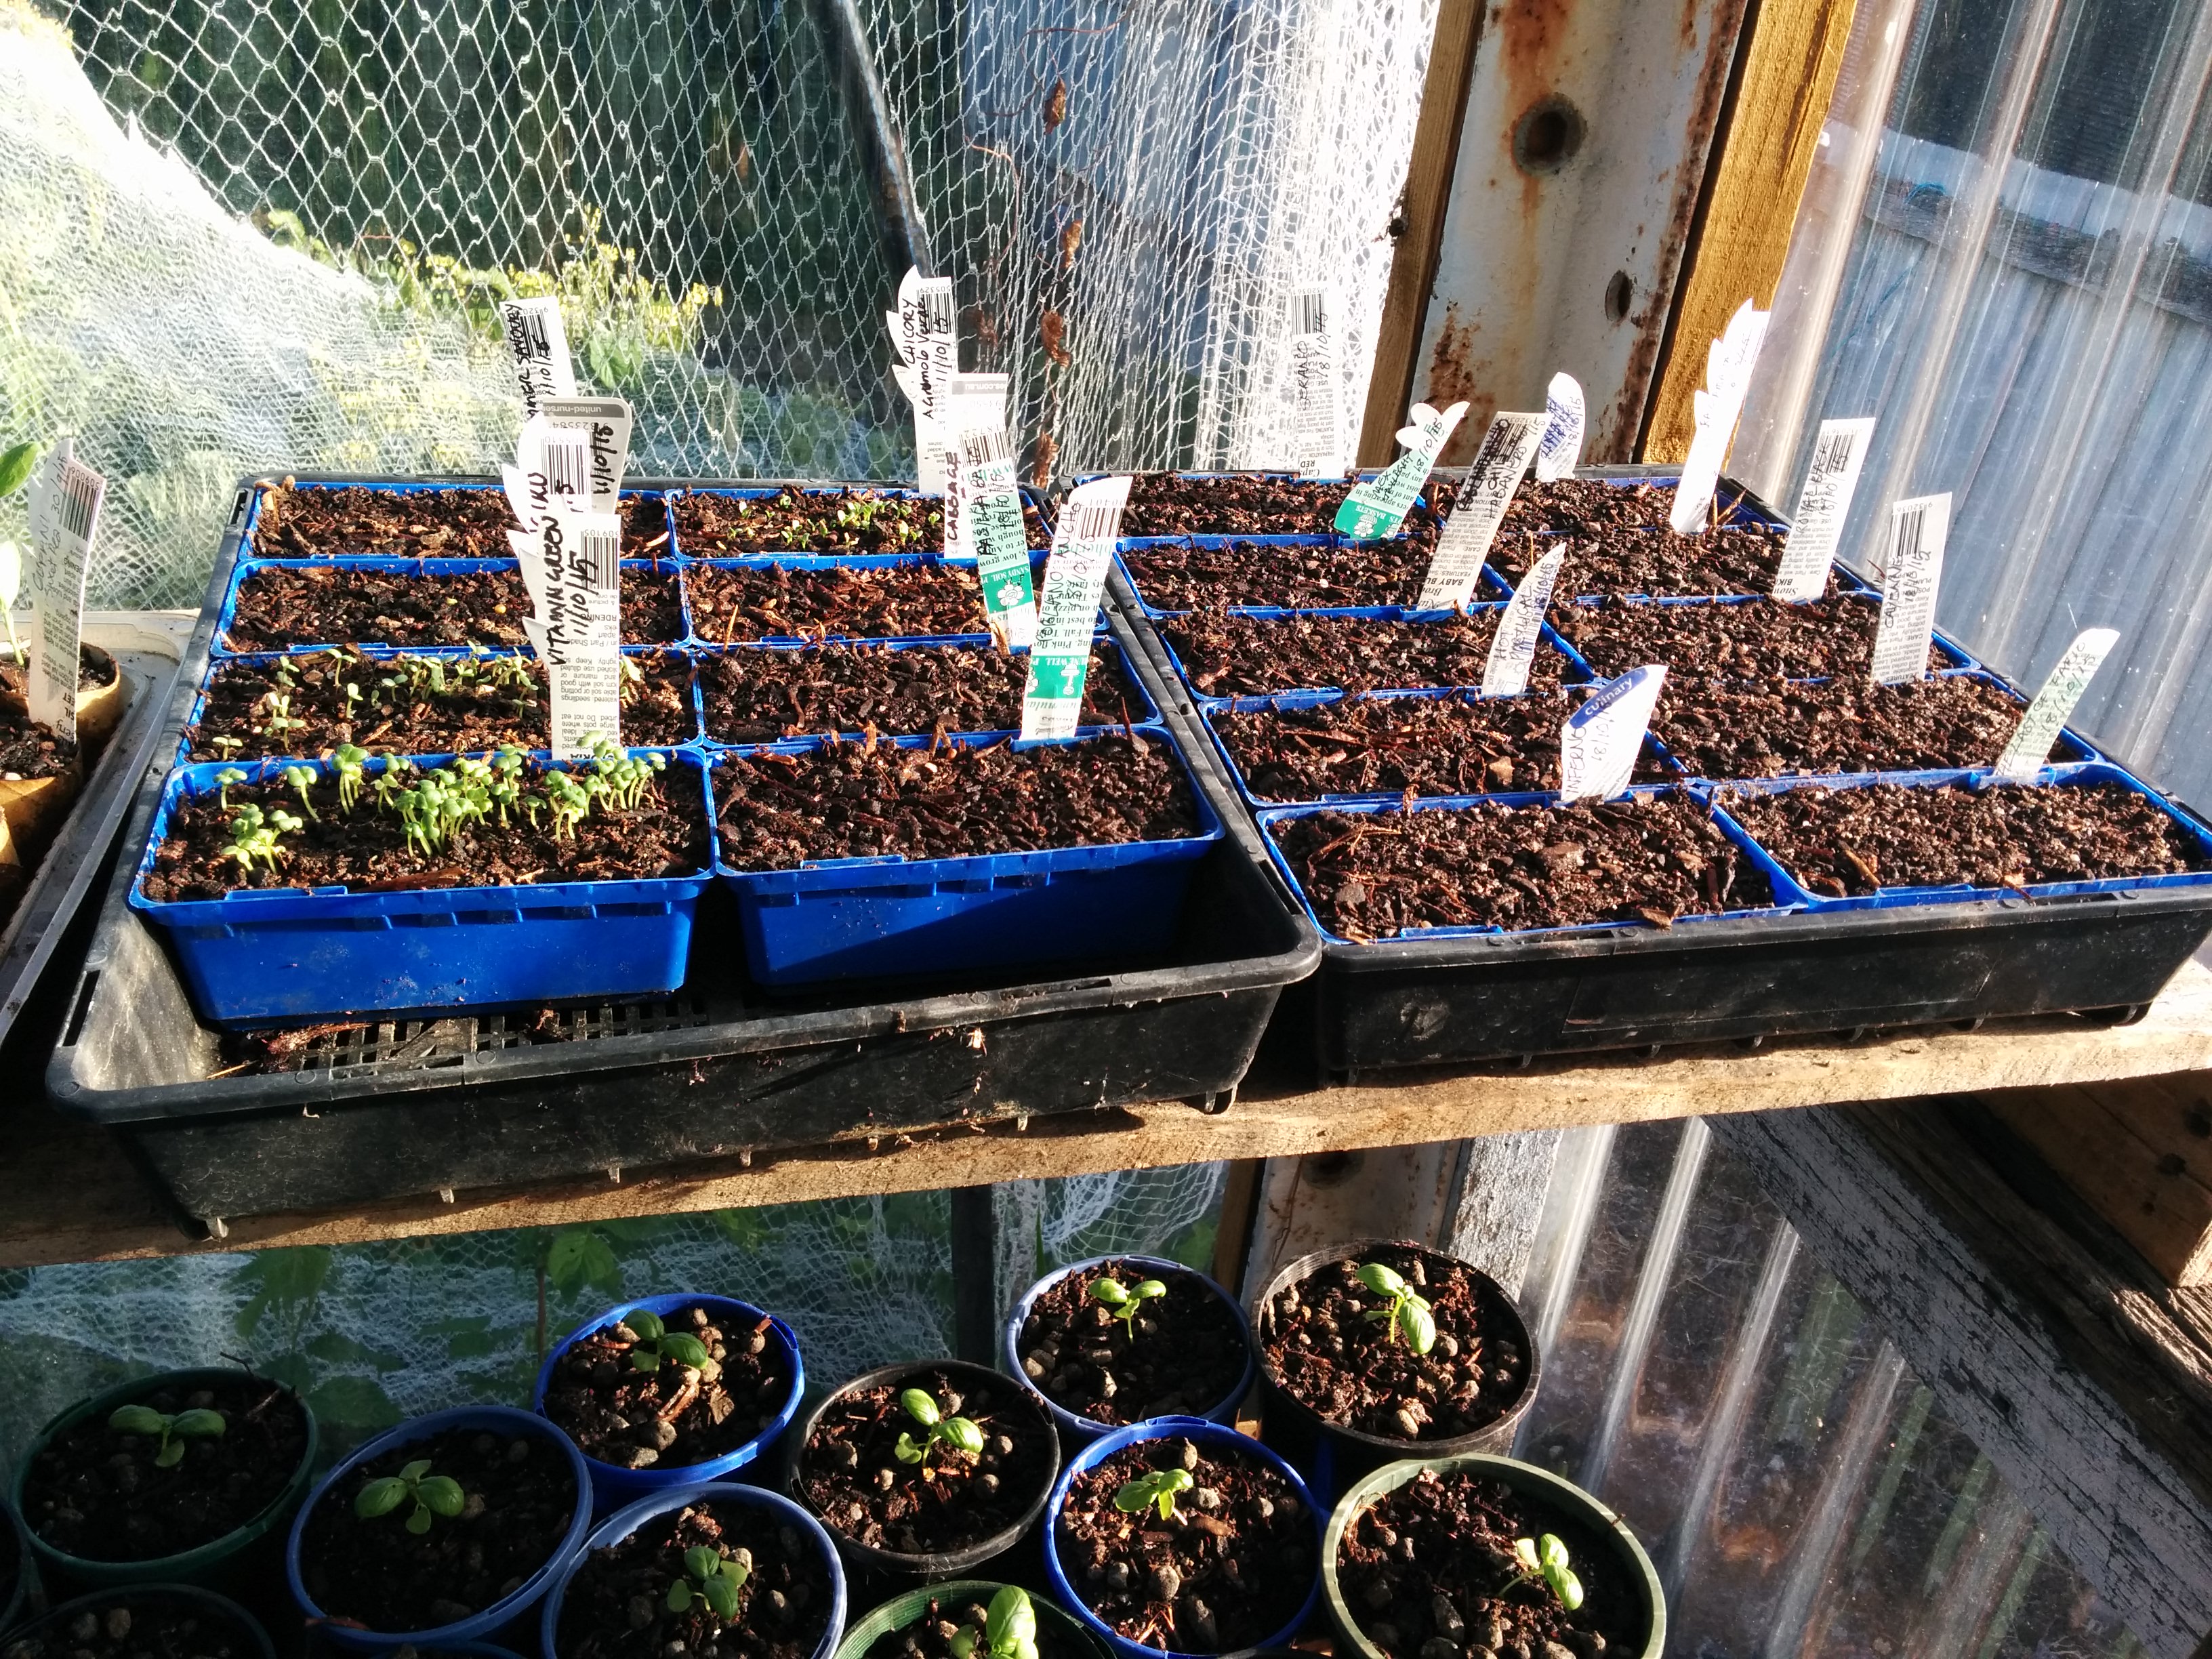
I started gardening at this house a week after we moved in, almost six years ago. I have potatoes for eight or nine months of the year and free range eggs about ten months. I grow enough garlic now for almost the whole year. I still buy brown onions and some carrots but stopped buying salad greens and herbs after about three months. The last couple of years I’ve been breeding meat rabbits as an ethical source of protein and I’m researching growing mushrooms and installing a beehive next spring. I’ve tweaked my salad greens into seasonal delights, and now we look forward to winter too because that means sweet, frosted kale, silverbeet, chicory, endives, corn salad and (my favourite) English spinach.

Baby raspberries
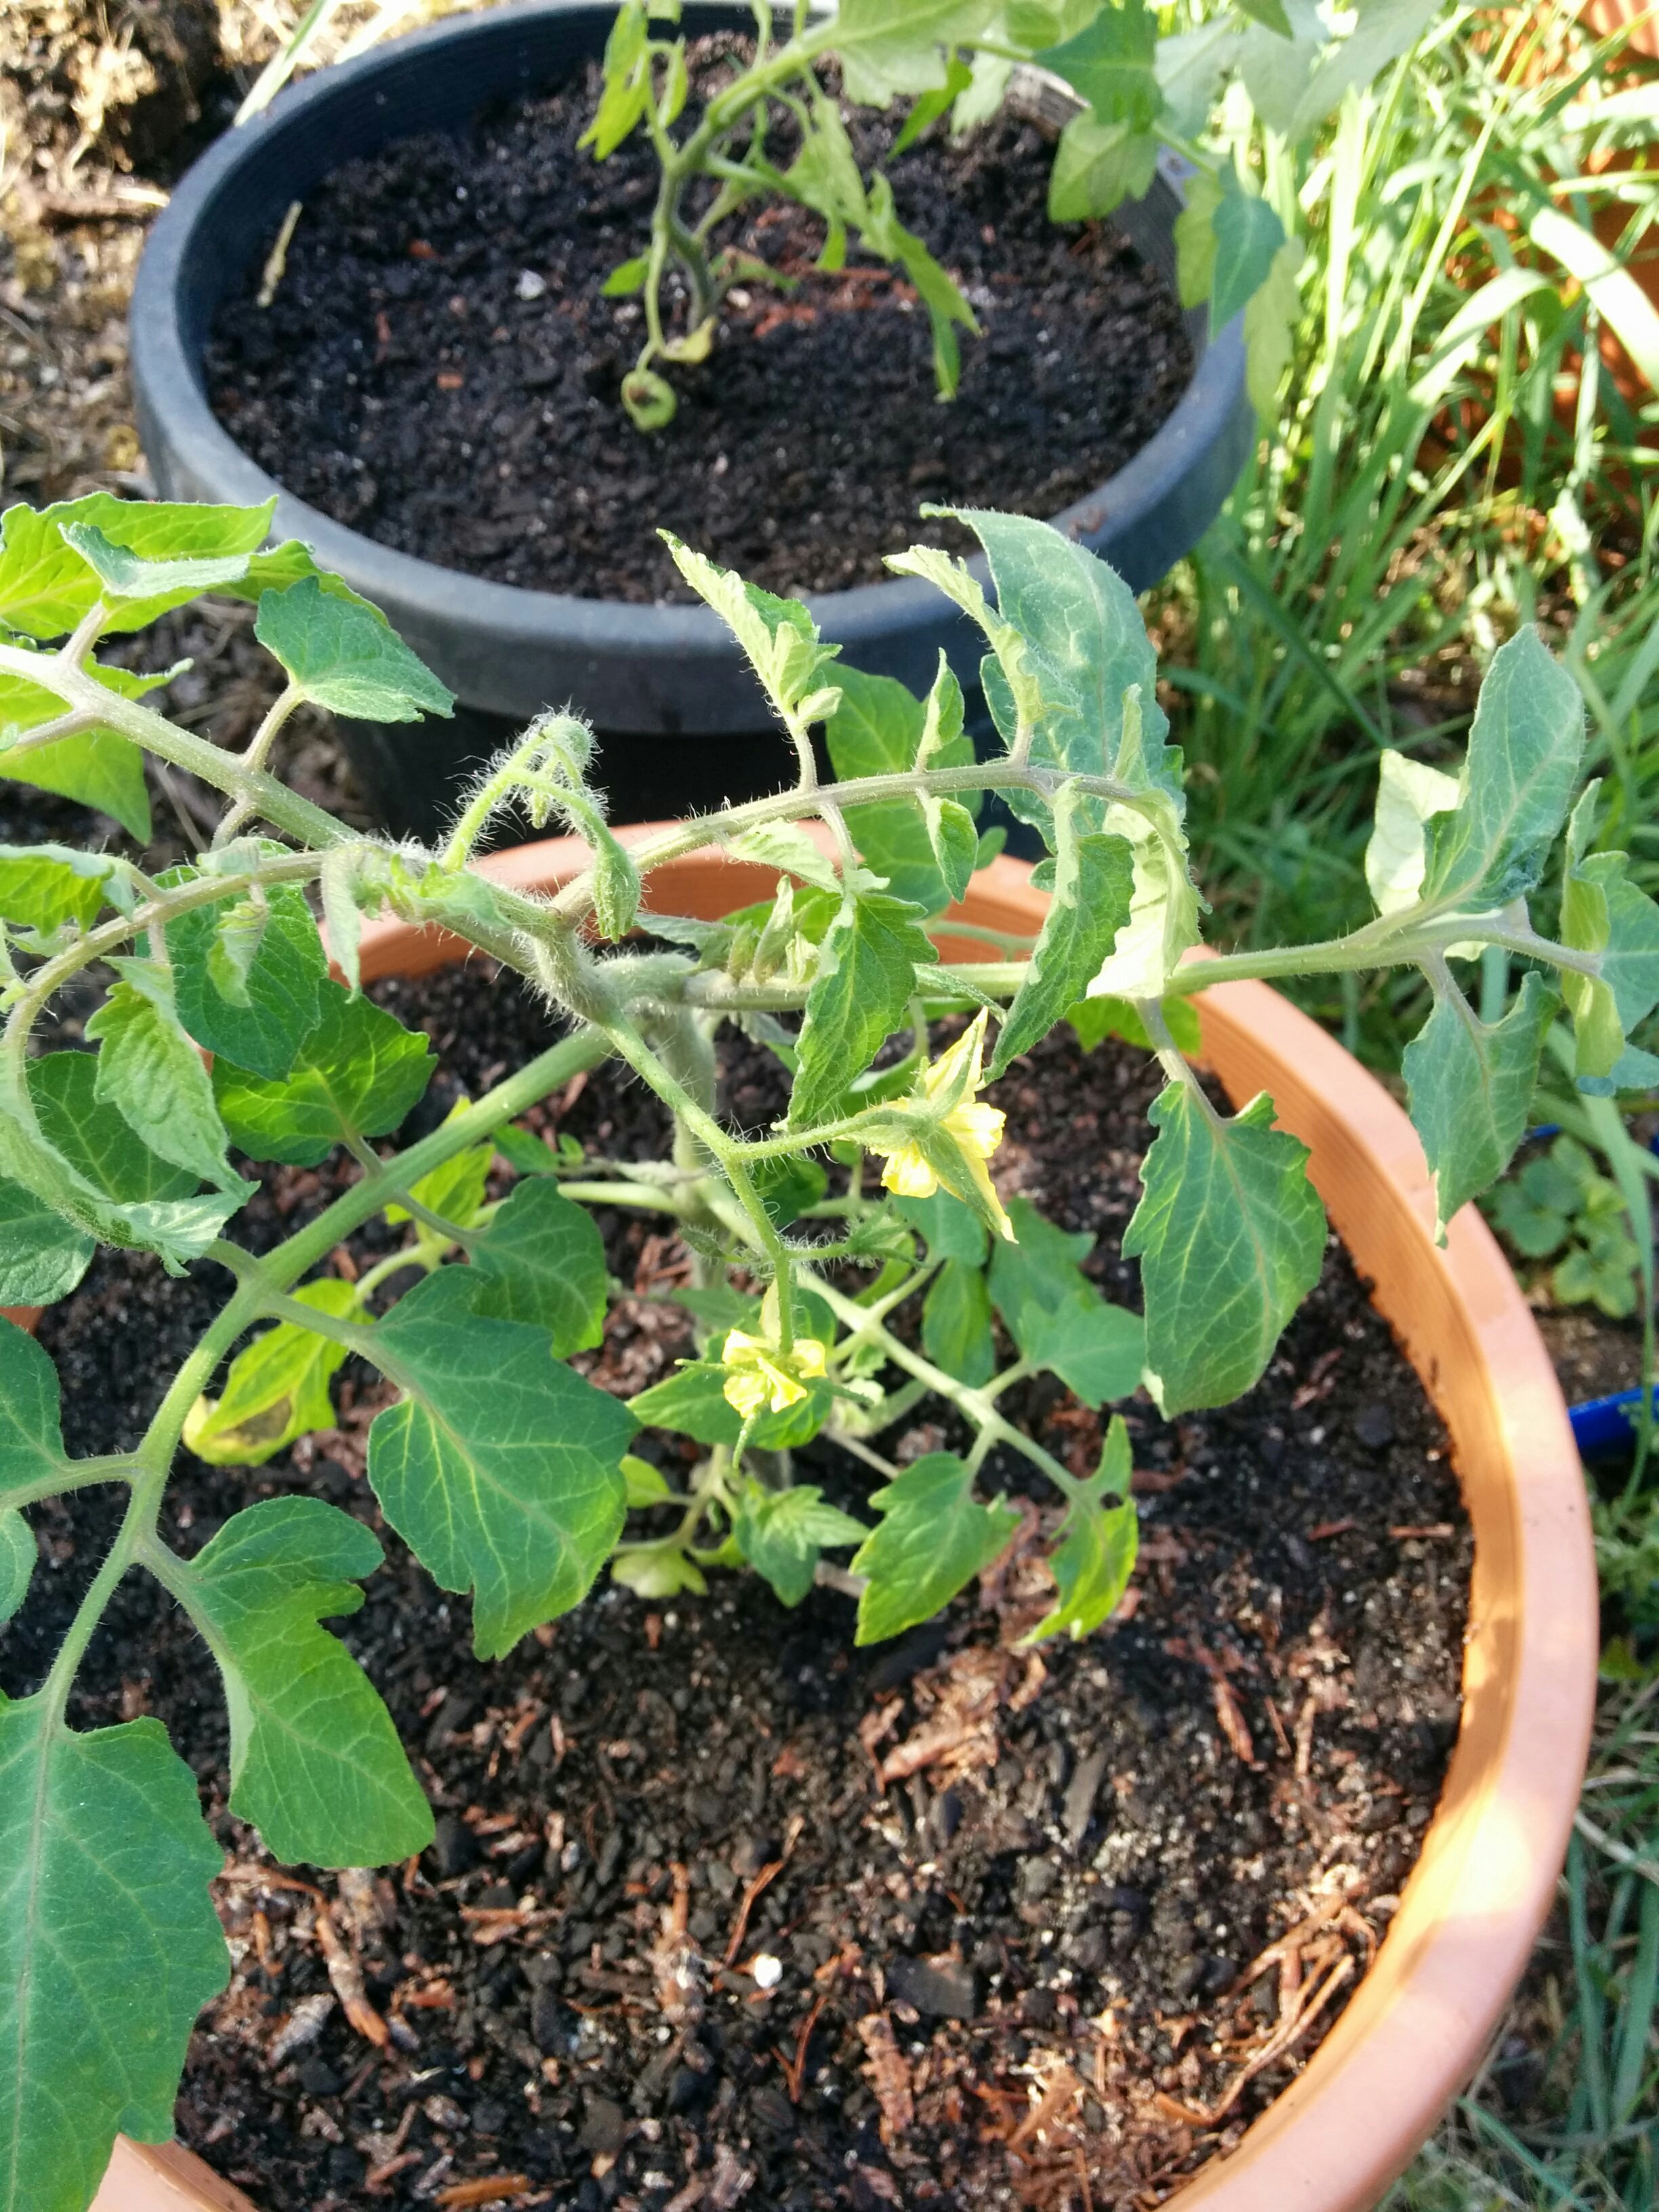
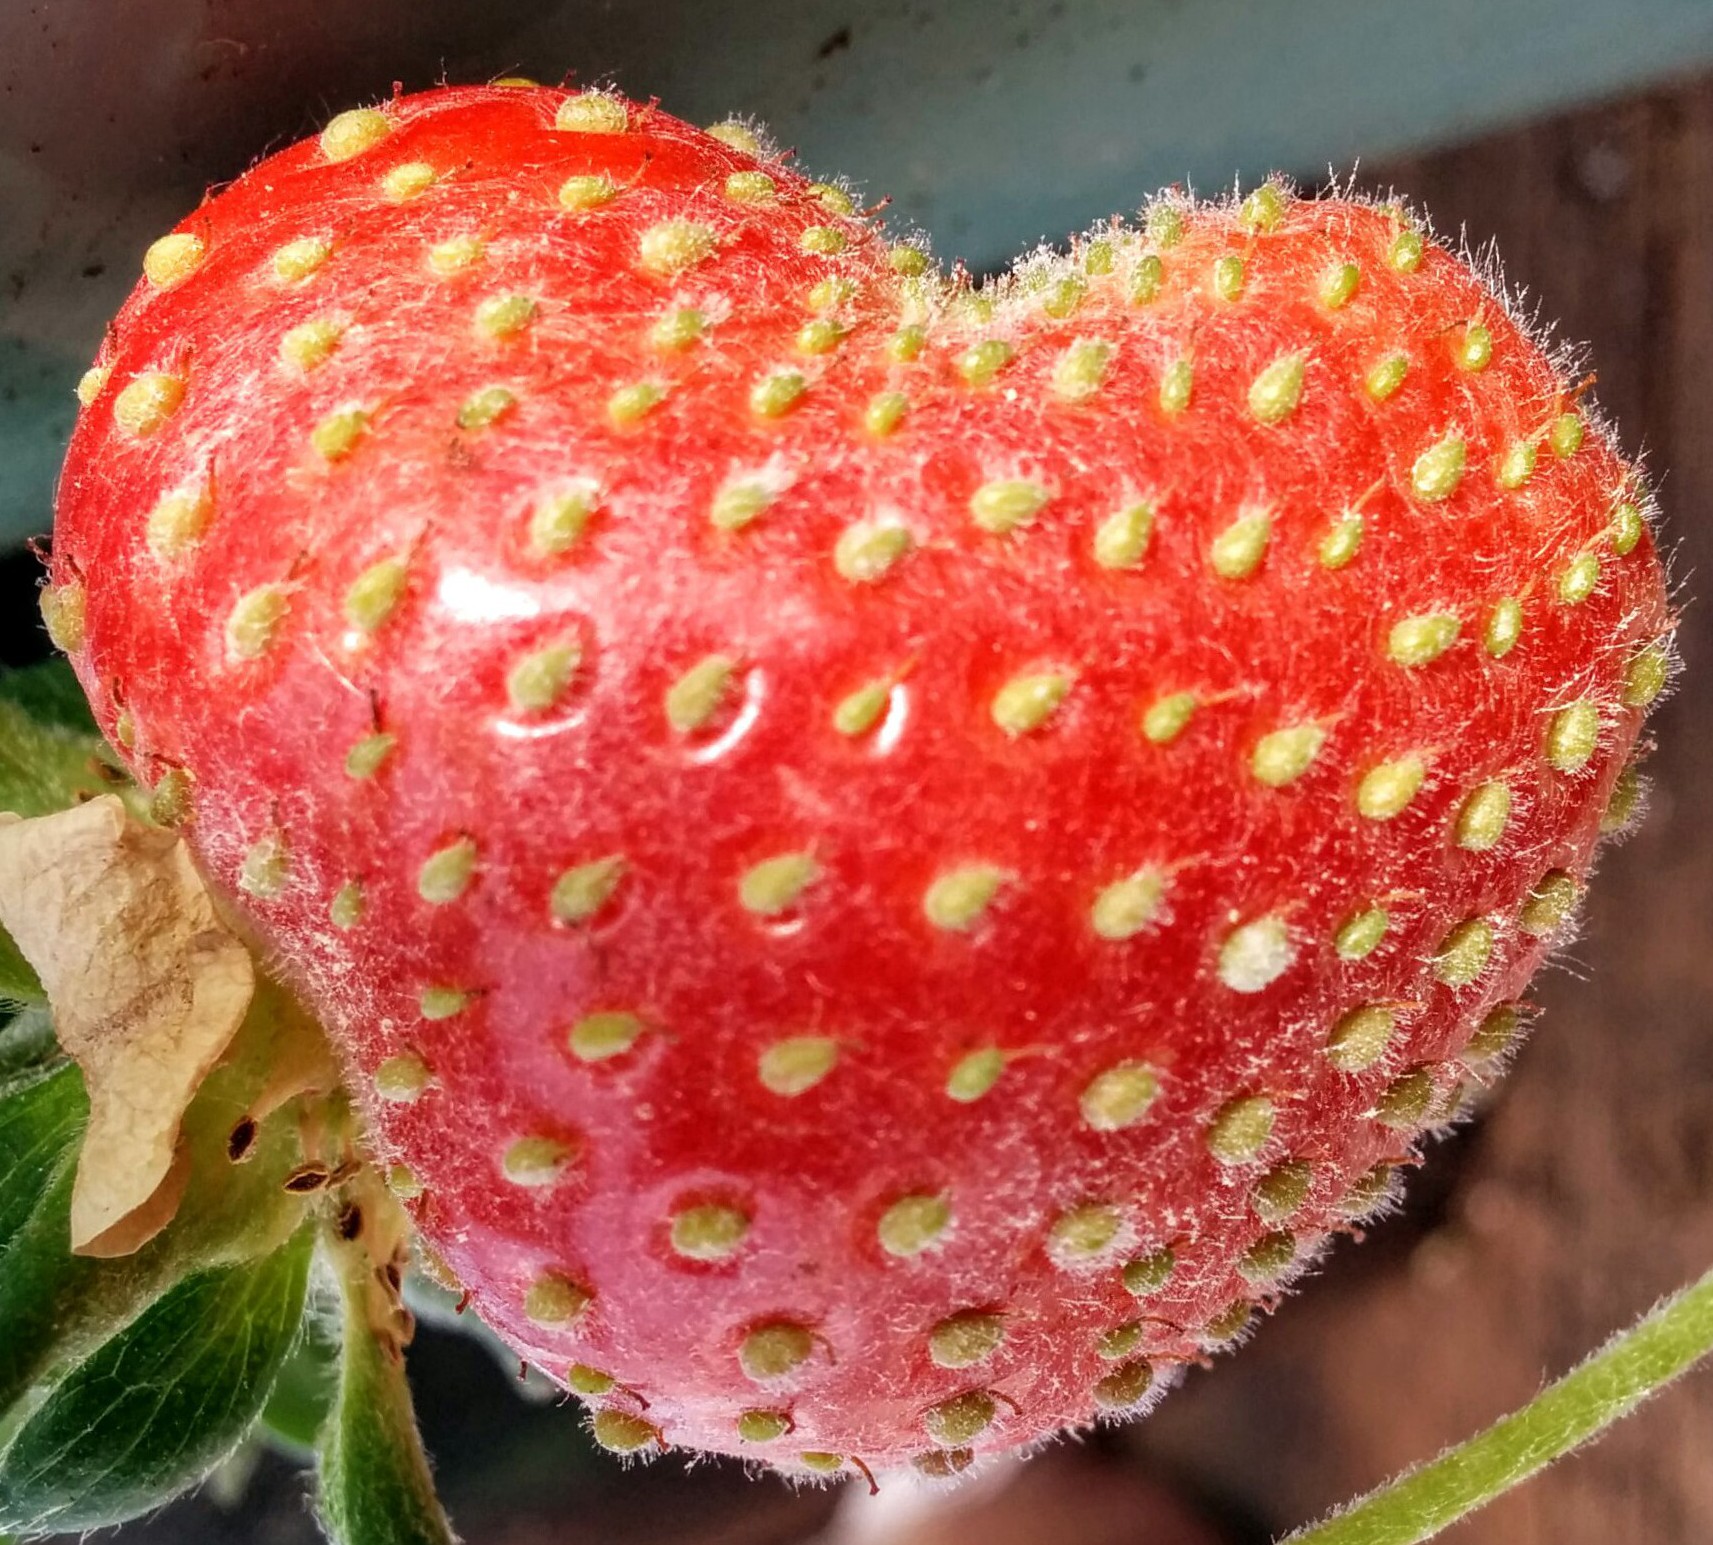
Fruit begins with rhubarb in September, and progresses through strawberries November and December, raspberries, boysenberries, youngberries, loganberries, silvanberries and (for the first time this year) blueberries from December to April and apricots, nectarines and plums from January to the end of March. I also have a peach and double graft apple I’m espaliering that will probably fruit next summer and a lemon tree that will be planted out in the autumn. And everything is picked fresh the day it’s needed so the nutrient levels are high. There is excess – I always grow too much – but it’s given to family and friends and I make cider and peri with excess fruit, fruit leather and dried chillies, beans and kale chips as well as freezing.
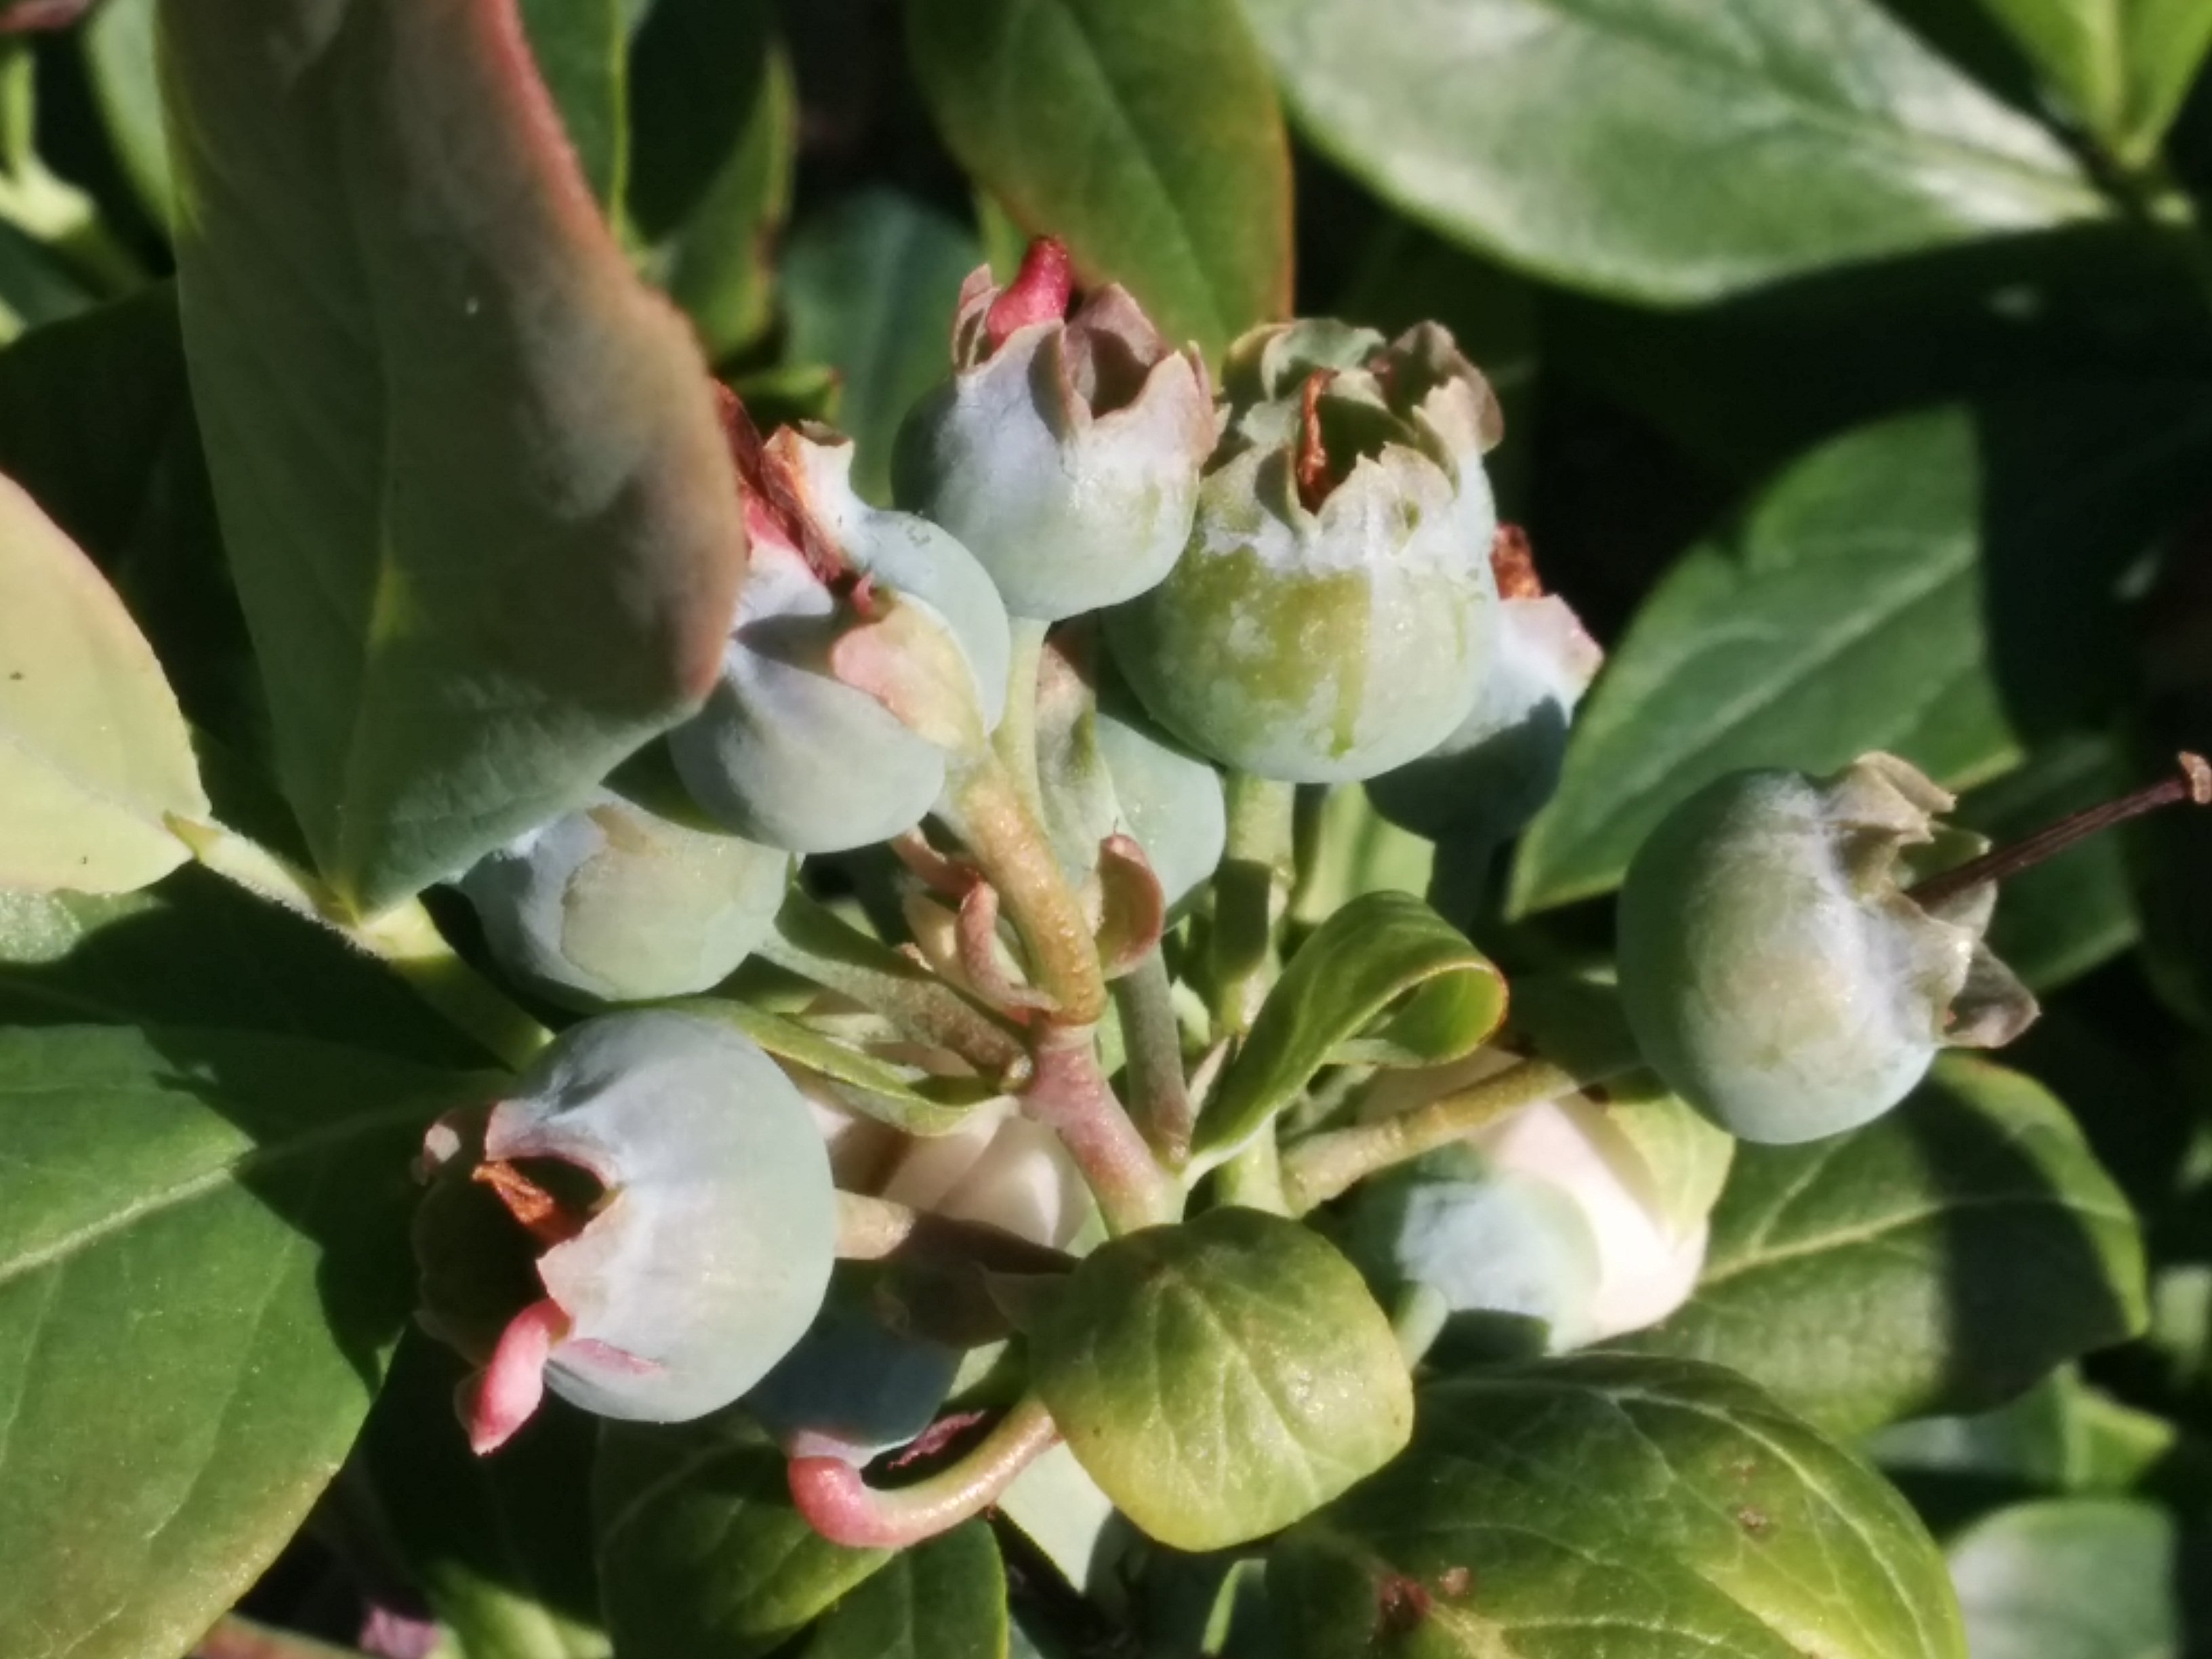
Blueberries starting to form
Also there’s a creative aspect of getting my hands in the earth – it makes me feel good about the world and gives me inspiration to write. When I’m in the garden, I lose all track of time and get to think about things I need to. I’ve solved some really big problems over the years out in that garden. I plan and plot and think about the season to come as well as the one I’m living in, it’s a window to the future.
And finally, there’s those wonderful moments when you can sit back, rest, enjoy and just be…………….. ❤

My favourite spot under the Chestnut tree