At the beginning of 2015, I made one New Year’s resolution – to start making sourdough bread again. So, on the morning of January 1st, I found a clean pickle jar and some cheesecloth and got my starter set up. It took a few weeks to really get going and for the first month, I added decreasing amounts of commercial yeast to my loaves to make sure they were edible. Of course, there were a couple of “bricks”, it happens to all of us sometimes – but the toast from these loaves is still wonderfully tasty and filling – and the chickens got the rest.
My household aren’t big bread eaters, so on average I make one big loaf a week. The fresh bread is quite dense but moist and wonderful with hard cheese and salad, and after a day or two it makes the best toast ever! My favourite is the crust, still warm from the oven with just a little butter ❤

I’ve played around with different shapes (I went through a round phase for a few months) and added different flours to create interesting flavours and textures, but the plant in the jar has stayed the same.
My plant has a name too, Wee Beastie. She sits in a very pretty jar on a shelf in the kitchen and as the weather is warming up now, she gets fed every day now. During the cooler months I only fed her every other day and it was still very happy. The big thing to remember is that every kitchen is different and there will be slight differences in the wild yeasts your Beastie will develop. Get to know your plant and what it likes!

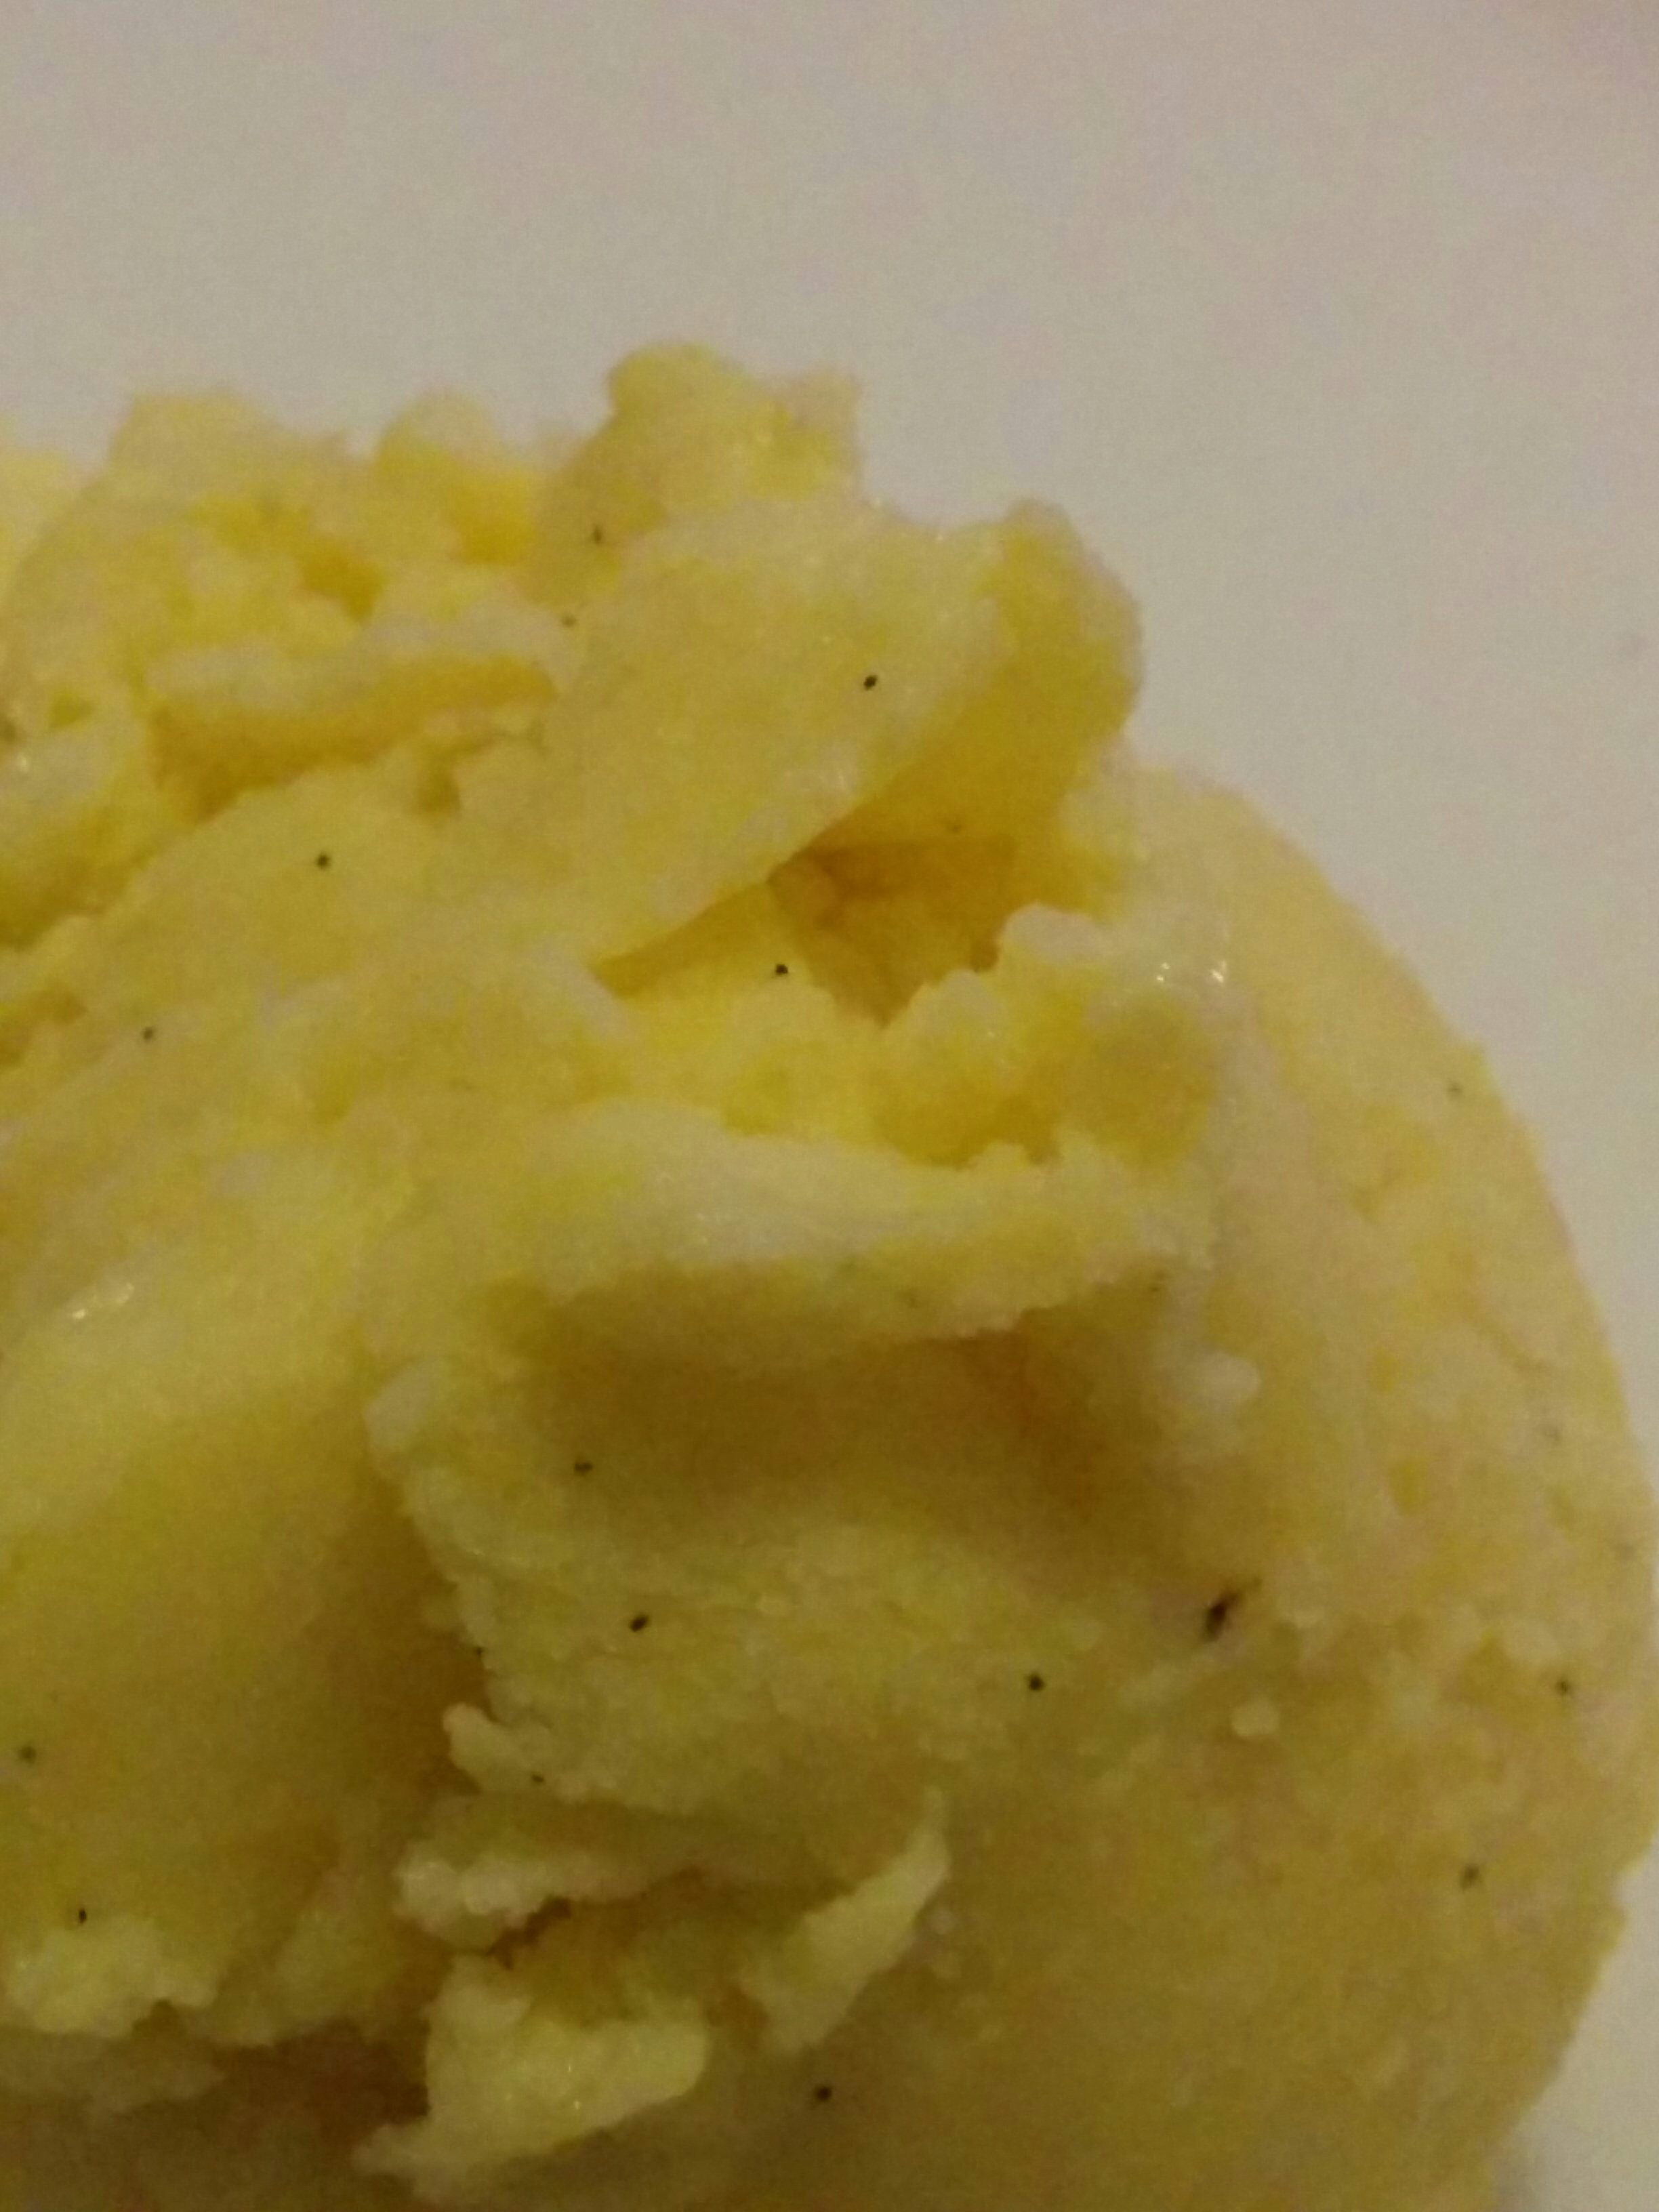
Wee Beastie in her fluted jar
Sourdough Starter
Ingredients:
A clean large pickle jar 1 cup bread flour (white or wholemeal) 1 cup of filtered water 1 tab live yogurt (optional)
Method:
Day 1 Mix the flour and water together thoroughly in the jar with a wooden spoon. Add and mix in the yogurt if using it and scrape down the sides with a plastic spatula (I have a wooden spoon I only use for bread making). Sourdough doesn’t react well to metal, so bear this in mind before you start. Cover with a piece of cheesecloth and a rubber band to keep insects and dust out and leave it out of direct sunlight in a warm spot in the kitchen.
Day 2 Add a half (up to 3/4) cup of flour and just under that of filtered water. You can use water straight out of the tap, but like any yeast, sourdough doesn’t work well with fluoride, so I recommend filtered or rain water. Depending on the temperature in your kitchen, you should start to see a few bubbles in your Beastie.
Repeat Day 2 for three more days. By Day 5, your Beastie should be voluminous and a little frothy, with a pleasant, slightly sour tang. It’s time to make some bread!
Please Note: Don’t take any chances with this – if your plant is mouldy or smells “off” discard it and start again.

Sourdough Bread (Makes 1 large loaf)
Ingredients:
2 cups of Sourdough Starter 2 cups of bread flour 2 teas bread improver water, milk or yogurt a little oil
Method:
In a clean, dry bowl add the flour and bread improver and mix well. Bread improver is mostly citric acid and helps wake up the gluten in flour, resulting in a much better textured crumb. Add 2 cups of Sourdough Starter and mix with a wooden spoon. At this stage, I feed Wee Beastie with flour and water and put her back on the kitchen shelf – she’s done her job 🙂 Depending on your dietary requirements/personal preference, add a couple of tablespoons of water, milk or yogurt and mix to bring the dough together. Roll the dough off the sides of the bowl and turn it out on to a floured board.
Knead it thoroughly for 5-10 minutes until the dough feels elastic and add a little more liquid if the dough feels too stiff. This element is something of an arcane art, it takes practice to know when the dough feels right and too much kneading can produce as heavy a loaf as too little!
Coat your hands liberally with olive oil and shape the loaf as you desire. Put it in the tin or tray you will bake it in, cover and leave it somewhere warm to prove. I have a hot water heater that’s perfect for this. With a new sourdough proving can take a few hours. Be patient with your loaf and remember, the longer you leave it the more pronounced the sour taste will be. I usually wait until it’s doubled in size.
Bake in a pre-heated oven on the middle shelf for 10 minutes at 210 C, then reduce to approximately 180 C and continue baking for 25-30 minutes. Again, every oven is different and I recommend using a pizza stone when you heat the oven up, it makes a lovely bottom crust!

White Sourdough fresh out the oven
What’s your favourite bread recipe? Please leave a comment below and happy breadmaking!