Friday at Last! – Day 6 NaBloPoMo 2015

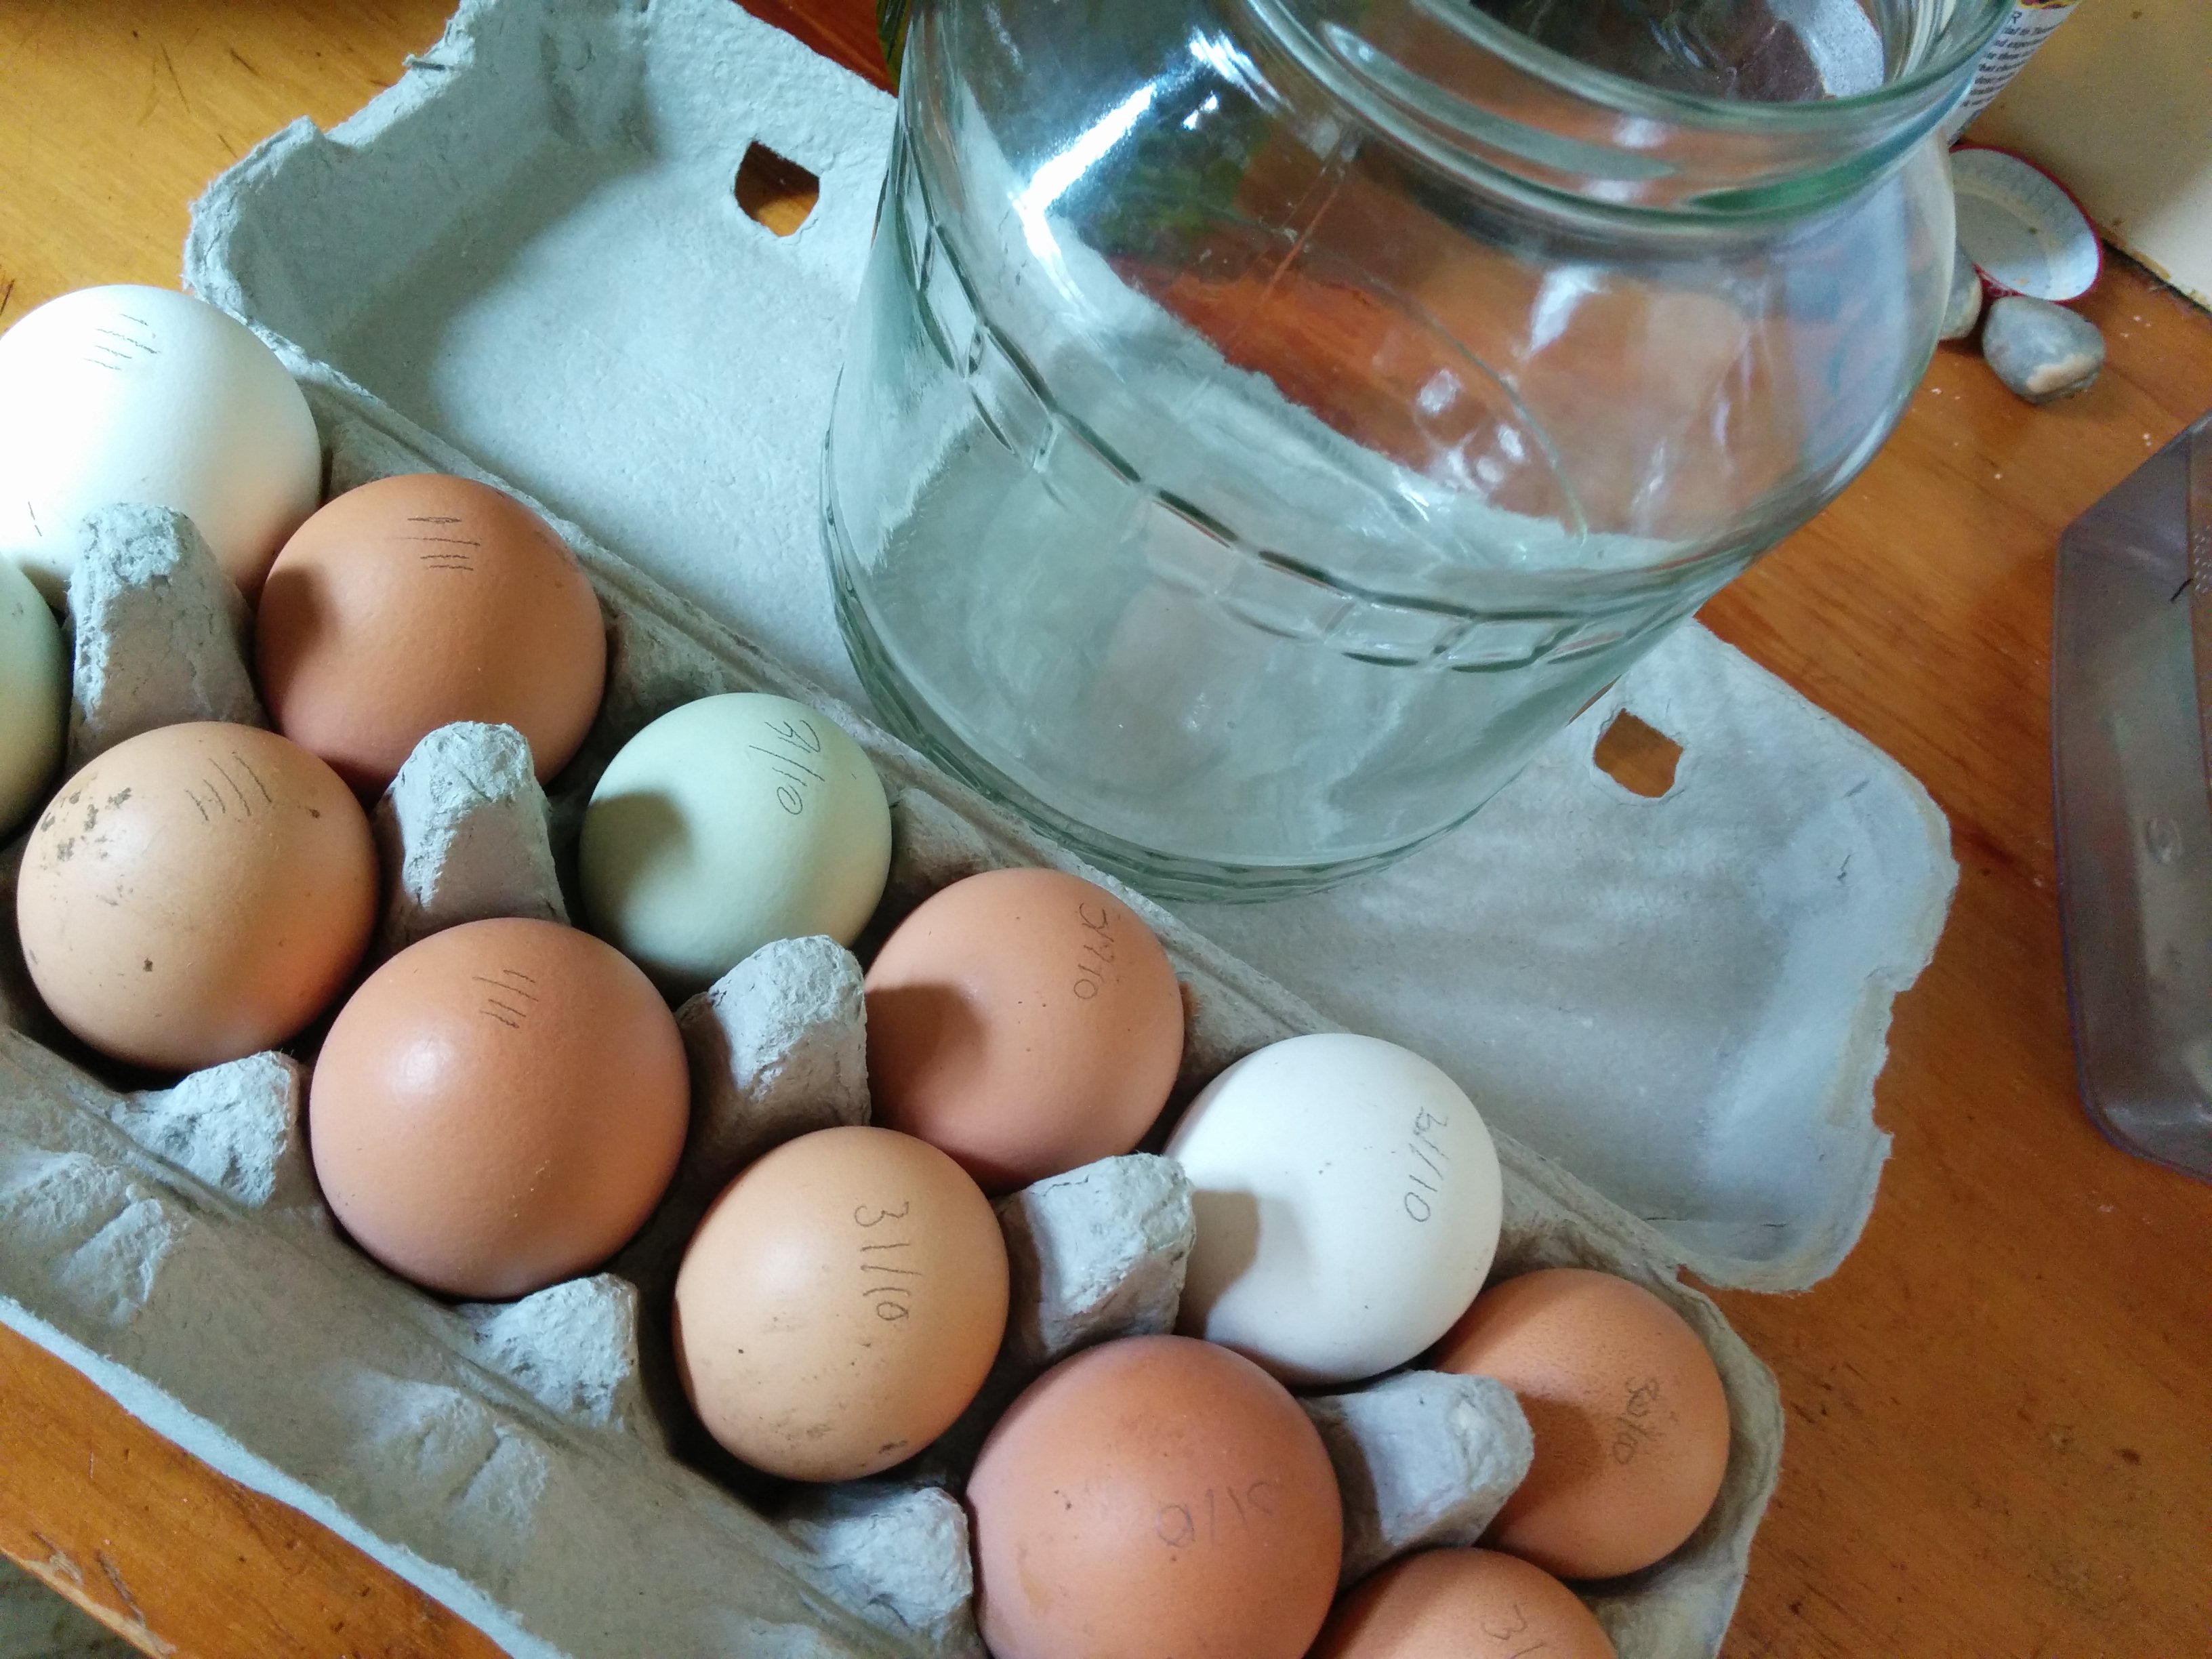
Well, it’s finally the end of the week, and I’m bushed! I was supposed to go to a gig tonight some friends are playing but I’m just too tired. Tomorrow, I’ll be out in the garden again and cooking a family dinner – my son’s coming over.

One of my jobs tomorrow is dealing with some of the seedlings I’ve grown in the last month. I love sitting in my greenhouse, listening to music or audio books while I work. It’s very relaxing.

With small seeds, such as chillies, herbs, salad greens and any brassicas (cabbage family, such as kale, broccoli and mustard greens) I use a three stage process.

First, I plant the seeds in punnets, keep them moist in the greenhouse and wait for the magic of new plants to happen. It’s silly but even after all these years I still get a thrill when I see new plants starting 🙂

New vegetables!

New vegetables!

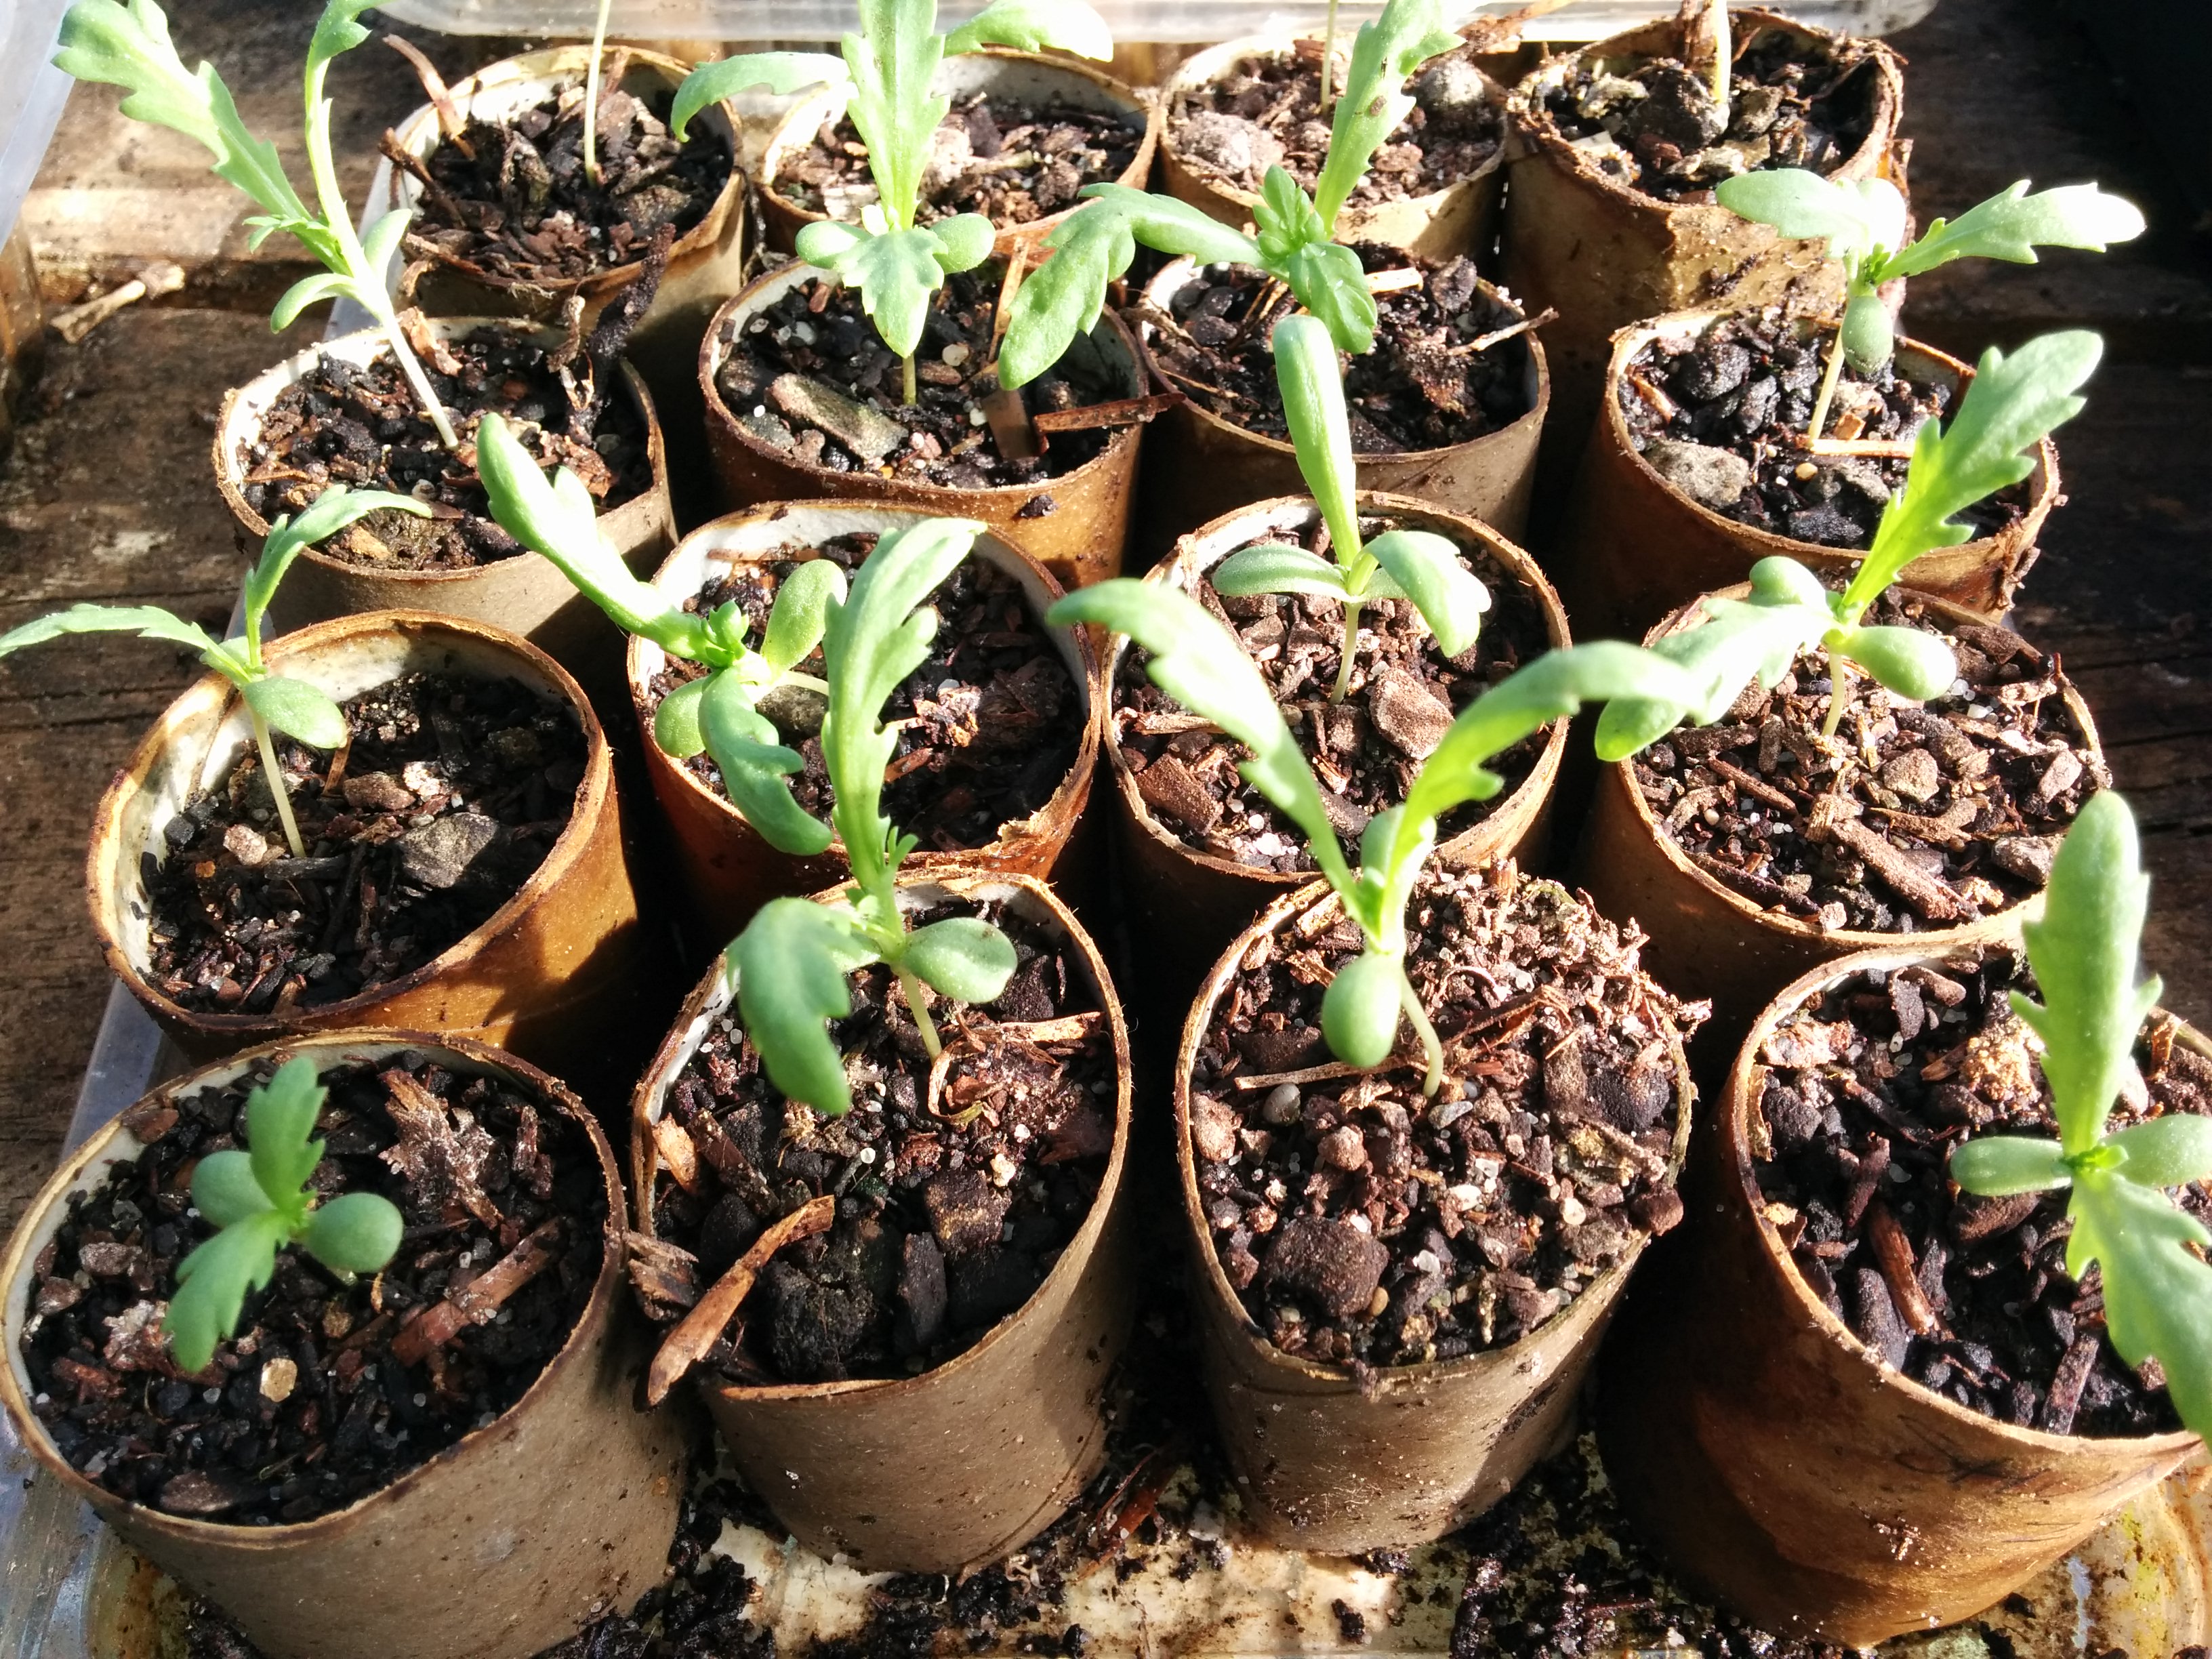
Secondly, I prick them out from the punnets into cardboard toilet rolls and let them grow on in the greenhouse until the roots are showing, which encourages downward root growth and eliminates transplant shock – one of the biggest killers of young seedlings. I didn’t realise until recently that this isn’t common knowledge! I cut the rolls in half first, which makes a perfect size for me and it doubles the number of  mini grow tubes I have for the season. I’ve found that plastic trays from my few supermarket purchases are great to put the completed seedling tubes in, making them safe to carry around the greenhouse and the yard.

All recycled and ready to go!

All recycled and ready to go!

The cardboard is just the right thickness to take up and hold moisture without falling apart immediately and I use a fairly compost-rich potting mix that holds together reasonably well. Like a lot of repetitive jobs, there’s a rhythm I get into when doing this. Perhaps it’s the musician taking over but I find this really relaxing. It takes practice when doing small, delicate seedlings but the best tip I can offer is go slowly – there’s no rush. Also, keep a permanent marker handy and I recommend marking the plant name and date on at least one if you’re doing a tray of the same thing. I also keep a garden journal next to me and write down what I’ve done in case something happens to obscure my one labelled tube.

Shungiku - Garland Chrysanthemum just done

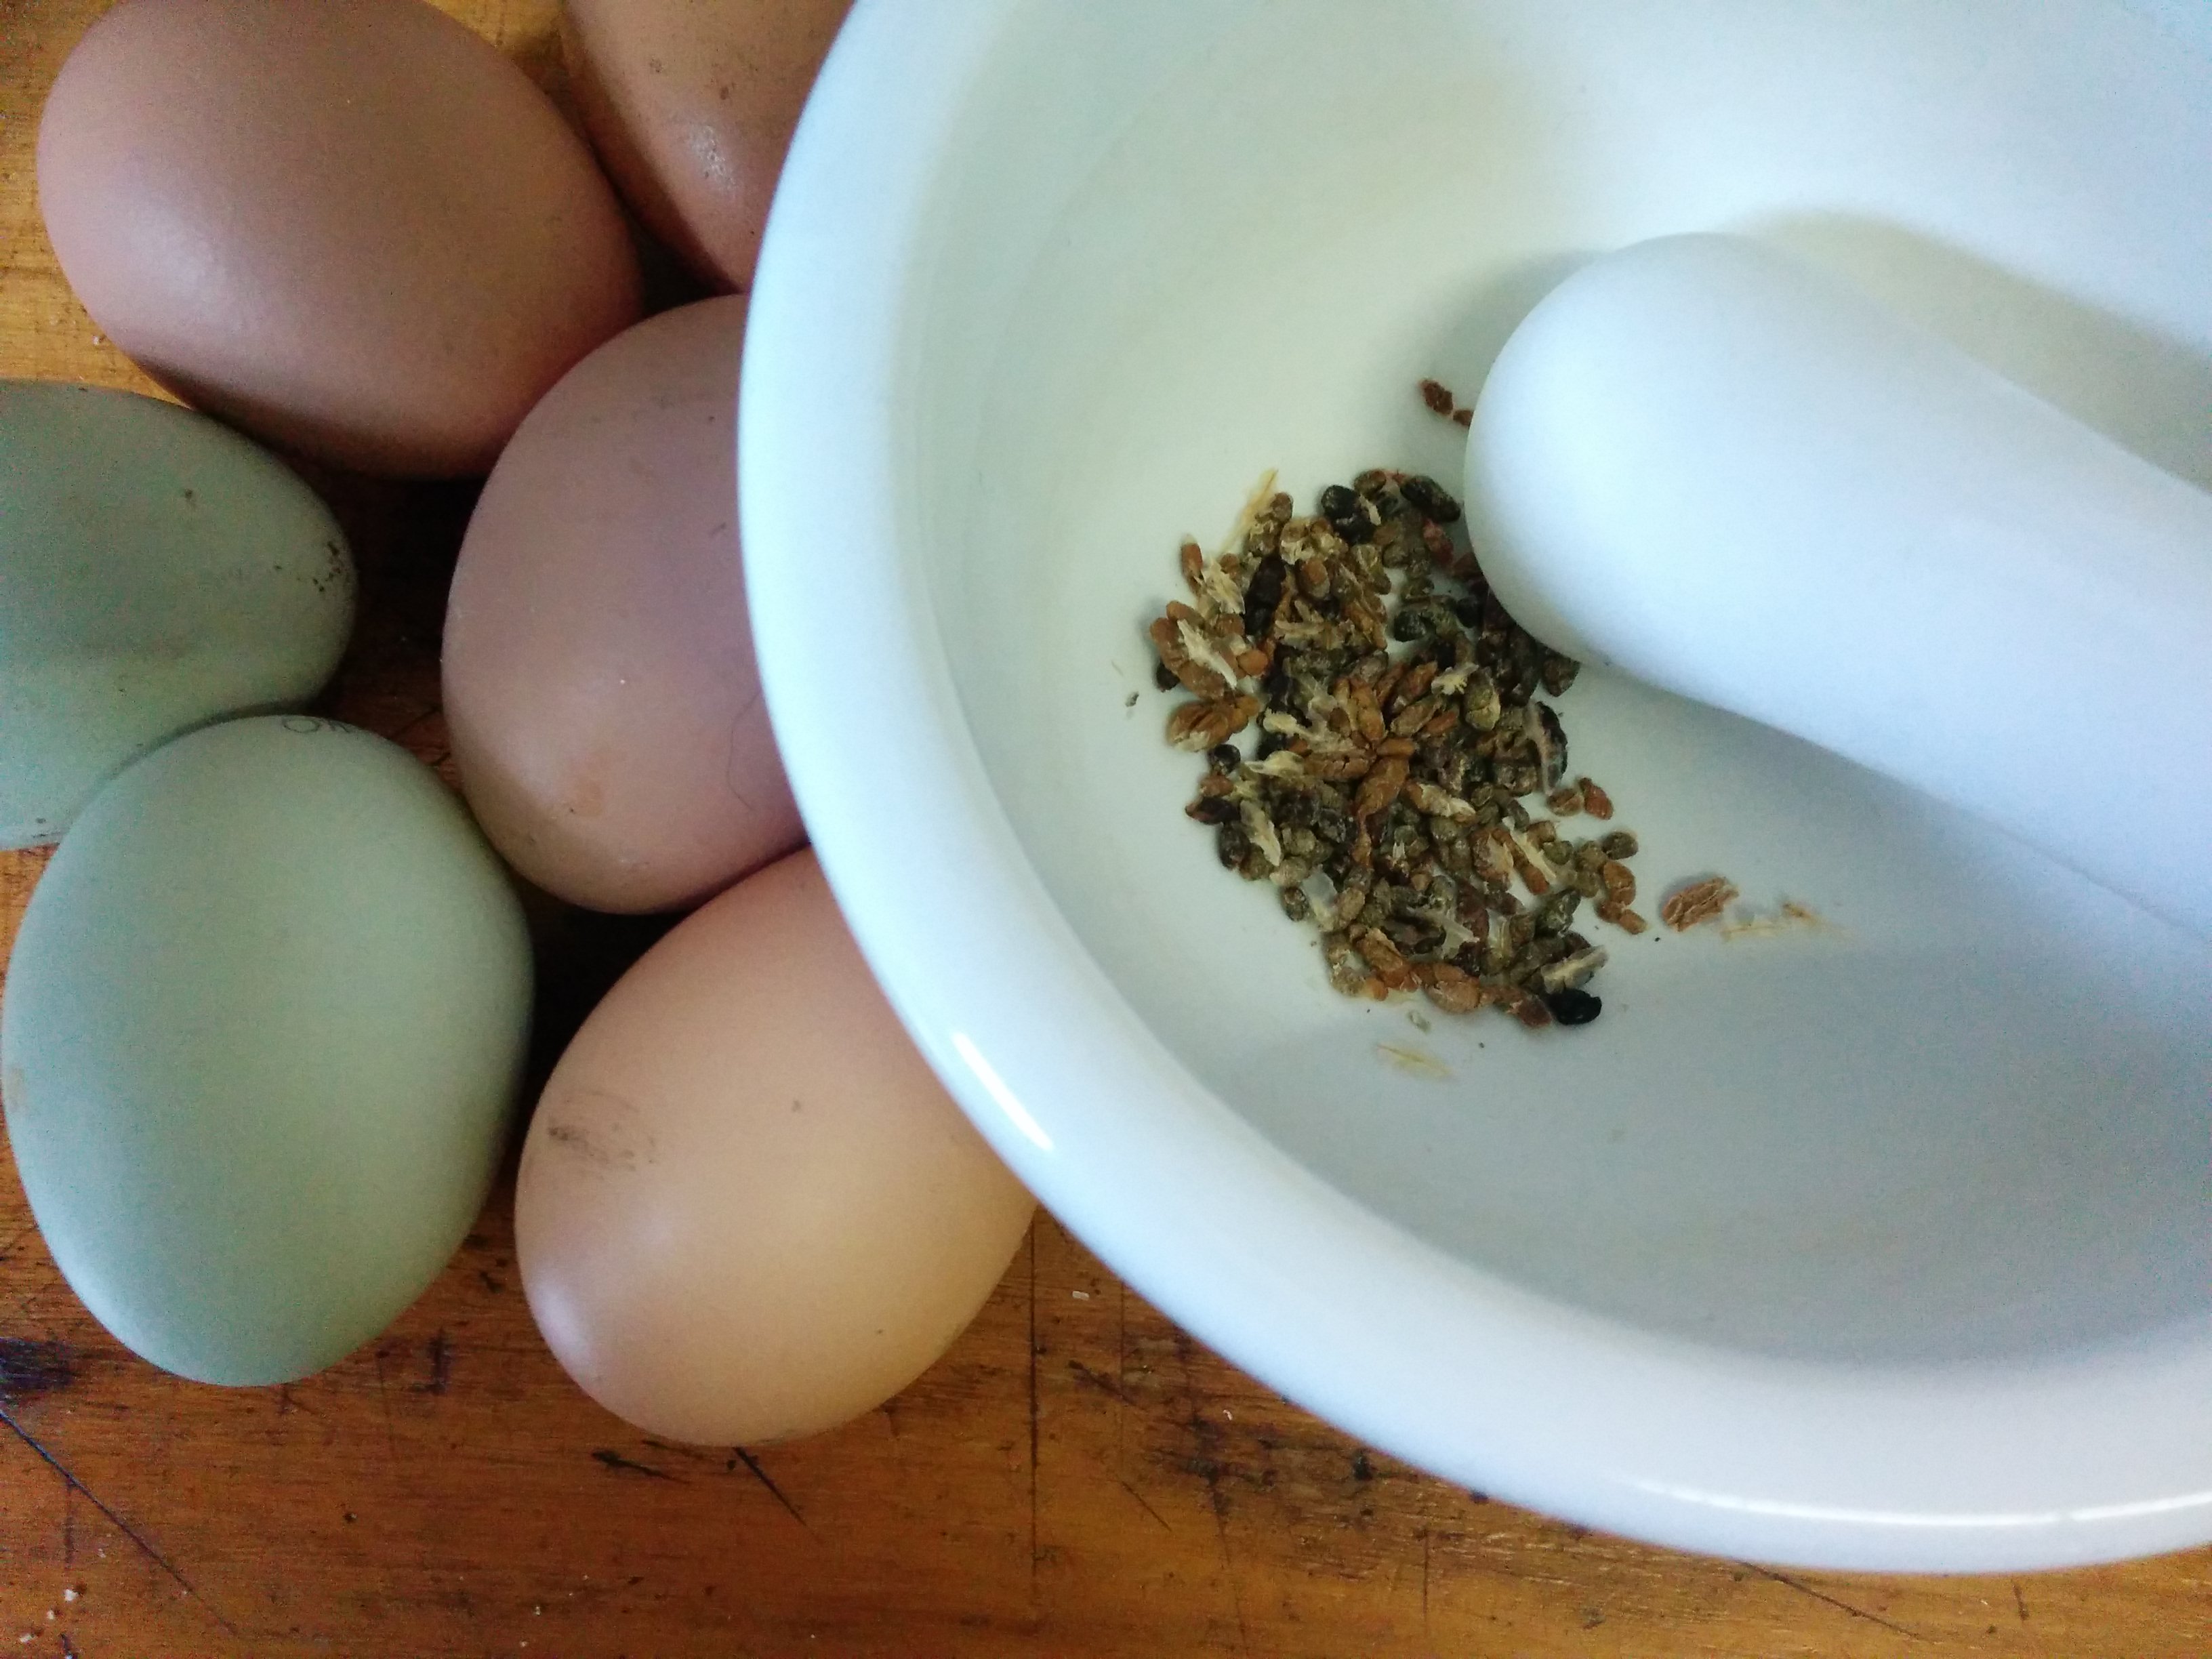
Shungiku – Garland Chrysanthemum just done

A few days before I want to plant them, I take the trays of rolls out and let them harden off under a tree. The final stage is planting the seedlings still in their roll in the garden bed.

With big seeds like corn, beans, peas, pumpkins and zucchini I mark the first roll and loosely pack however many I need in a tray. Then I use a pencil or stick as a dibbler and put the seeds in and cover them. The snow peas and beans in the photograph below will give you some idea of the wonderful root growth and size of the plants.

Ready to go in the ground

Ready to go in the ground

These have been out hardening off since Tuesday and will be in the ground tomorrow 🙂

In the meantime, wherever you are, have a wonderful weekend and take care ❤

Eggs Galore! – Day 5 NaBloPoMo 2015

You might have gathered by now that my household’s been having difficulty keeping up with the incredible egg laying ability of my beautiful girls. This morning I had 26 eggs in the fridge, the oldest ones were only laid six days ago. I date my eggs with a pencil as soon as they come up to the house, something my mother used to do to keep track, and as you can see from the photo below, some of them are quite gigantic!

A dozen free range eggs and an old pickle jar, waiting to get together!

A dozen free range eggs and an old pickle jar, waiting to get together!

So, I decided to make very old fashioned Pickled Eggs. I haven’t had these since I was a child (yes – that long ago!) when my mother used to make them occasionally when we had a glut.

I still have some dried chilies from last year’s crop, so decided to use one in the pickling brew, along with allspice berries and a couple of bay leaves I dried a few years ago from a friend’s tree. The vinegar was mostly home made thanks to a vinegar “mother” my dear friend Sara gave me last year (see yesterday’s post about Sara – she’s pretty wonderful!) and topped up with some shop-bought white vinegar. Older eggs are actually better for hard boiling, as they’re easier to peel, so a few of mine have a few “dents” in them!

IMG_20151105_112000

Old jars are something of a passion of mine and the one I used here has been home to many delicious creations. To sterilise it, I washed it thoroughly in hot soapy water, rinsed it well and put it in the oven (about 120 C) until all the water had evaporated. The lid went in a saucepan of clean water and simmered for 10 minutes. Here’s the recipe:

Pickled Eggs 

Ingredients:

12 hard boiled eggs, peeled          a clean, sterilised pickle jar and lid           approximately 4 cups of vinegar

1 dried chili                 2 bay leaves                4 or 5 allspice berries       1 teaspoon sugar          a pinch of salt

Method:

Start by boiling the eggs for 8-10 minutes (you want them really hard for this). Once they’re cooked, plunge into cold water and tap each to stop them cooking any further. Put the clean, wet jar in a low oven to sterilise. In a saucepan, heat the vinegar, stir in the sugar and salt until dissolved with a wooden spoon. Add the allspice, chili and bay leaves and cover, reducing the heat. Simmer for about ten minutes. While it’s simmering, peel the eggs carefully, wash them in cold water to remove any tiny pieces of eggshell and put aside in a bowl.

Check the jar, if the water is completely evaporated it’s ready to use. Carefully remove it from the oven and put it on a board, preferably on the stove top next to the simmering pickle (this reduces the risk of spills and accidents). Take the sterilised lid out of the water with tongs and put it on the board to cool. Put the wooden spoon in the jar and roll the eggs in gently. Then, very carefully and slowly pour the hot vinegar and spices over the spoon and make sure the eggs are covered. Put the lid on firmly to create a seal and leave to cool. Label and date your jar and put them in a dark cupboard. They should be ready in 4-6 weeks – I’ll be trying mine on my birthday – and they will keep for up to a year.

The finished Pickled Eggs

The finished Pickled Eggs

What pickles do you love to make? Let me know in the comments 🙂 

Baked Cheesecake – Day 3 NaBloPoMo 2015

Henrietta, Queen of the Chicken Coop

Henrietta, Queen of the Chicken Coop

My six gorgeous girls are working overtime at the moment and I’ve got a glut of eggs. I give them away to family but even so, they keep on laying. It probably has something to do with all the weeds I’ve been pulling out of the garden these past few weeks, which are full of delicious insects and worms!

So, even though I should be studying, with so many eggs on hand I thought I’d make a cheesecake with a twist.

Cardamon seeds, ready to grind - and six of the best from my chickens

Cardamon seeds, ready to grind – and six of the best from my chickens

I love the aroma and taste of cardamon in both savoury and sweet dishes, and it works superbly with citrus. Not having any oranges in the house, I got creative and put four tablespoons of lemon juice and about a quarter of a teaspoon of Orange Blossom Water, a delicious by product of orange oil distillation. It’s a powerful aroma and a common ingredient in desserts from North Africa and the Middle East to Malta, France and Spain. Like Rose Water, use it sparingly!

Cheesecake ready for baking

Cheesecake ready for baking

Orange Blossom & Cardamon Cheesecake (8-10 generous serves)

Ingredients:

1 prepared biscuit base (for a 28-30cm spring form pan)

6 large eggs                       3/4 cup of sugar                        500g cream cheese (at room temperature)

1 tab crushed cardamon seeds     1/4 teaspoon Orange Blossom Water (or more to taste)      4 tabs lemon juice

Method:

Break the 6 eggs carefully into a blender jar, add the sugar and cover. Pulse until the eggs are frothy and the sugar is combined. Spoon the softened cream cheese in, cover and blend until smooth. Add the crushed cardamon seeds (I do mine by hand, shelling seed from whole pods and grinding in a mortar and pestle – the flavour is much better!), the Orange Blossom Water and lemon juice. Blend this on a low setting until combined.

Pour this luscious mix into the base and bake at 150 C for approximately 45 minutes. I usually leave my cheesecakes to cool in the oven before refrigerating them. You could put sliced fresh strawberries or apricot on top – they go very well with Orange Blossom Water – or leave it perfectly plain. Either way, this is a delicious twist on an old favourite and I hope you enjoy it as much as my family and I did 🙂

The finished cheesecake, with tiny flecks of ground cardamon visible

The finished cheesecake, with tiny flecks of ground cardamon visible

What are your tips for using excess eggs? Please leave a comment below!


The Joy of Work – Day 2 NaBloPoMo 2015

I’m a professional musician, writer and educator. My working week is made up of private students plus contract music and teaching roles. In between I have gigs and time to pursue and improve my own arts practice. Add to that, maintaining what amounts to an urban farm in the backyard plus part-time online study through Griffith University, and every week is pretty full.

I consider myself very, very lucky. The garden produces fresh vegetables year round, a good deal of fruit and some meat from our breeding rabbits, plus fresh eggs for approximately ten months of the year. Study enriches me in completely different ways and has provided me with different ways of looking at the world and my place in it, and then there’s music.

Music is my therapy and a major source of fun in my life – it always has been. And I’m lucky enough to be able to make money out of it.

My main work contracts are currently with Oak Tasmania, an organisation that provides support and services to people with disabilities. Every Monday I get paid to be a human jukebox and play all different kinds of music for a truly beautiful and diverse group of people. I enjoy it so much that I usually turn up an hour early and eat lunch with them before we start. In fact, I sometimes feel like I’m taking money under false pretenses – the clients have become friends and we enjoy each others’ company immensely.

Today I arrived as usual and started preparing my lunch, when one of my dear friends presented me with this beautiful little bouquet of home-grown roses because she appreciates me and what I do for her. I was so touched by the gesture I nearly cried.

My work is also my joy.

The roses are now in a vase, taking pride of place in my lounge room 😀

Roses from a friend

What are your work stories? Do you find joy in what you do? Please leave your story in the comments! 


UNLOCKED – Day 1 NaBloPoMo

So, here in the southern hemisphere it’s the evening of November 1st. Welcome to NaBloPoMo where the challenge is to write a blog post every day of this month.

I’ve just got home from an afternoon gig at The Yard at The Brunswick Hotel in central Hobart and it was really great fun. I caught up with old friends and met some new ones – and the music was great! UNLOCKED is run by Meraki Management and the brain-child of Amy Fogarty, who is something of a force of nature.

Cassie at UNLOCKEDMy friend and former student, Cassie O’Keefe (above) was also on the bill and really nailed it with her set! We had dinner after (the food is really good, by the way) and Cassie and I are looking forward to our next gig at The Homestead, Thursday 19th November.

From my point of view, it was really heartening to see so many young musicians at today’s gig who are just starting out. It invigorates those of us who’ve been around the traps for a while and enables musicians embarking on their careers to rub shoulders with folks who’ve got some experience. There’s always something new to learn – no matter how long you’ve been doing this!

See you all tomorrow, where I’ll probably talk about some gardening things – my other great passion 🙂

Now it’s your turn…. What are your great moments as a mentor or mentoree? Leave your stories in the comments! 

The Blog Challenge – NaBloPoMo 2015

Hi everyone,

It’s coming towards the end of the year (where did the last twelve months go?) and that means we’re getting close to National Blog Posting Month – NaBloPoMo.

The challenge is to write a blog post every day for the month of November and it’s really quite challenging to keep it fresh and interesting – from a writing perspective as much as for the audience. I’ve done it once before, two years ago. I had no home internet connection and did the whole thing from my mobile phone. If I can do that, this year is going to be easy 😉

If you’re inclined to challenge yourself writing-wise, click on the badge in the sidebar and get involved. It’s really a lot of fun and I personally found it a great learning experience.

Take care wherever you are ❤

Next Newer Entries