New Traditions – Day 3 NaBloPoMo 2016

I’m writing to you with the smell of new bread baking in the kitchen. It’s one of those things that spells “home” to me though my family weren’t into yeast-based cookery when I was a kid. We had bunches of dried herbs, cured meats and always pickled onions. I also remember the rows of Fowlers Vacola preserving jars (the Australian equivalent of Ball Mason canning jars) full of bottled fruit that my parents would put by every summer so we could eat apricots and peaches in the middle of winter.

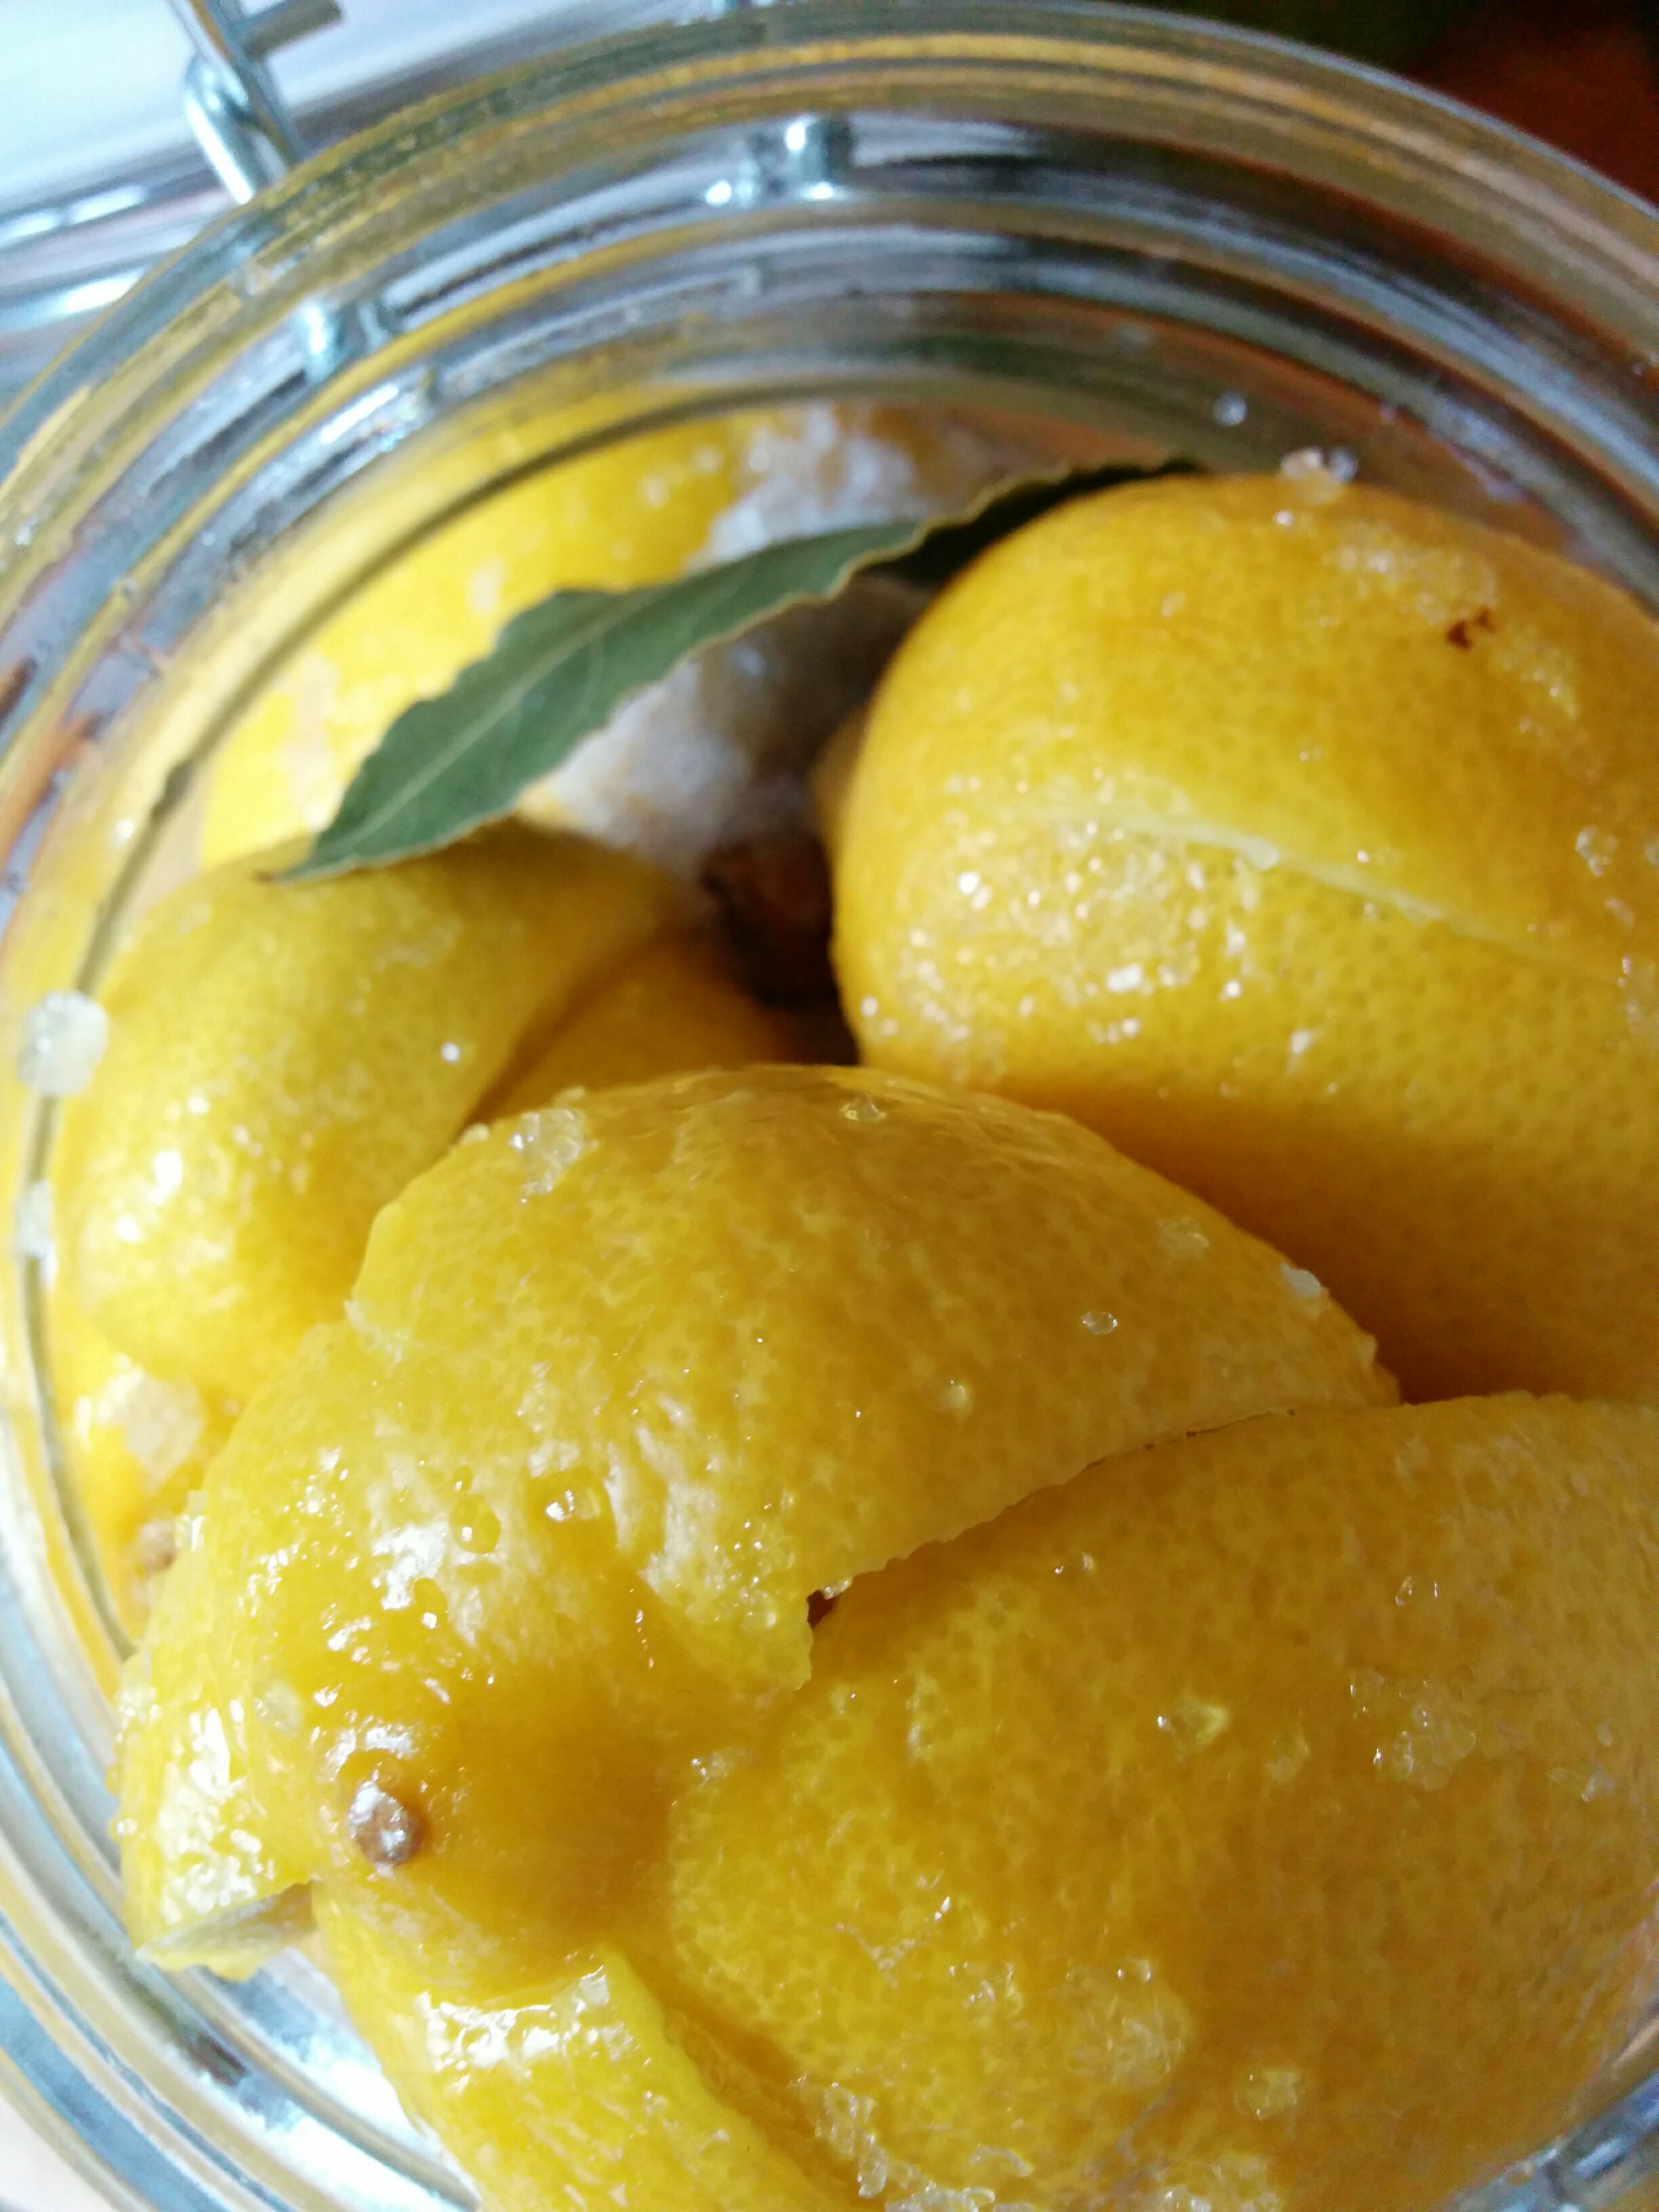
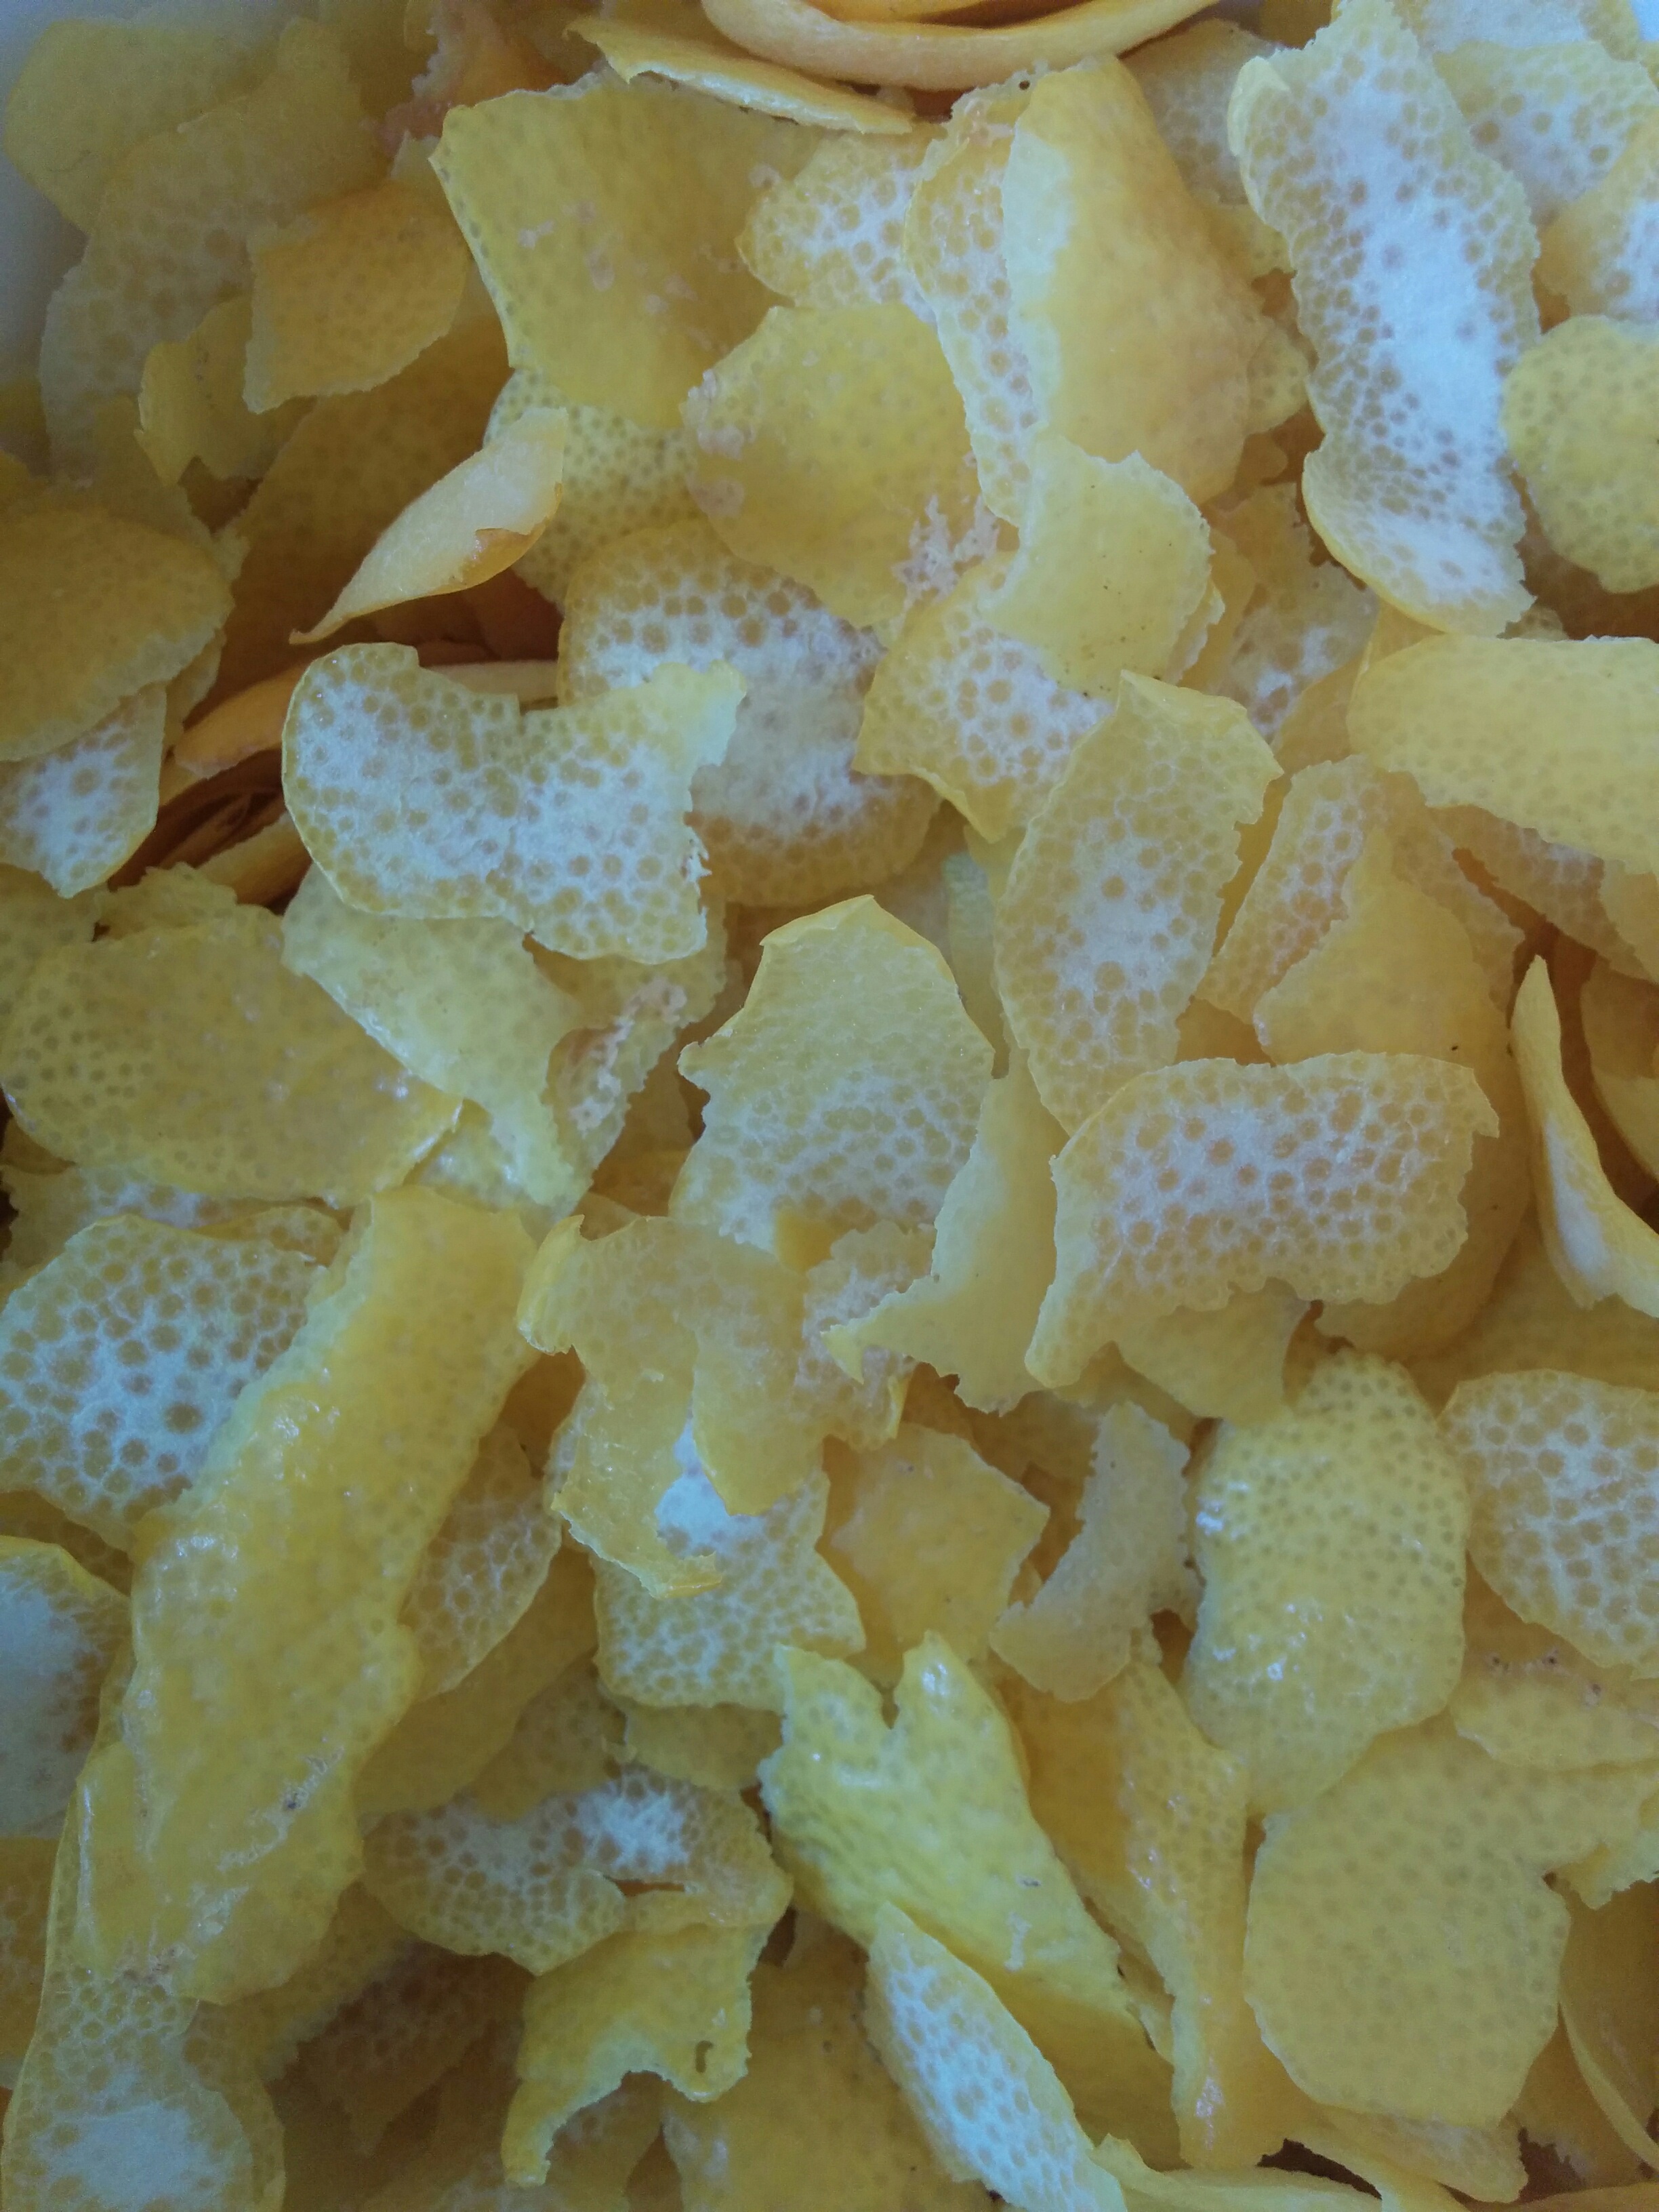
I still put food by, it’s a deeply ingrained habit that I doubt I’ll ever fall out of love with. Instead of bunches of herbs hanging (and the luxury of a walk in pantry) I have new traditions – a dehydrator, a set of tall stockpots and a thermometer for water bath processing and a ragtag assortment of jars that I routinely wash, sterilise, fill, process, store and use.

My “pantry” is a bookshelf with a curtain to cut out the light and here I keep my preserved cordials, bottled and dried fruit, basil and lemon oils, homemade apple cider vinegar, bread flour and spare egg cartons. At the moment it’s mostly empty jars. There’s no bottled fruit left, one lonely roll of fruit leather from last summer, some pickled and dried chilies from the autumn harvest and a few bottles of sauce, fruit cordial, basil oil and flavoured vinegar.

img_20161103_113911

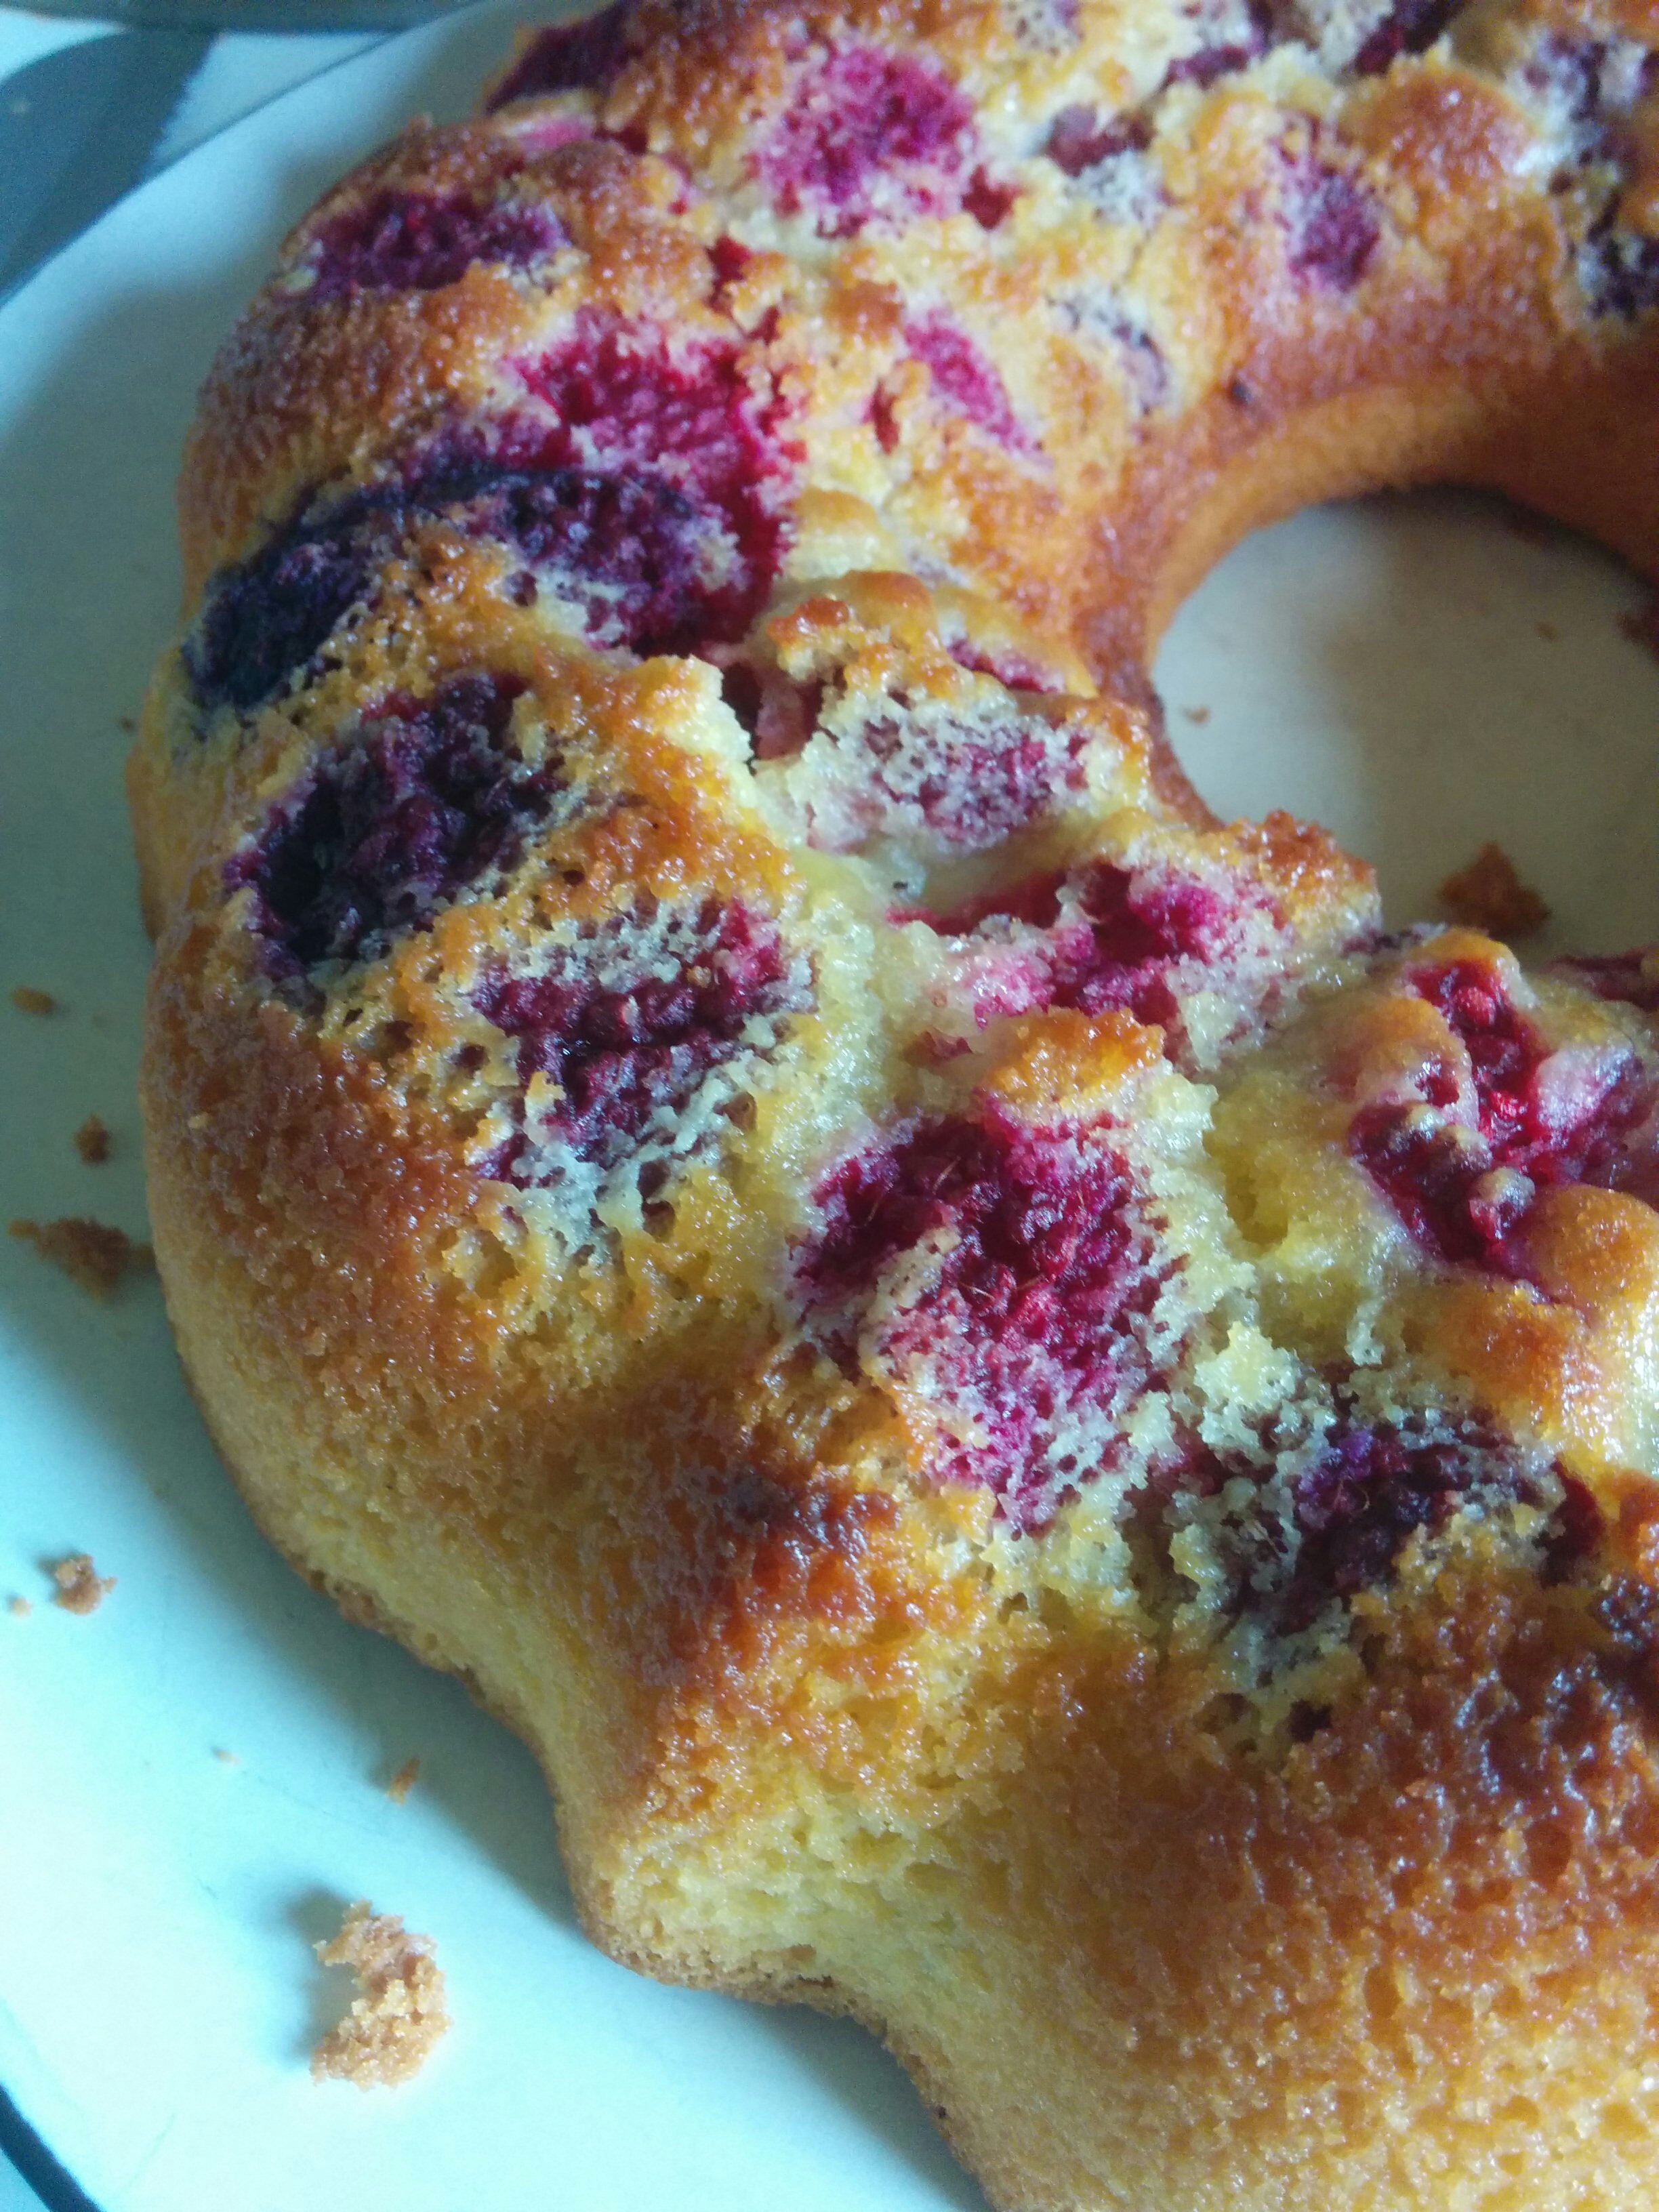
To this day, I’m not sure why we never made bread when I was a child. I suspect with six of us in the house when I was young, it would’ve been much easier and less time consuming to buy bread than make it! My mother was a wonderful baker and I learned many delicious cake and biscuit recipes from her. Every Saturday was baking day and after lunch, the kitchen table would be cleared to make enough biscuits and small cakes for the coming week. In winter there would also be a few dozen Cornish pasties that would end up reheated as lunches, a savoury Pasty Pie and at least one large cake for the weekend and any visitors that might call in.

For those of you who’ve followed my blog for a while, I have a “pet” sourdough plant I named Wee Beastie. She lives on a shelf in the kitchen, where she watches everything that goes on and demands feeding daily. I started her off on new year’s day 2015 so she’s approaching her 2nd birthday.

Wee Beastie - watching and waiting!

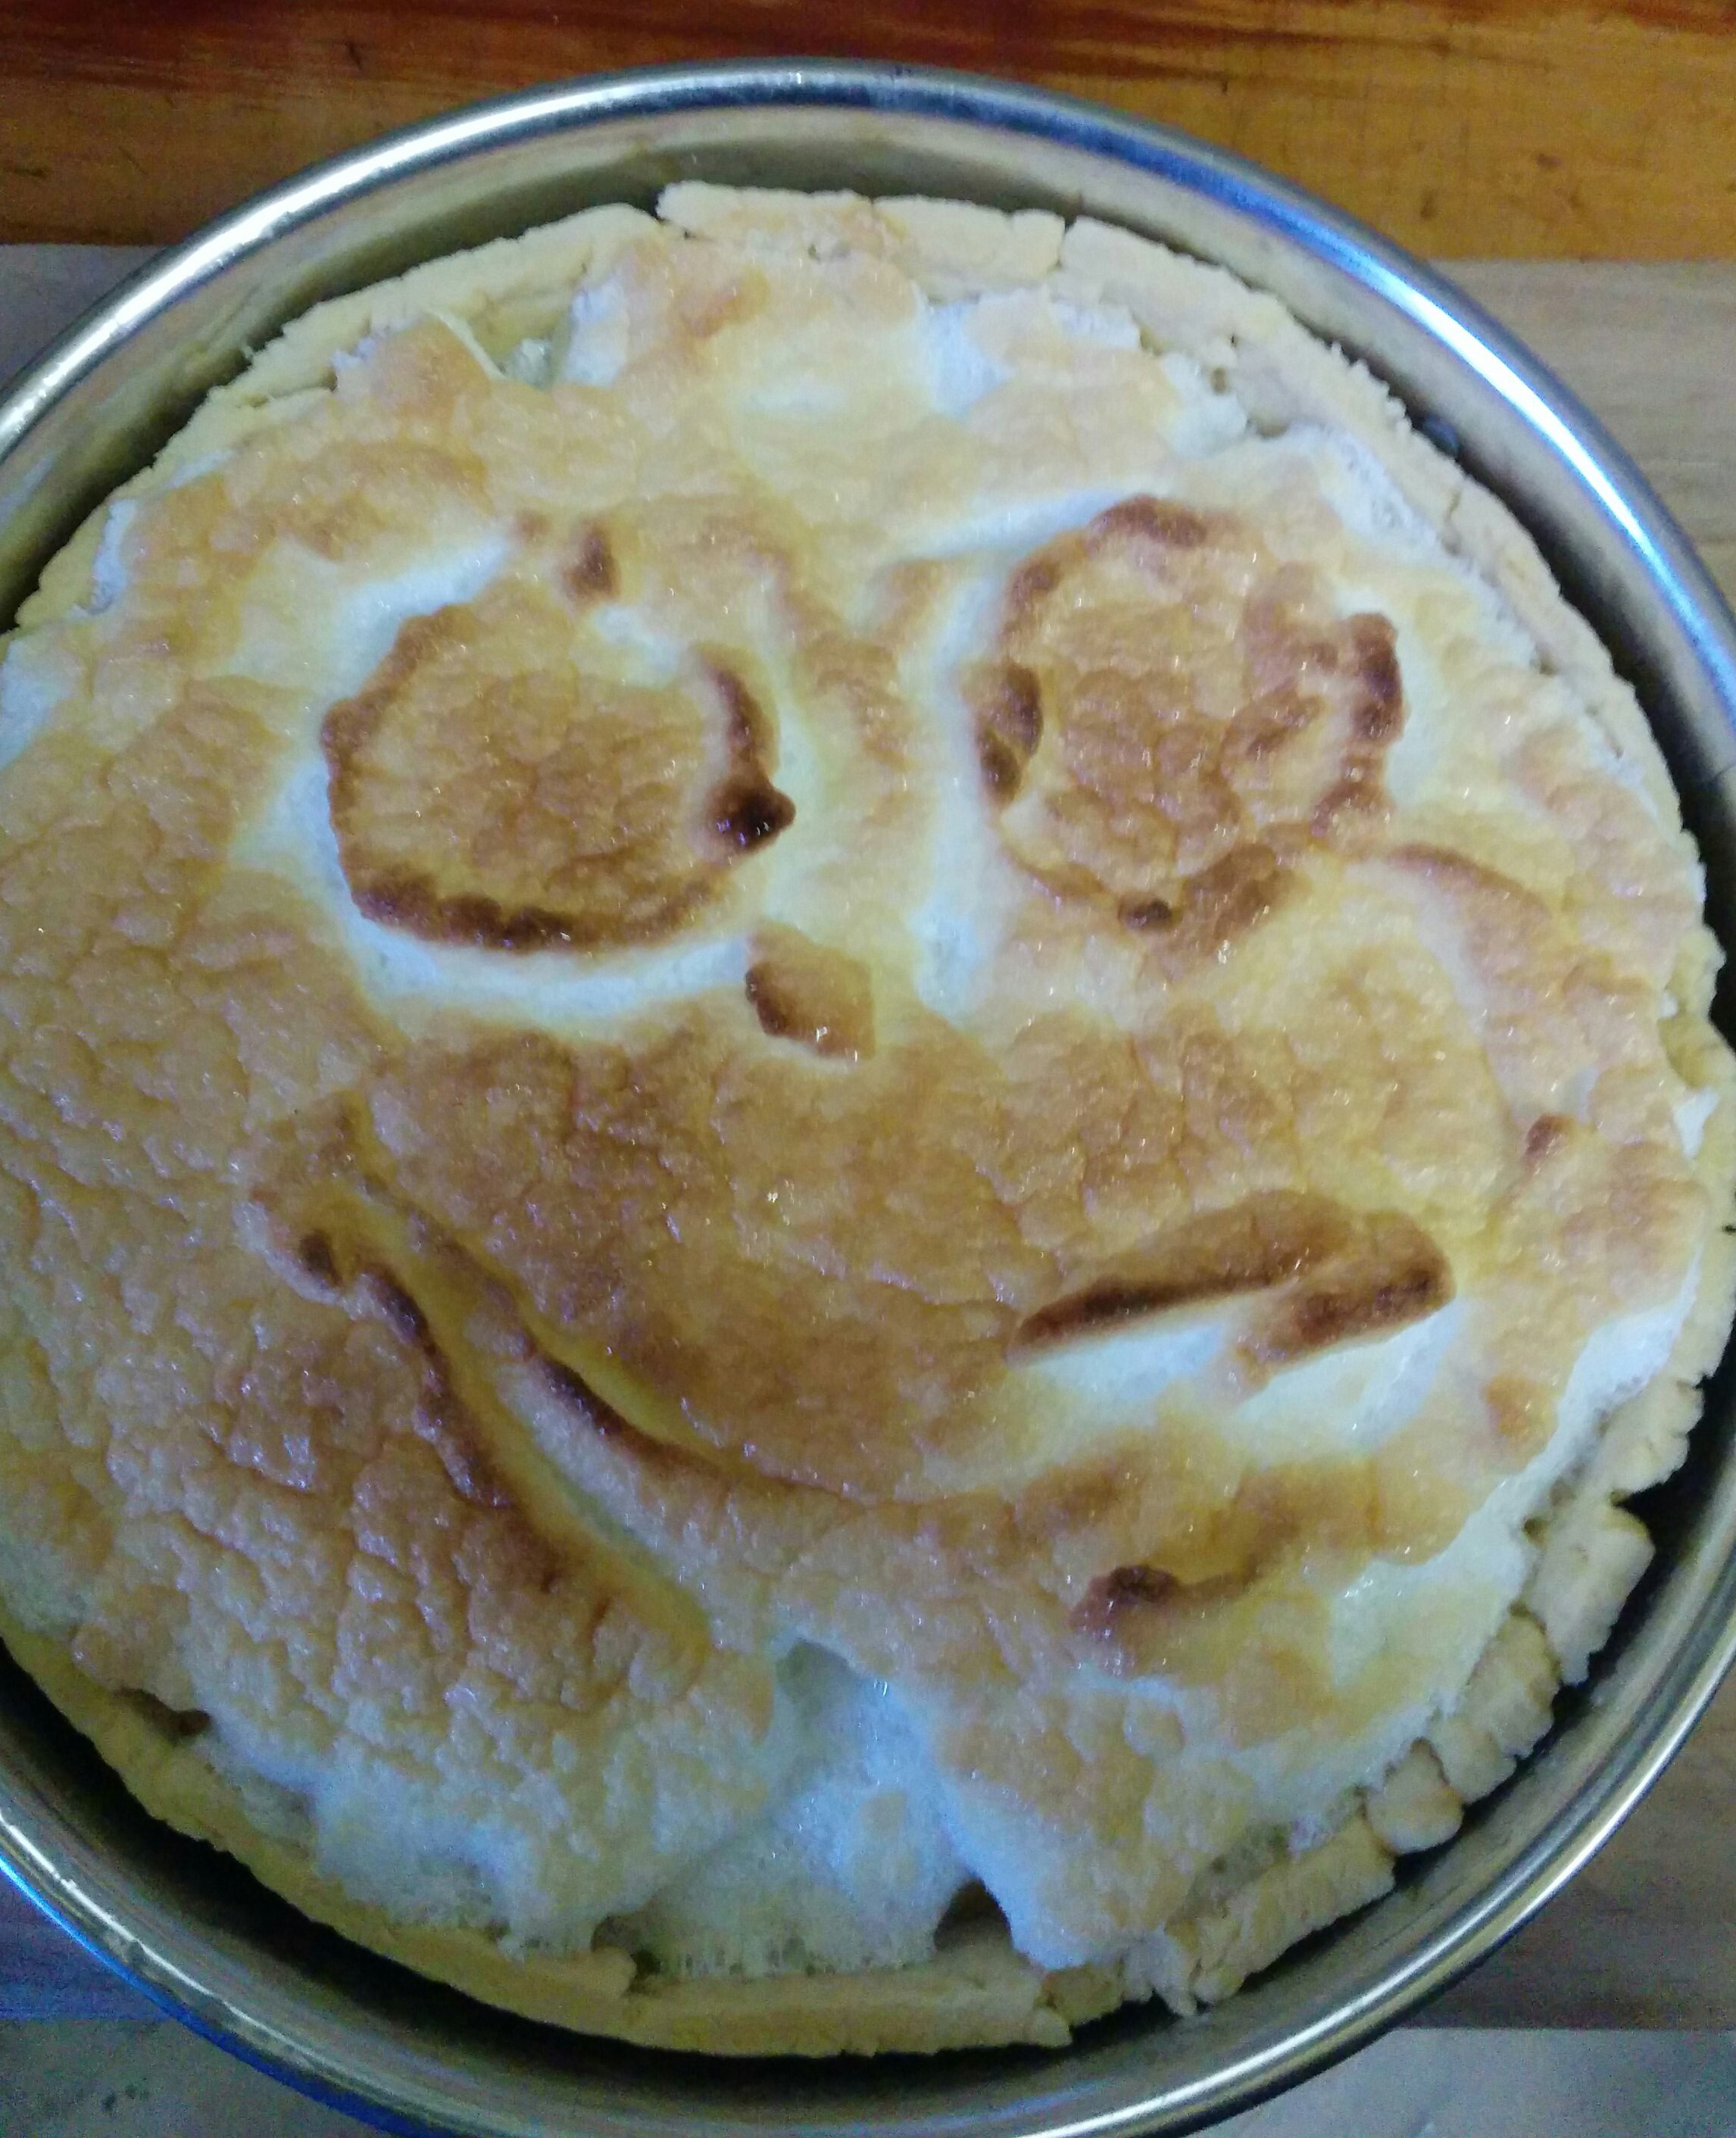
Wee Beastie – note the air bubbles visible through the glass jar!

This living culture requires no other yeast and is a wonderfully frothy mix. My basic recipe is roughly 2 cups of Wee Beastie, 2 cups of strong bread flour, 2 teaspoons of bread improver and some olive oil to stop the dough getting too sticky. Sometimes I add half a cup of rye flour and add a couple of tablespoons of water so the dough is fairly soft. Once this is knocked together in a bowl I turn it out onto my wooden bench and knead it thoroughly for about 5 minutes. Then I make it into a loaf shape, coat my hands in olive oil (about a tablespoon) and massage the oil into the loaf, putting it in a bread pan to prove.

I’m essentially lazy, so it only gets one chance to rise. Normally, I knock the loaf together in the afternoon, leave the dough to rise overnight and bake it the following morning. The results of this slow process are pretty spectacular and incredibly delicious!

img_20161103_114202

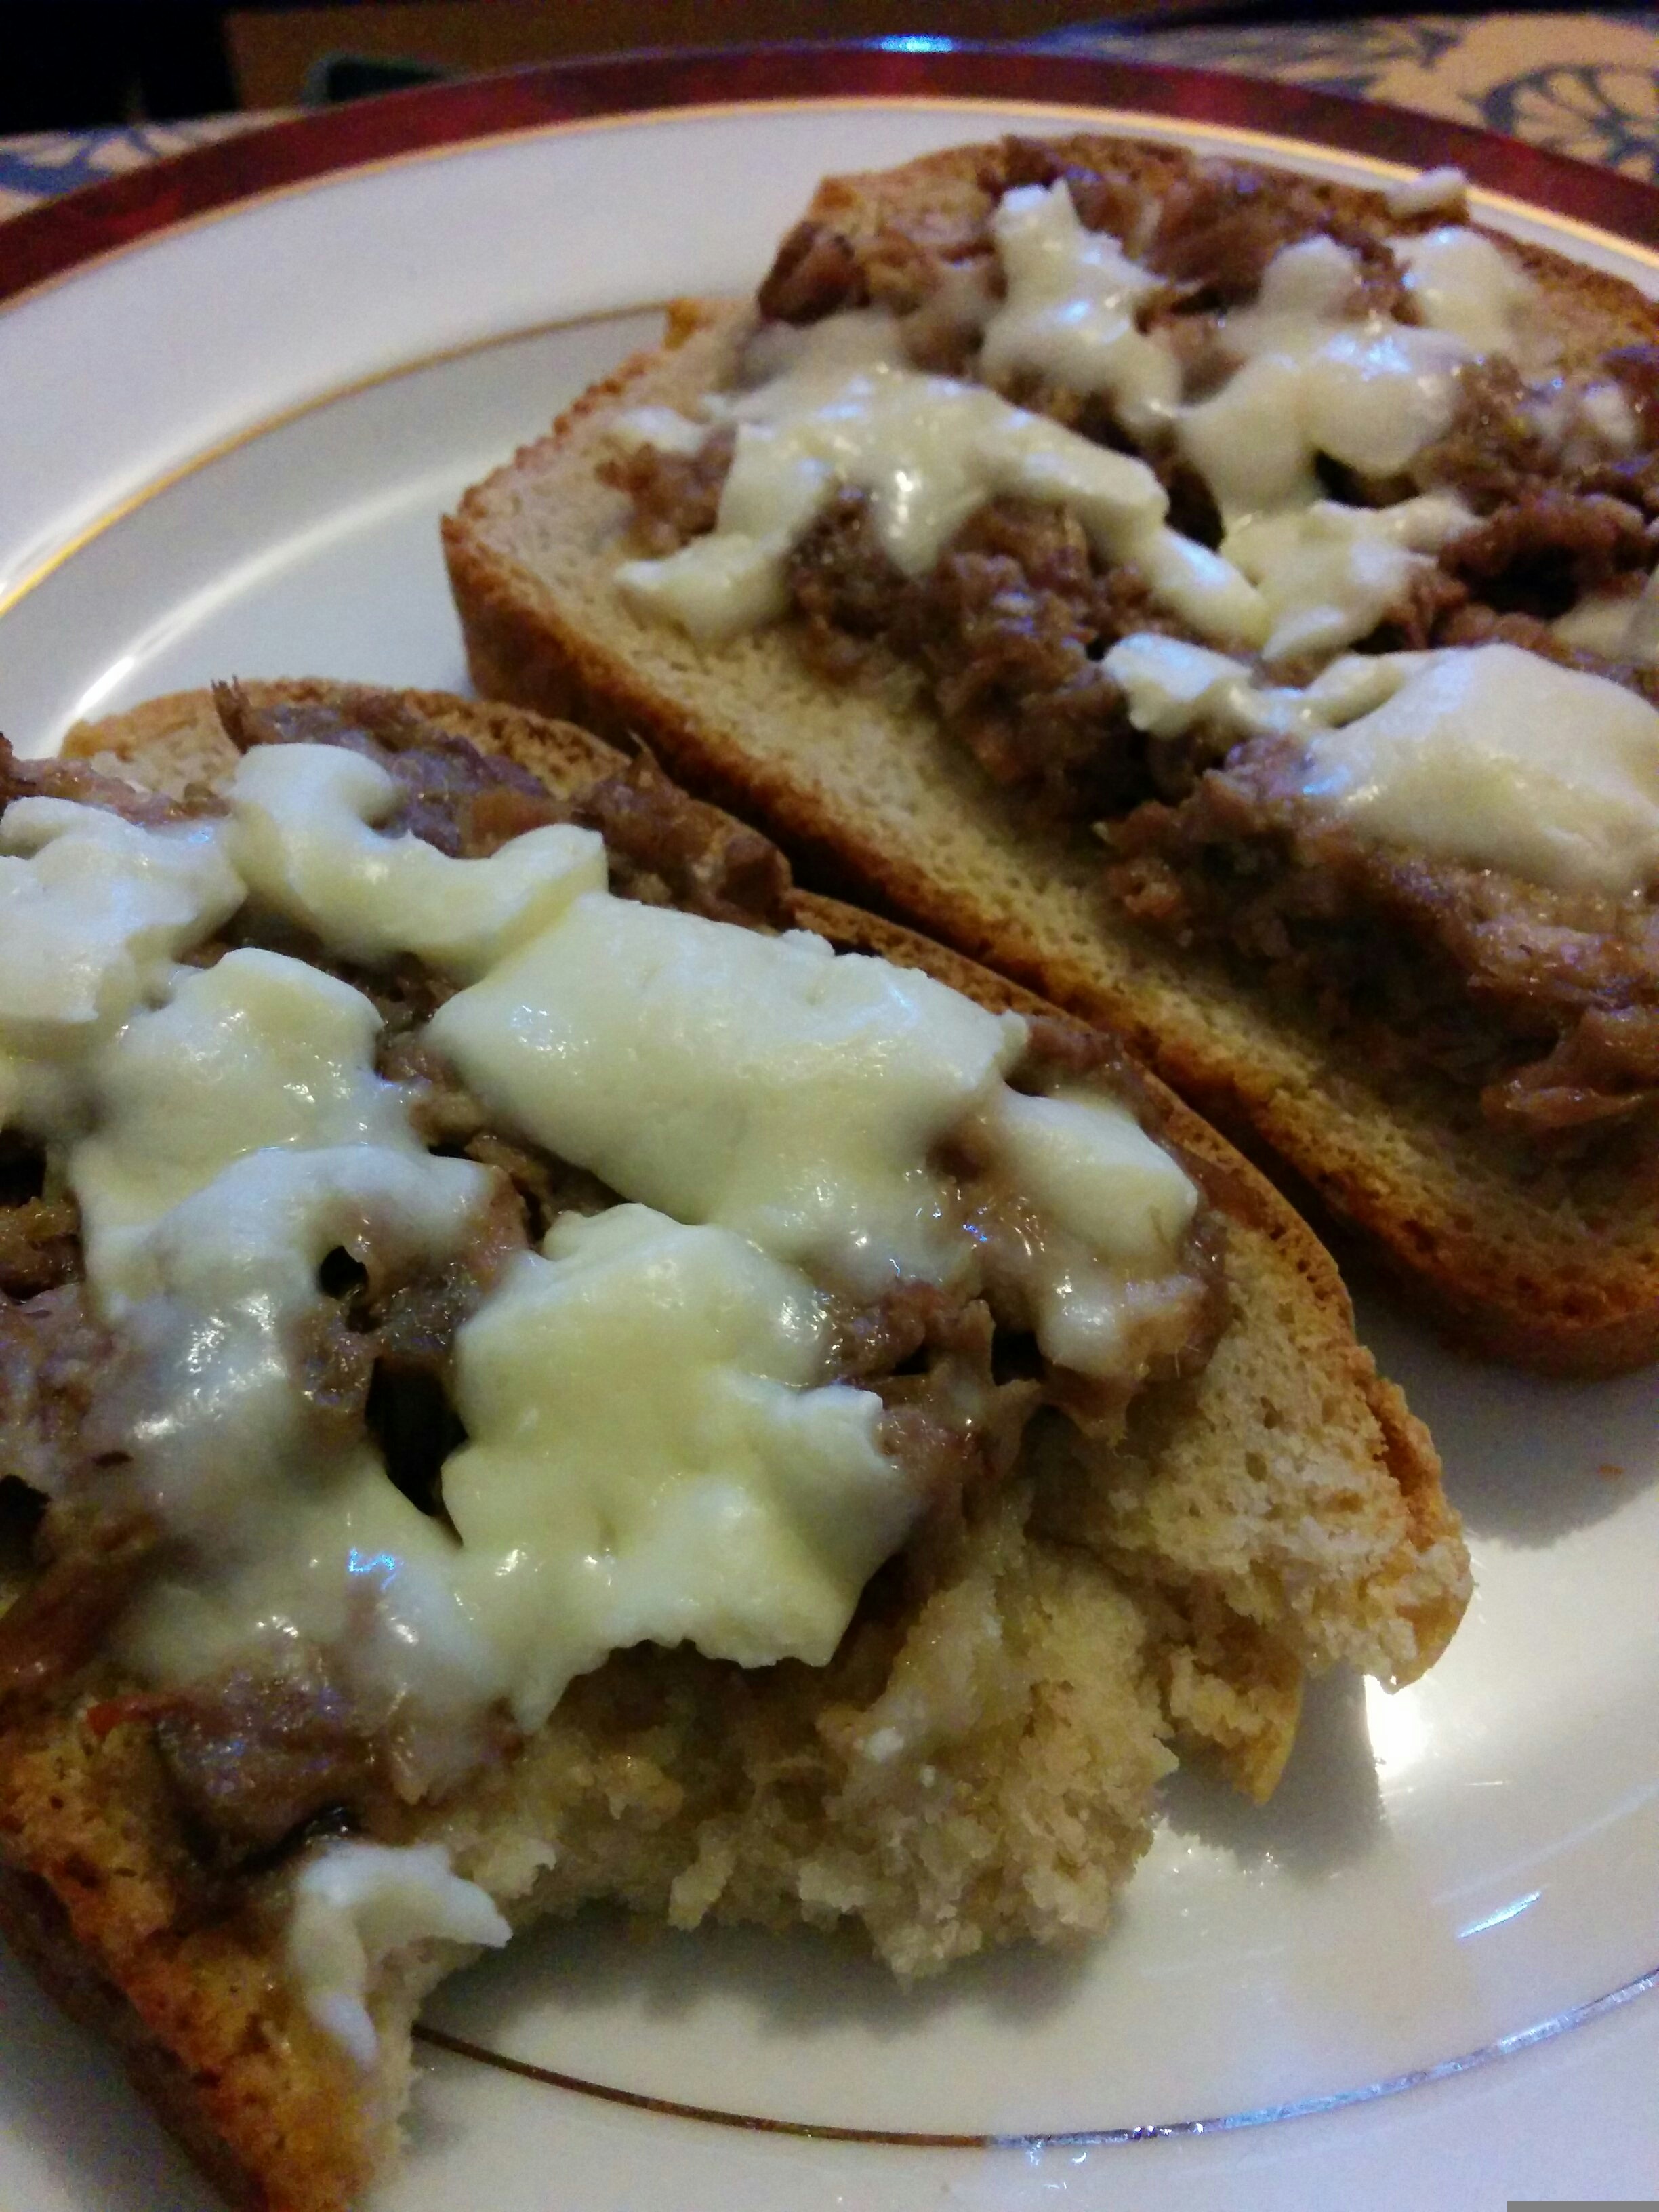
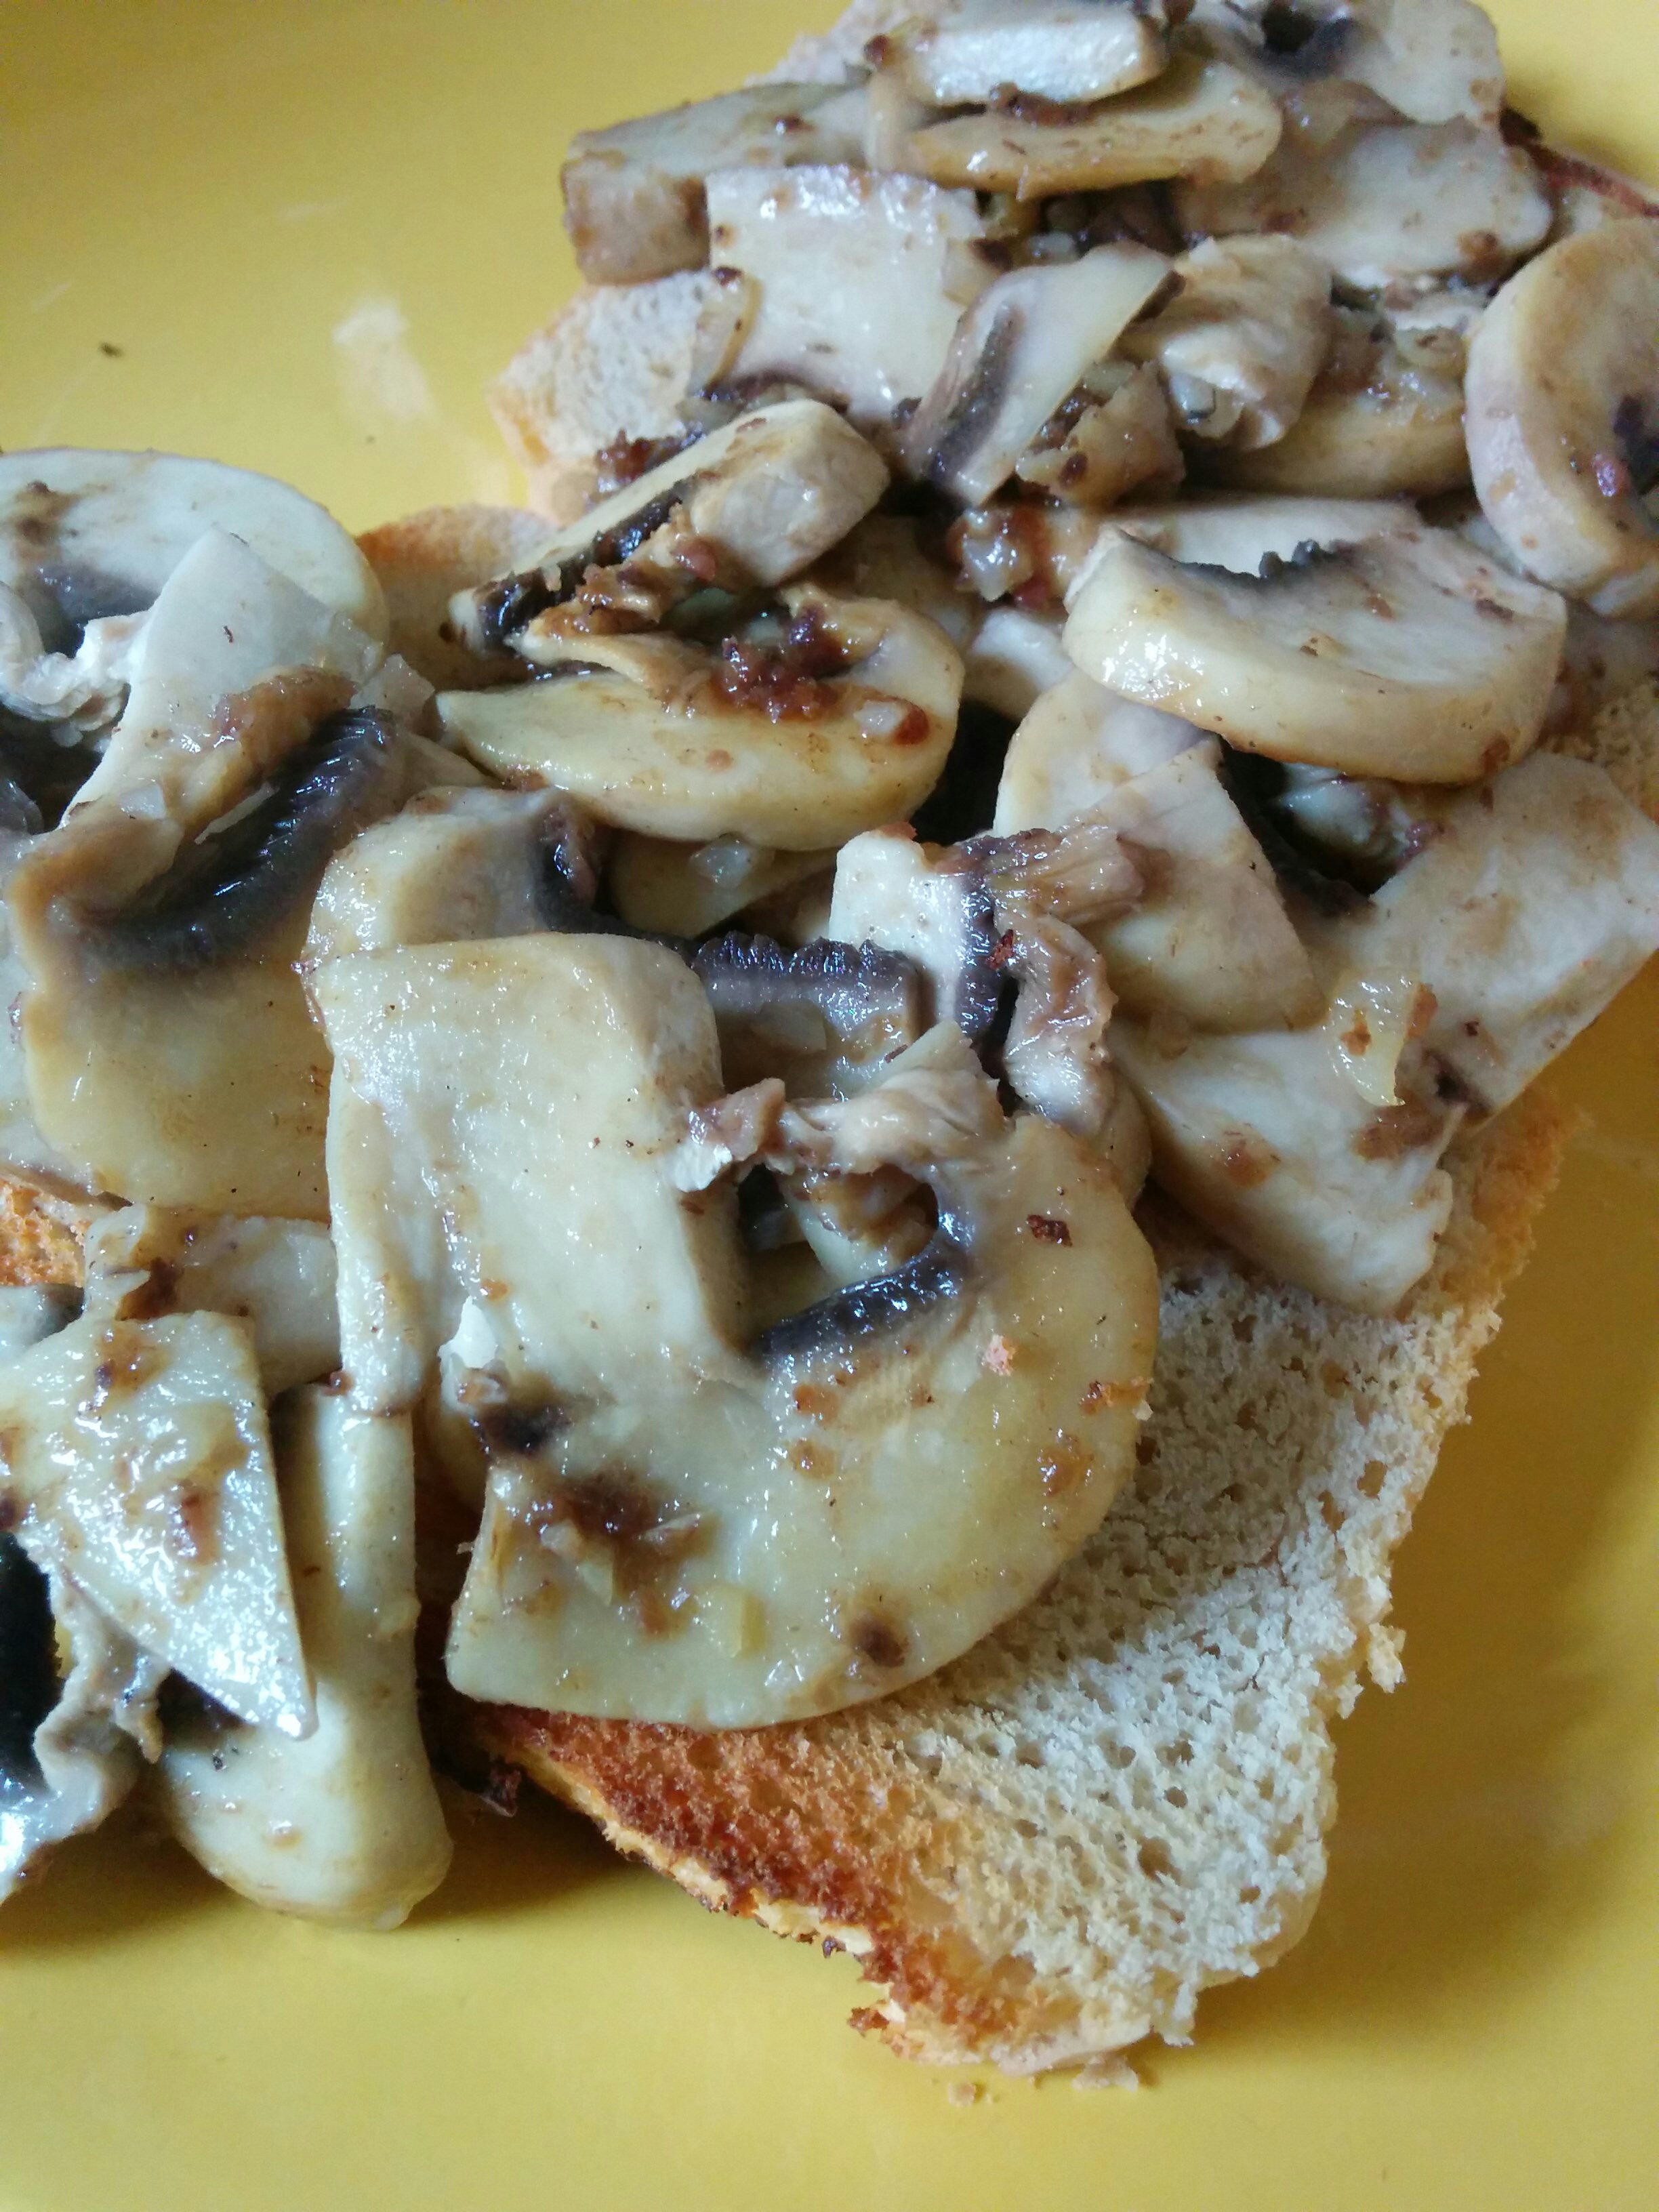
Even when it’s a few days old, this bread makes the best toast, perfect with a poached egg  ❤ I’ve even sliced it very thin and toasted it for an alternative to bought crispbread.

Meanwhile, I have to go. There’s an essay to write and (in the name of science) fresh bread to taste test 😉


Smoke and Lemons

I’ve had a stomach bug since the weekend and today was the first time I felt safe to move more than a few steps away from the bathroom. I haven’t done any gardening since Saturday afternoon and had to cancel a gig on Sunday, which I hate doing. But I’m definitely on the mend, as I got into “making mode” this afternoon. Most of Tasmania has been wreathed in smoke for the last few days and that in itself makes me a little restless.

As I write, it’s hazy in Hobart and there’s a distinct smell of bush smoke through the open window. There are at present, approximately 80 fires burning across Tasmania, mostly started by lightning strikes last week on the less populated west coast. Nevertheless, this afternoon, it spread up into the north west, putting property, livestock and potentially lives at risk. My thoughts and best wishes go out, not only to friends who live in the areas affected, but also to state fire services, who are pretty much at their limit right now.

Yesterday, my lovely neighbour traded a box of lemons from her boss for a dozen of my eggs – I love bartering! After moping around the house yesterday, I decided to get creating some healthy lemon-based goodies that wouldn’t be too harsh on my tender tummy right now and pickles that will be ready in the months ahead.

First, I decided I needed the sweet, comforting tang of old fashioned Lemon Curd, something I haven’t made in years. This versatile cream doesn’t keep very long but I understand it freezes quite well so I’ve got half (about 250 ml) in a plastic container, ready to freeze. The recipe is very simple.


IMG_20160119_161333

Old Fashioned Lemon Curd (Makes approximately 500 ml)

Ingredients:

zest of 4 lemons    3/4 cup lemon juice     3/4 cup white sugar   4 fresh eggs     125g butter, cubed

Method:

In a heat proof bowl, whisk the eggs and sugar over a simmering pot of water. When the sugar is dissolved, add the lemon zest, juice and continue whisking until the mixture becomes creamy. Add the cubed butter and continue mixing until it’s thoroughly absorbed.

This tangy delight is wonderful as a base for lemon mousse, spread over a pie base for simple lemon tart, mixed with whipped cream and a little home made yogurt for Lemon Fool or just used as spread on toast. Tonight, I’m having it on pancakes as a treat.

The other thing I made was another jar of Pickled Lemons. I don’t think you can ever have too many jars or variations of this most wonderful condiment. For this batch I reverted back to my old recipe I’ve been making for nearly 30 years. Measurements are fairly arbitrary – it depends on how big a jar you’ve got handy and how many lemons you want (or need) to pickle! Also, experiment with adding different spices throughout the jar. I particularly like bay leaves and chillies – something I’ve got plenty of at the moment.

IMG_20160119_163601

Deb’s Pickled Lemons 

Ingredients:

Lemons    preserving salt   Optional spices – bay leaves, chillies, cinnamon quills, mustard seed

Method:

Start with a scrupulously clean jar, preferably a sterilised preserving jar. I used one with a swing top lid and a good rubber seal. Put a tablespoon of salt in the bottom of the jar and a little of the spices and put it to one side while preparing the lemons.

Wash the lemons in plain hot water and remove any diseased fruit, stem pieces and cut out any blemishes that might spoil the finished pickles. With a sharp paring knife carefully quarter each lemon almost to the base. (See the photo above). I recommend cutting them over a bowl to catch any juice that can be poured over the finished pickle.

Put a generous spoon of salt into each cut. Again, do this over the bowl, it can get a bit messy!

Now, put the salted lemons into the jar, layering with more salt and any spices you want to use. In this jar I used a cinnamon quill broken into pieces, a few bay leaves and two fresh cayenne chillies that I poked a few holes in to let the lemon juice and salt in. Use a wooden spoon (even the handle) to really cram the lemons in and release their juice. This, combined with the salt preserves the fruit. Close the lid and leave the jar on a shelf for a month, shaking it every day.

Use a little as a condiment with curries, chopped up very fine in marinades or stuffing and in recipes such as Lemon Chicken.

IMG_20160119_165123


More Lemons!

Things have been really busy around here!

Besides the constants of plants to water and harvest in summer, there’s animals to care for and ensure they’re protected from the heat of the day and ongoing development work in the garden. And then there’s the excess – mostly eggs, raspberries and basil at this house – and what to do with them. Lots of quiche, raspberry cheesecake, cordial, basil oil and pesto for the freezer at the moment. On top of that I’ve been writing a short story for my latest university unit (yes, Griffith Uni Online know no summer holidays!) which has been really quite demanding.

IMG_20160104_143007

Just when I thought it was safe to go back to the kitchen, I caught up with my friend Sara last week and she gave me a bag full of lemons. I was able to trade a bottle of Raspberry Vinegar Cordial, which has been threatening to take over my pantry cupboards!

Well, I had a think about what works in my household. We’re not jam or marmalade eaters but dried fruit, cordials and syrups for drinks and ice cream are very popular. So I spent the afternoon peeling lemon zest for the dehydrator and making a simple Lemon Syrup with the juice.

I confess I lost count of the lemons but it was at least 20. After peeling the zest I put it in a non-metallic bowl overnight while I dealt with the poor denuded lemons – they look awful without their beautiful skins! Here’s my recipe, it’s really easy!

IMG_20160104_171135

Simple Lemon Syrup (makes about 6 cups)

3 1/2 cups fresh lemon juice       3 cups white sugar

Before beginning, sterilise glass jars in the oven and put their lids in a saucepan of boiling water on the back of the stove.

Next put the juice in a clean pan on medium heat with the white sugar. (I removed the pips but left some pulp in the juice – we like pulp). Keep stirring until the sugar is dissolved and simmer for about 10 minutes. Once the syrup is ready, take a couple of jars from the oven and carefully put them on a board or heatproof mat next to the syrup pan. Ladle it into the hot jars and seal immediately.

If you want to keep the syrup for a longer period of time, I recommend processing them in a water bath (canning method) for 10 minutes so they’ll be good on the pantry shelf for about a year – if it lasts that long!

IMG_20160104_171910

Dried Lemon Zest

This is really very simple and one of the best bonus uses for lemons you know have come from a chemical free garden. I have a dehydrator and my peelings were enough to put over three trays, lined with baking paper. In total it took about 10-12 hours to dry it all properly without cooking it. It it possible to do this in a conventional oven but it needs to be very cool.

My three large trays reduced down to a jar of wonderfully dry, aromatic peel. I’ll use this in baking, marinades and plan to crush some up fine for mixing with salt, and some with dried chillies as a herb rub.

Personally, I think it’s worth doing this just for the smell – it was heavenly!

IMG_20160109_141551

I’ll probably put another post up in the next few days about my favourite summer herb – shiso. Meanwhile, have a great weekend wherever you are and whatever you’re doing.

Debra ❤


Raspberries – The Birthday Week Continues

Ok, I know that NaBloPoMo is over for another year and I was going to have a break from blogging – but I had to share this with you all.

Today I spent the morning gardening, collecting eggs and picking more raspberries and this afternoon we baked a Raspberry Cheesecake and Raspberry Upside Down Cake for my birthday tomorrow. Here’s the recipes – they’re both very easy.

Raspberry Cheesecake 

Ingredients:

1 prepared biscuit base (for a 28-30cm spring form pan)

6 large eggs     3/4 cup of sugar     500g cream cheese (at room temperature)

2 cups of fresh raspberries (more if you have them)    1 tablespoon lemon juice

Method:

Break the eggs carefully into a blender jar, add the sugar and cover. Pulse until the eggs are frothy and the sugar is combined. Spoon the softened cream cheese in, cover and blend until smooth. Add the lemon juice and approximately half the raspberries and pulse. I like to do this very briefly so there are still chunks of fruit and the colour swirls through the cheesecake mix.

Pour this carefully into the prepared spring form pan and decorate with the rest of the whole fruit. Bake at 150 C (300 F) for about 45 minutes. Allow to cool completely and chill for at least two hours before eating.

IMG_20151201_183215

Raspberry Upside Down Cake

Ingredients:

4 large eggs, separated         3/4 cup of white sugar      1 cup Self Raising flour

1/4 teas Bicarbonate of Soda    3 tabs butter    4 tabs milk   1 cup fresh raspberries

a few drops of Vanilla essence (optional)

Method:

Preheat the oven to about 200 C (400 F). In a small saucepan, gently melt the butter. Brush a Bundt pan with a little of this and put the raspberries evenly on the bottom. Put the Bundt pan aside while you prepare the cake batter. Add the milk to the butter and turn off the heat. Do not let this boil!

Mix the egg yolks in a small bowl and put aside while you prepare the egg whites. Beat the egg whites in a large mixing bowl until soft peaks are formed. Slowly add the sugar and beat back up to soft peak stage after each addition. Very slowly sift the flour and Bicarb in and mix it thoroughly, ensuring there’s no pockets of flour left.

Slowly pour in the now lukewarm milk and butter and fold it through. Pour this very carefully over the raspberries in the Bundt pan.

Turn the oven down to 150 C (300 F) and put the cake onto a shallow tray. Pour hot water into the tray to create a shallow water bath and bake the sponge for 25-35 minutes.

Allow to cool for 10 minutes or so on a cake rack before carefully turning out onto a plate. Serve slices with cream and extra fresh berries.

IMG_20151201_183206

Raspberry Time – Day 27 NaBloPoMo 2015

While I’m not feeling 100% today, I’ve been thinking about what to do with the soon-to-be glut of raspberries. There’s so much fruit on the bushes, I have a feeling we’re going to be inundated in the next few weeks. Growing up in South Australia, I never ate a fresh raspberry until I moved to Tasmania and they’re probably my favourite berry fruit.

IMG_20151116_173439

Usually I make ice cream or cheesecake with excess berries, which uses eggs up as well. But with Boysenberries, Youngberries and Loganberries starting to colour up too, I think it’s time to consider my options! I’m planning to make a Raspberry Upside Down cake next week for my birthday and already have enough berries for that.

All I do with this is make up a simple sponge batter with 2 cups of self raising flour, 1 cup butter, 1 1/2 cups sugar (more if you like it sweeter), a teaspoon of baking powder and 4 eggs. Instead of splitting the mixture into two tins and filling it with jam and cream, I put the fresh fruit on the bottom of a deep baking pan and pour the batter over the top, baking for 20-30 minutes in a 180 C (350 F) oven. Once the cake’s turned out and still warm, it can be lovely to pour hot lemon syrup over for added zing or (for the adults only version) poke the still warm cake with a skewer and pour over a citrus flavoured liqueur.

None of us are fans of jam so I am going to try mashing some with yogurt and drying it as fruit leather. But for large amounts of berries, I can’t go past Raspberry Vinegar Cordial. I first had this over 30 years ago on a hot summer day in Hobart and it is delicious.

The principle here is to use the vinegar to not only preserve, but also to enhance the tangy sharpness of the fruit. It’s fabulous for very ripe fruit – and it’s ridiculously easy to make!

Raspberry Vinegar Cordial 

Ingredients:

500g (1 pound) ripe raspberries     2kg (almost 4 1/2 pound) white sugar   2 litres (4 pints) white vinegar

Method:

Put the washed, drained fruit into a non-metallic bowl or pot and pour over the vinegar. Mash it to break the berries but don’t puree them. Cover the berry mash and leave it for a day or two. I have hear that some folk leave the mash for up to five days but I’ve never done more than two – patience is not my strong suit!

Strain the mash carefully through muslin or an old, clean tea towel into a cooking pot, squeezing out as much of the precious juice as possible. Heat the juice and when it’s starting to simmer, add the sugar and boil for approximately five minutes.

Decant into sterilised jars or bottles and seal immediately. If you want to keep this for winter consumption, I’d also recommend processing the bottles in a Fowlers bottling urn or water bath. Mine never lasts long enough for that!

What’s your favourite berry fruit? And how do you like to serve and preserve them?

More Small Joys – Day 24 NaBloPoMo 2015

I’ve had a great day – bustling and busy – but great nonetheless. This morning I fed and watered the hungry hoards and said hello to the baby bunnies, who are all growing at a phenomenal rate! Their eyes are open and they are getting quite inquisitive about the world.

IMG_20151124_101938

I picked raspberries (a daily job now) and I’m hoping to have enough to make a spectacular birthday cake for myself next week 🙂 When I went to give Boudica her daily raspberry leaf treat, I discovered someone had come out to see mummy and see what she eats ❤

IMG_20151124_102022

There were six eggs from six chickens this morning, so after watering the greenhouse, I pickled another dozen eggs using the recipe I shared  here recently and started another loaf of sourdough bread. This weather Wee Beastie is very active and needs more attention (and feeding!)

My son came over and hung out, he’s in the process of moving out of his old place and in with a friend who lives just up the road from here. I think he was just sick of sorting out the junk from the stuff he wants to keep and needed some chill out time. So we kicked back, drank lots of tea and watched cooking shows on television. We’ve agreed to have a birthday dinner at home for me next week – Roast Pork with all the trimmings, maybe some new potatoes from the garden – which will be perfect!

I’m gradually getting my head around this final assignment, which is due Friday afternoon. I’ve opted to write three poems for plus a 500 word exegesis. Although I’m a professional songwriter (and prolific blogger) I don’t have much experience with poetry and it’s a form I find quite fascinating. Interestingly, I’ve found the easiest way to start is take and idea and just write. Stream of consciousness seems to be the key way into it for me. Then I edit and arrange the words on the page so they make sense to me – and hopefully my tutor! So my poems are largely about the strange weather we get in Tasmania, the changing seasons, growing things, musicians and music.

The sourdough went in the oven late this afternoon and, as a light dinner I took fresh sourdough slices, slabs of Pork Brawn I made on Sunday and crumbled over feta cheese I made a few weeks ago. We put the slices under a hot grill for about 10 minutes – until the feta started to melt – and it was so delicious! The sharp saltiness of the feta worked so well with the rich, meaty Brawn on the fresh sourdough.

I was also reminded by HeWhoMustNotBeListenedTo that everything on our plates was made by me. It was a very satisfying moment……

IMG_20151124_185409

So, tomorrow will be even busier – sand and pine bark chips are arriving for a project in the back end of the garden. I’ll have pics to show you all tomorrow night 😀

Heavenly Homemade Sourdough – Day 16 NaBloPoMo 2015

At the beginning of 2015, I made one New Year’s resolution – to start making sourdough bread again. So, on the morning of January 1st, I found a clean pickle jar and some cheesecloth and got my starter set up. It took a few weeks to really get going and for the first month, I added decreasing amounts of commercial yeast to my loaves to make sure they were edible. Of course, there were a couple of “bricks”, it happens to all of us sometimes – but the toast from these loaves is still wonderfully tasty and filling – and the chickens got the rest.

My household aren’t big bread eaters, so on average I make one big loaf a week. The fresh bread is quite dense but moist and wonderful with hard cheese and salad, and after a day or two it makes the best toast ever! My favourite is the crust, still warm from the oven with just a little butter ❤

Sourdough Bread Oct 2015

I’ve played around with different shapes (I went through a round phase for a few months) and added different flours to create interesting flavours and textures, but the plant in the jar has stayed the same.

My plant has a name too, Wee Beastie. She sits in a very pretty jar on a shelf in the kitchen and as the weather is warming up now, she gets fed every day now. During the cooler months I only fed her every other day and it was still very happy. The big thing to remember is that every kitchen is different and there will be slight differences in the wild yeasts your Beastie will develop. Get to know your plant and what it likes!

Wee Beastie in her fluted jar

Wee Beastie in her fluted jar

Sourdough Starter

Ingredients:

A clean large pickle jar    1 cup bread flour (white or wholemeal)    1 cup of filtered water   1 tab live yogurt (optional)

Method:

Day 1 Mix the flour and water together thoroughly in the jar with a wooden spoon. Add and mix in the yogurt if using it and scrape down the sides with a plastic spatula (I have a wooden spoon I only use for bread making). Sourdough doesn’t react well to metal, so bear this in mind before you start. Cover with a piece of cheesecloth and a rubber band to keep insects and dust out and leave it out of direct sunlight in a warm spot in the kitchen.

Day 2 Add a half (up to 3/4) cup of flour and just under that of filtered water. You can use water straight out of the tap, but like any yeast, sourdough doesn’t work well with fluoride, so I recommend filtered or rain water. Depending on the temperature in your kitchen, you should start to see a few bubbles in your Beastie.

Repeat Day 2 for three more days. By Day 5, your Beastie should be voluminous and a little frothy, with a pleasant, slightly sour tang. It’s time to make some bread!

Please Note: Don’t take any chances with this – if your plant is mouldy or smells “off” discard it and start again.

Wee Beastie - frothy and ready to become bread

Sourdough Bread  (Makes 1 large loaf)

Ingredients:

2 cups of Sourdough Starter      2 cups of bread flour   2 teas bread improver      water, milk or yogurt    a little oil

Method:

In a clean, dry bowl add the flour and bread improver and mix well. Bread improver is mostly citric acid and helps wake up the gluten in flour, resulting in a much better textured crumb. Add 2 cups of Sourdough Starter and mix with a wooden spoon. At this stage, I feed Wee Beastie with flour and water and put her back on the kitchen shelf – she’s done her job 🙂 Depending on your dietary requirements/personal preference, add a couple of tablespoons of water, milk or yogurt and mix to bring the dough together. Roll the dough off the sides of the bowl and turn it out on to a floured board.

Knead it thoroughly for 5-10 minutes until the dough feels elastic and add a little more liquid if the dough feels too stiff. This element is something of an arcane art, it takes practice to know when the dough feels right and too much kneading can produce as heavy a loaf as too little!

Coat your hands liberally with olive oil and shape the loaf as you desire. Put it in the tin or tray you will bake it in, cover and leave it somewhere warm to prove. I have a hot water heater that’s perfect for this. With a new sourdough proving can take a few hours. Be patient with your loaf and remember, the longer you leave it the more pronounced the sour taste will be. I usually wait until it’s doubled in size.

Bake in a pre-heated oven on the middle shelf for 10 minutes at 210 C, then reduce to approximately 180 C and continue baking for 25-30 minutes. Again, every oven is different and I recommend using a pizza stone when you heat the oven up, it makes a lovely bottom crust!

White Sourdough fresh out the oven

White Sourdough fresh out the oven

What’s your favourite bread recipe? Please leave a comment below and happy breadmaking! 


Sunshine, Rhubarb & Good Ideas – Day 13 NaBloPoMo 2015

So, Friday again – where did the week go? I had to take the day off work today, my back is not behaving itself and I’m going pretty slow at the moment.

Still, I managed to feed the hungry beasts this morning, check that everything survived the rain and enjoy a little bit of sunshine. In the midst of my “go slow”, I had some gentle exercise, pulled a few weeds and picked some rhubarb. I have six plants of “Victoria” – the green variety – that get fed heavily a couple of times a year and give back a load of wonderful, tart stalks from the end of winter until the end of autumn.

IMG_20141125_154834

I tend to roast bite-size pieces coated in brown sugar instead of stewing these days but I’ve got so much I’m thinking of making sparkling wine and syrup with some, as well as the usual crumble and Rhubarb Fool. (Any unusual suggestions or recipes would be appreciated!)

Rhubarb (Rheum rhabarbarum) is actually a vegetable rather than a fruit but it’s generally used for sweet dishes and drinks. Just make sure to remove the leaves before preparing and never let your chickens have any part of the plant – the oxalic acid make it lethal for poultry or rabbits.

And speaking of rabbits, I checked the babies this morning too. All are thriving, getting chubbier and growing fur 🙂

One week old 13th Nov

I found fresh mushrooms last night from the compost bags so had a filling breakfast of mushrooms on sourdough toast. I’m heading to my local plant nursery for some more mushroom compost next week!

IMG_20151113_085848

Do you have any favourite recipes or bright ideas for using rhubarb? Please leave a comment below. 

The Joy of Passions – Day 11 NaBloPoMo 2015

I consider myself a very lucky woman.

I’m surrounded by loving friends and family; I have ready access to good, clean food; I’m studying things that move and inspire me and I get paid to do things I love.

This was driven home yesterday when He-Who-Must-Not-Be-Listened-To made his first ever Lemon Meringue Pie. I made the pie crust and stepped him through the process of separating eggs (something he’d never done before), making the curd, getting the meringue the right consistency and so on. He is a very accomplished cook but hasn’t much experience with baking. We used a recipe from and old CWA (Country Women’s Association) cookbook and reduced the sugar to suit our tastes. It was good for me as I realised that as bullet proof as the CWA recipes are, there’s a lot of assumed knowledge in them about technique.

The lemons came from my friend Sara, so we knew they were clean and chemical free and it was another way to deal with the ongoing egg glut. It was a very fun afternoon, with my son turning up halfway through to make everyone cups of tea, poke fun and offer suggestions. We had a great time 😀

The result was delicious, though we’ll reduce the sugar even further next time.

Smiley Meringue

Smiley Meringue

Healthy new Eggplant growth

Healthy new Eggplant growth

This morning I had a brainwave in the garden about my uni assignment – that I confess I haven’t fully written up yet but I’ll get there! And there were two delightful surprises that any gardener will recognise and understand.

Firstly, a well established finger eggplant in the greenhouse I thought was beyond hope has started shooting again. I grew three from seed about four years ago and because of the unpredictable weather we can get in southern Tasmania, I kept them in the greenhouse. All three overwintered quite well the first year but I lost two this last, very hard winter. At least there’s one left to gather seed from at the end of summer.

Secondly, and to my absolute delight, I discovered a punnet of very healthy asparagus seedlings at the back of a tray. Asparagus is probably my favourite vegetable, but I really can’t come at the shop bought article. It’s one of those things I only ever want to eat fresh from my own garden. It’s a slow process growing from seed, the viability is usually best in the first year and it takes 2-3 years to get plants to maturity. Then, you have asparagus for years!

I’ll be pricking these out into home made grow tubes in a couple of weeks and putting into a permanent bed in

Delicate Asparagus seedlings

Delicate Asparagus seedlings

December. The bed will be very heavily dug over and filled with as much old chicken poo and rabbit straw as I can lay my hands on. At the moment it’s full of potatoes that are in full flower and due to be dug in the next few weeks. Potatoes grow very well here and have been my “go to” crop for reclaiming lawn areas ever since I moved in but they do strip the soil of nutrients and asparagus are notoriously hungry feeders!

I’m incredibly grateful for all the good things in my life, it’s something that tends to get overlooked in the fast pace of the modern world. There never seems to be enough hours to do it all! Meanwhile, I’m hoping to get some more uni work done, some music rehearsal and just an hour or two of gardening later…….. 😉

What are you passionate about? Let me know in the comments – I love to hear from you all! 

Freaks or Future? – Day 8 NaBloPoMo 2015

Late last week, Woolworths Australia released a new advertisement, featuring high profile personal trainer Michelle Bridges. The ad is spruiking a new line of frozen meals the supermarket chain developed with Bridges. During the advertisement, Bridges described people who grow their own food as “freaks” and suggested that precooked frozen food was preferable to fresh fruit and vegetables. As you can probably imagine, the uproar on social media was big enough to make the supermarket pull the ad almost immediately. There’s an article worth reading at the Guardian Australia.

Well, I guess I’ve been called worse in my time.

But it got me thinking about all the ways growing my own food makes me healthier and happier. First and foremost, I get a lot of physical exercise all year round gardening. Some of you might be aware I have a degenerative spinal condition, coupled with body-wide osteoarthritis. Over ten years ago, my then GP told me that I’d most likely be in a wheelchair within a couple of years. Not bloody likely! Occasionally, it lays me low and I need to use a walking stick but fortunately, acute episodes are rare these days. My current GP is convinced that my half an hour minimum in the garden has improved my core strength, muscle mass and general well-being – not to mention raise my normally low vitamin D levels and provide me with food.

And then there’s the food.

I started gardening at this house a week after we moved in, almost six years ago. I have potatoes for eight or nine months of the year and free range eggs about ten months. I grow enough garlic now for almost the whole year. I still buy brown onions and some carrots but stopped buying salad greens and herbs after about three months. The last couple of years I’ve been breeding meat rabbits as an ethical source of protein and I’m researching growing mushrooms and installing a beehive next spring. I’ve tweaked my salad greens into seasonal delights, and now we look forward to winter too because that means sweet, frosted kale, silverbeet, chicory, endives, corn salad and (my favourite) English spinach.

Baby raspberries

Baby raspberries

Fruit begins with rhubarb in September, and progresses through strawberries November and December, raspberries, boysenberries, youngberries, loganberries, silvanberries and (for the first time this year) blueberries from December to April and apricots, nectarines and plums from January to the end of March. I also have a peach and double graft apple I’m espaliering that will probably fruit next summer and a lemon tree that will be planted out in the autumn. And everything is picked fresh the day it’s needed so the nutrient levels are high.  There is excess – I always grow too much – but it’s given to family and friends and I make cider and peri with excess fruit, fruit leather and dried chillies, beans and kale chips as well as freezing.

Blueberries starting to form

Blueberries starting to form

Also there’s a creative aspect of getting my hands in the earth – it makes me feel good about the world and gives me inspiration to write. When I’m in the garden, I lose all track of time and get to think about things I need to. I’ve solved some really big problems over the years out in that garden. I plan and plot and think about the season to come as well as the one I’m living in, it’s a window to the future.

And finally, there’s those wonderful moments when you can sit back, rest, enjoy and just be…………….. ❤

My favourite spot under the Chestnut tree

My favourite spot under the Chestnut tree

Previous Older Entries Next Newer Entries