It’s been hot and steamy the last few weeks in Hobart – well, hot by the standards of the most southerly capital city in Australia. Many mainland Australians think Tasmania is just cold all the time but (as a South Australian who has lived and worked in desert conditions) I rather think we have proper seasons (sometimes all in one day) and because this is an island, when the temperature rises as it did here today to 31 C (88 F) it’s the equivalent of 36 C (97 F) anywhere else on the mainland.
As I type (early on a sticky Saturday evening), the rain has finally come after days of teasing, topping up the water tanks and bringing much needed relief to my vegetables and fruit. In my tiny kitchen the dehydrator’s been running all week and I’ve dried nearly all of the nectarine crop and made a start on the prune plums.
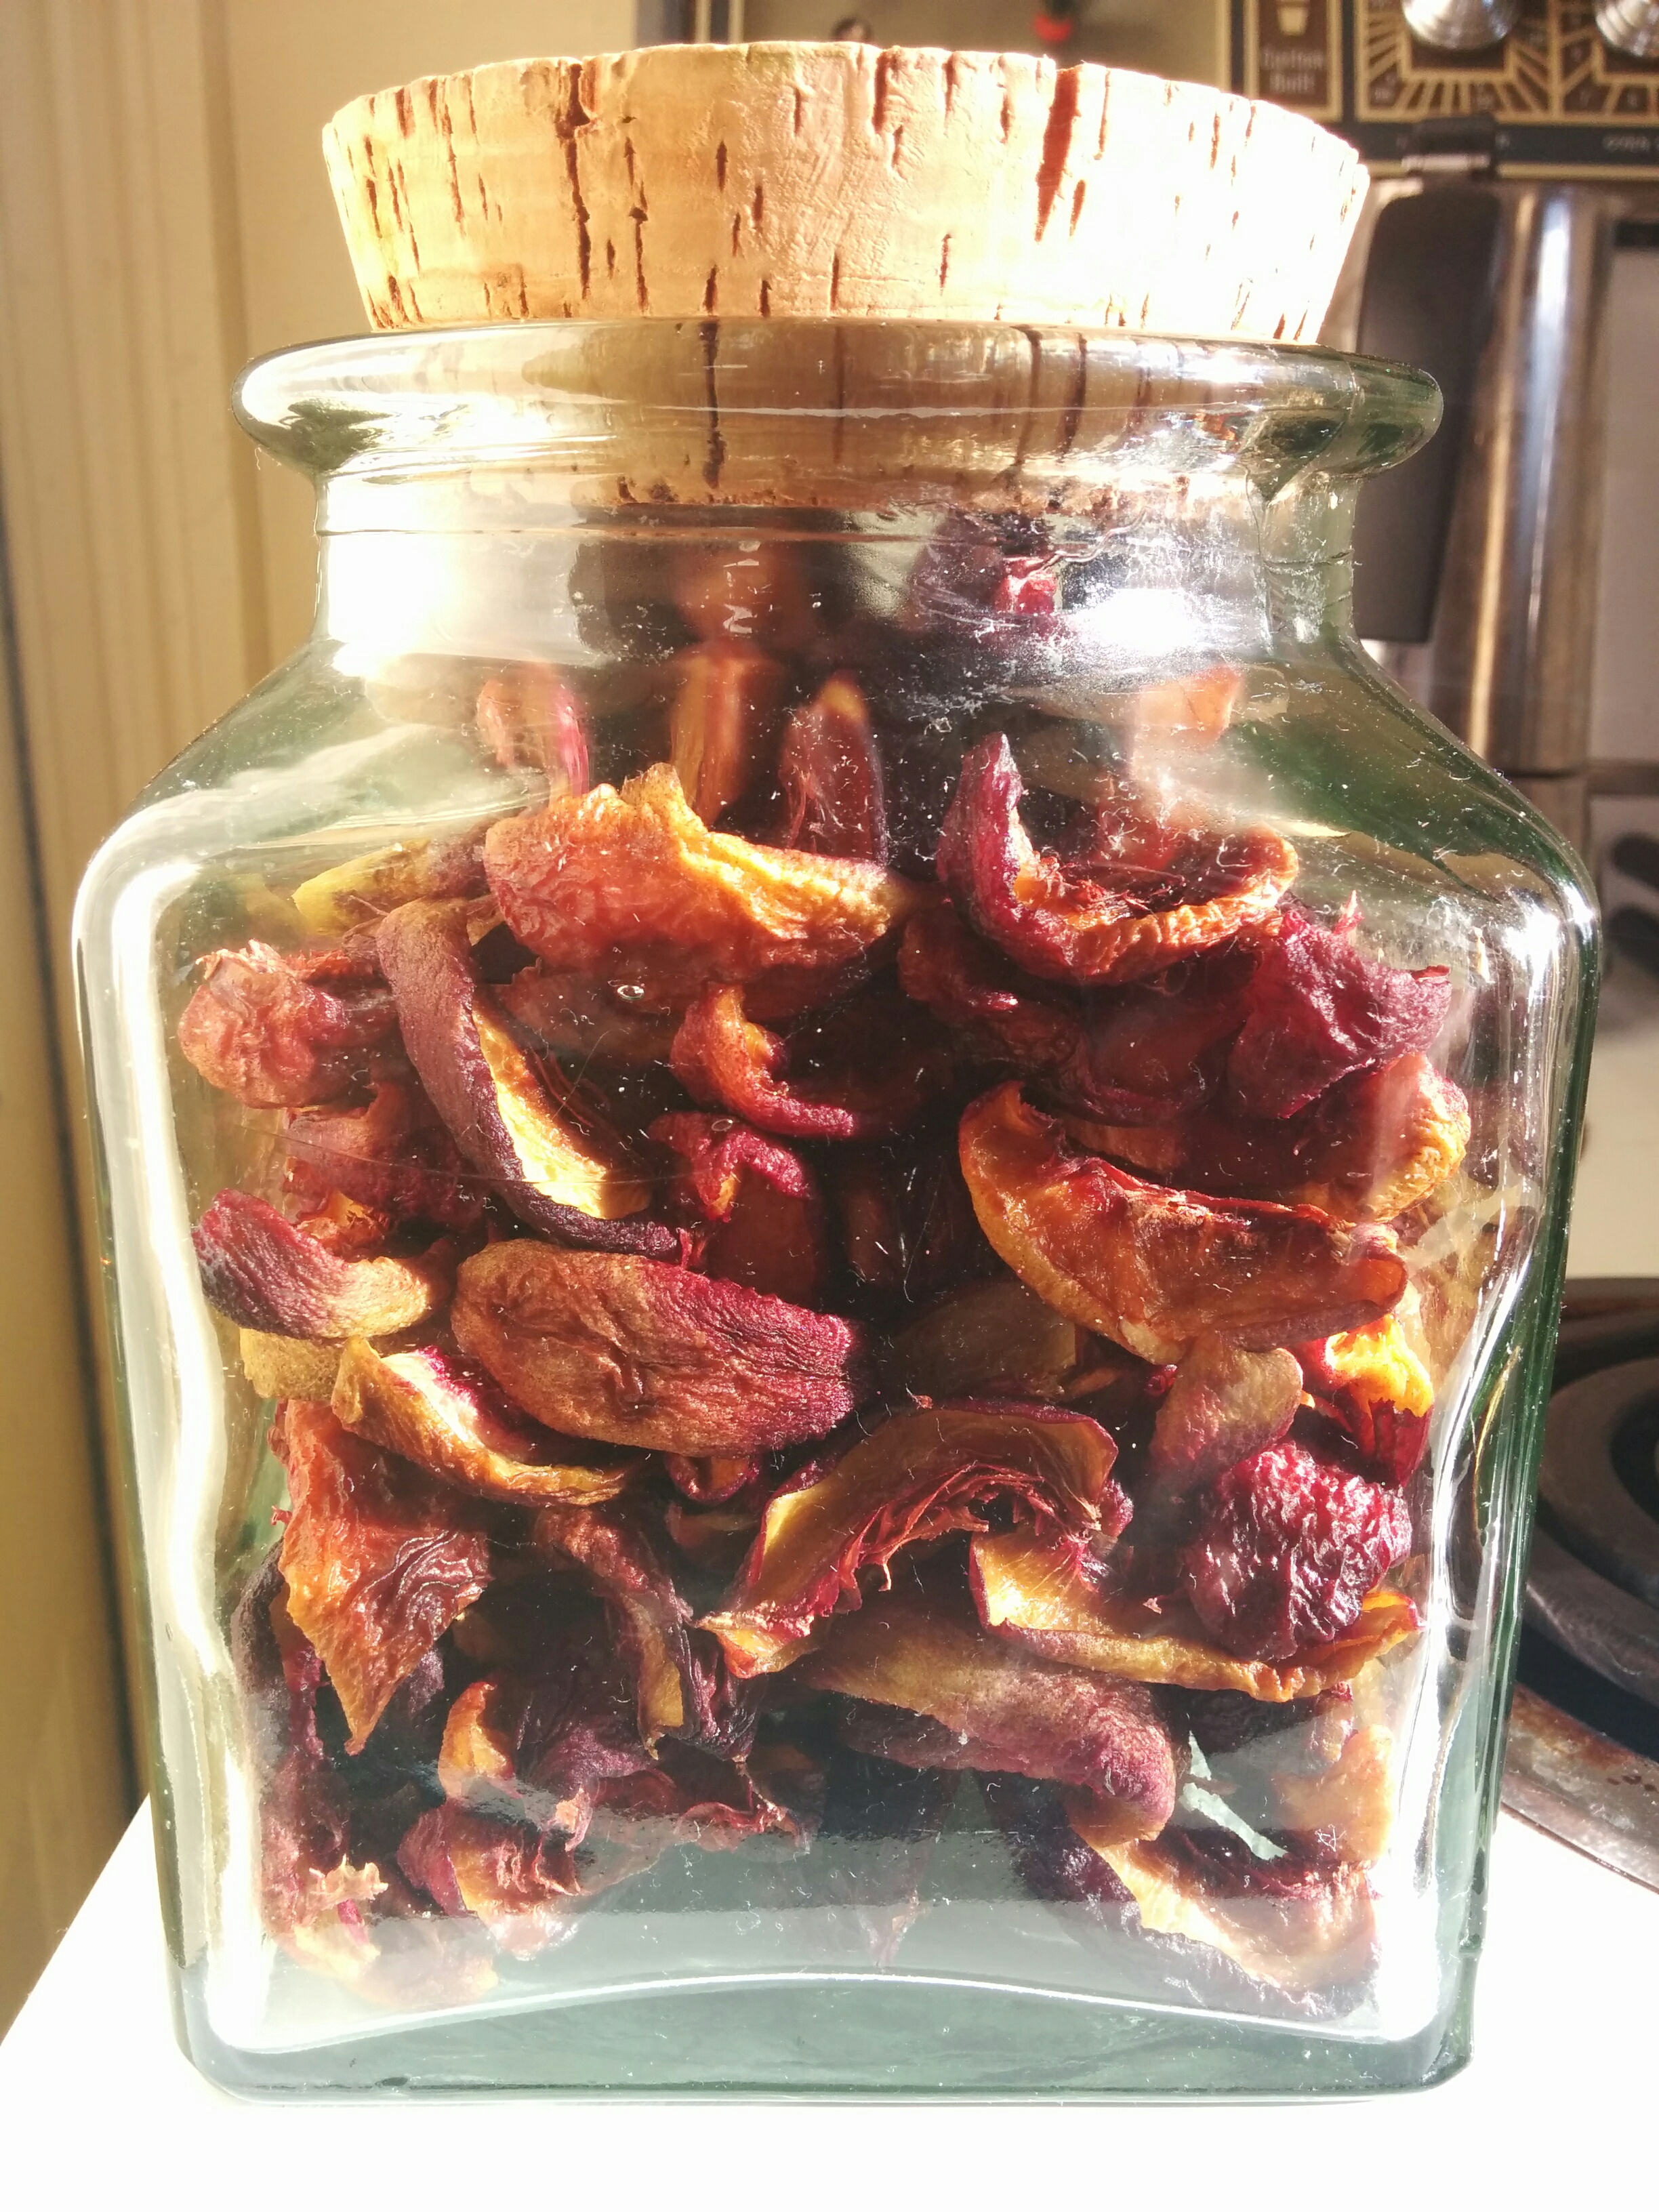
Dried, home grown nectarines
Consequently, it’s been very warm in there and I took the opportunity to try out something I can only do this time of year – make my own tempeh. Although I’m not a vegetarian or vegan, I love tempeh sliced, marinated and fried. I then use it in stir fry or just on its own with a fresh garden salad. My friend Heather says it’s fabulous fried and used in veggie burgers, so I’m going to be trying that very soon!
There’s heaps of YouTube tutorials available but when I was researching this I really liked this from Veganlovlie and took her advice to buy a reliable starter from her source, Top Cultures in Belgium – oh the joy of online shopping!
Two important things to note before we start (so I’ll put them in bold)
- Like any food preparation, cleanliness is paramount. In the case of working with a specific ferment, this becomes critical. Make sure everything that comes in contact with your precious beans/tempeh is scrupulously clean.
- I haven’t pasteurised my tempeh, so for all intents and purposes it is a raw product and must be cooked before eating.
Anyway, this is what I did.
Home Made Tempeh (makes 4 blocks)
2 cups soy beans (washed and soaked)
5 tabs apple cider vinegar
1 teas dried rhizopus starter culture
Bags or moulds with drainage holes for the tempeh
Method:
Wash the beans thoroughly, rinse and repeat. Soak them in clean water for at least 8 hours (or even overnight).
At this stage, while the beans are soaking, I suggest prepping the bags or containers you intend to use for processing the tempeh. I opted for zip-lock plastic sandwich bags because I had some on hand and I can reuse them but I’ve been making vegetable bags out of baby muslin and I’d like to try something like that as a more sustainable option. Bags are easy to clean and afford a great view of the process but the problem with plastic (apart from the waste issue) is potential sweating, turning your lovely soy beans into a smelly mess, so I used a skewer and poked holes every couple of centimetres (about 1 inch) all over four bags.
After soaking, drain the beans, wash and cover them with clean water. Cook in a large pot over medium heat until they’re nearly done. (This took about 30 minutes) Add the vinegar and stir it through. Continue cooking and when the beans are cooked to your taste, (about another 10 minutes for me) drain most of the water off. Return the pan and beans to a low heat to cook off the rest of the water. Stir continually at this step to stop any sticking. Your beans should be moist but with no residual water in the bottom of the pan.
Allow to cool to about 35 C (95 F) and add the teaspoon of starter. I suggest take your time and mix this through very carefully. I’ve made quite a bit of cheese over the years and found out the hard way that ensuring the starter is evenly distributed is a really critical step.
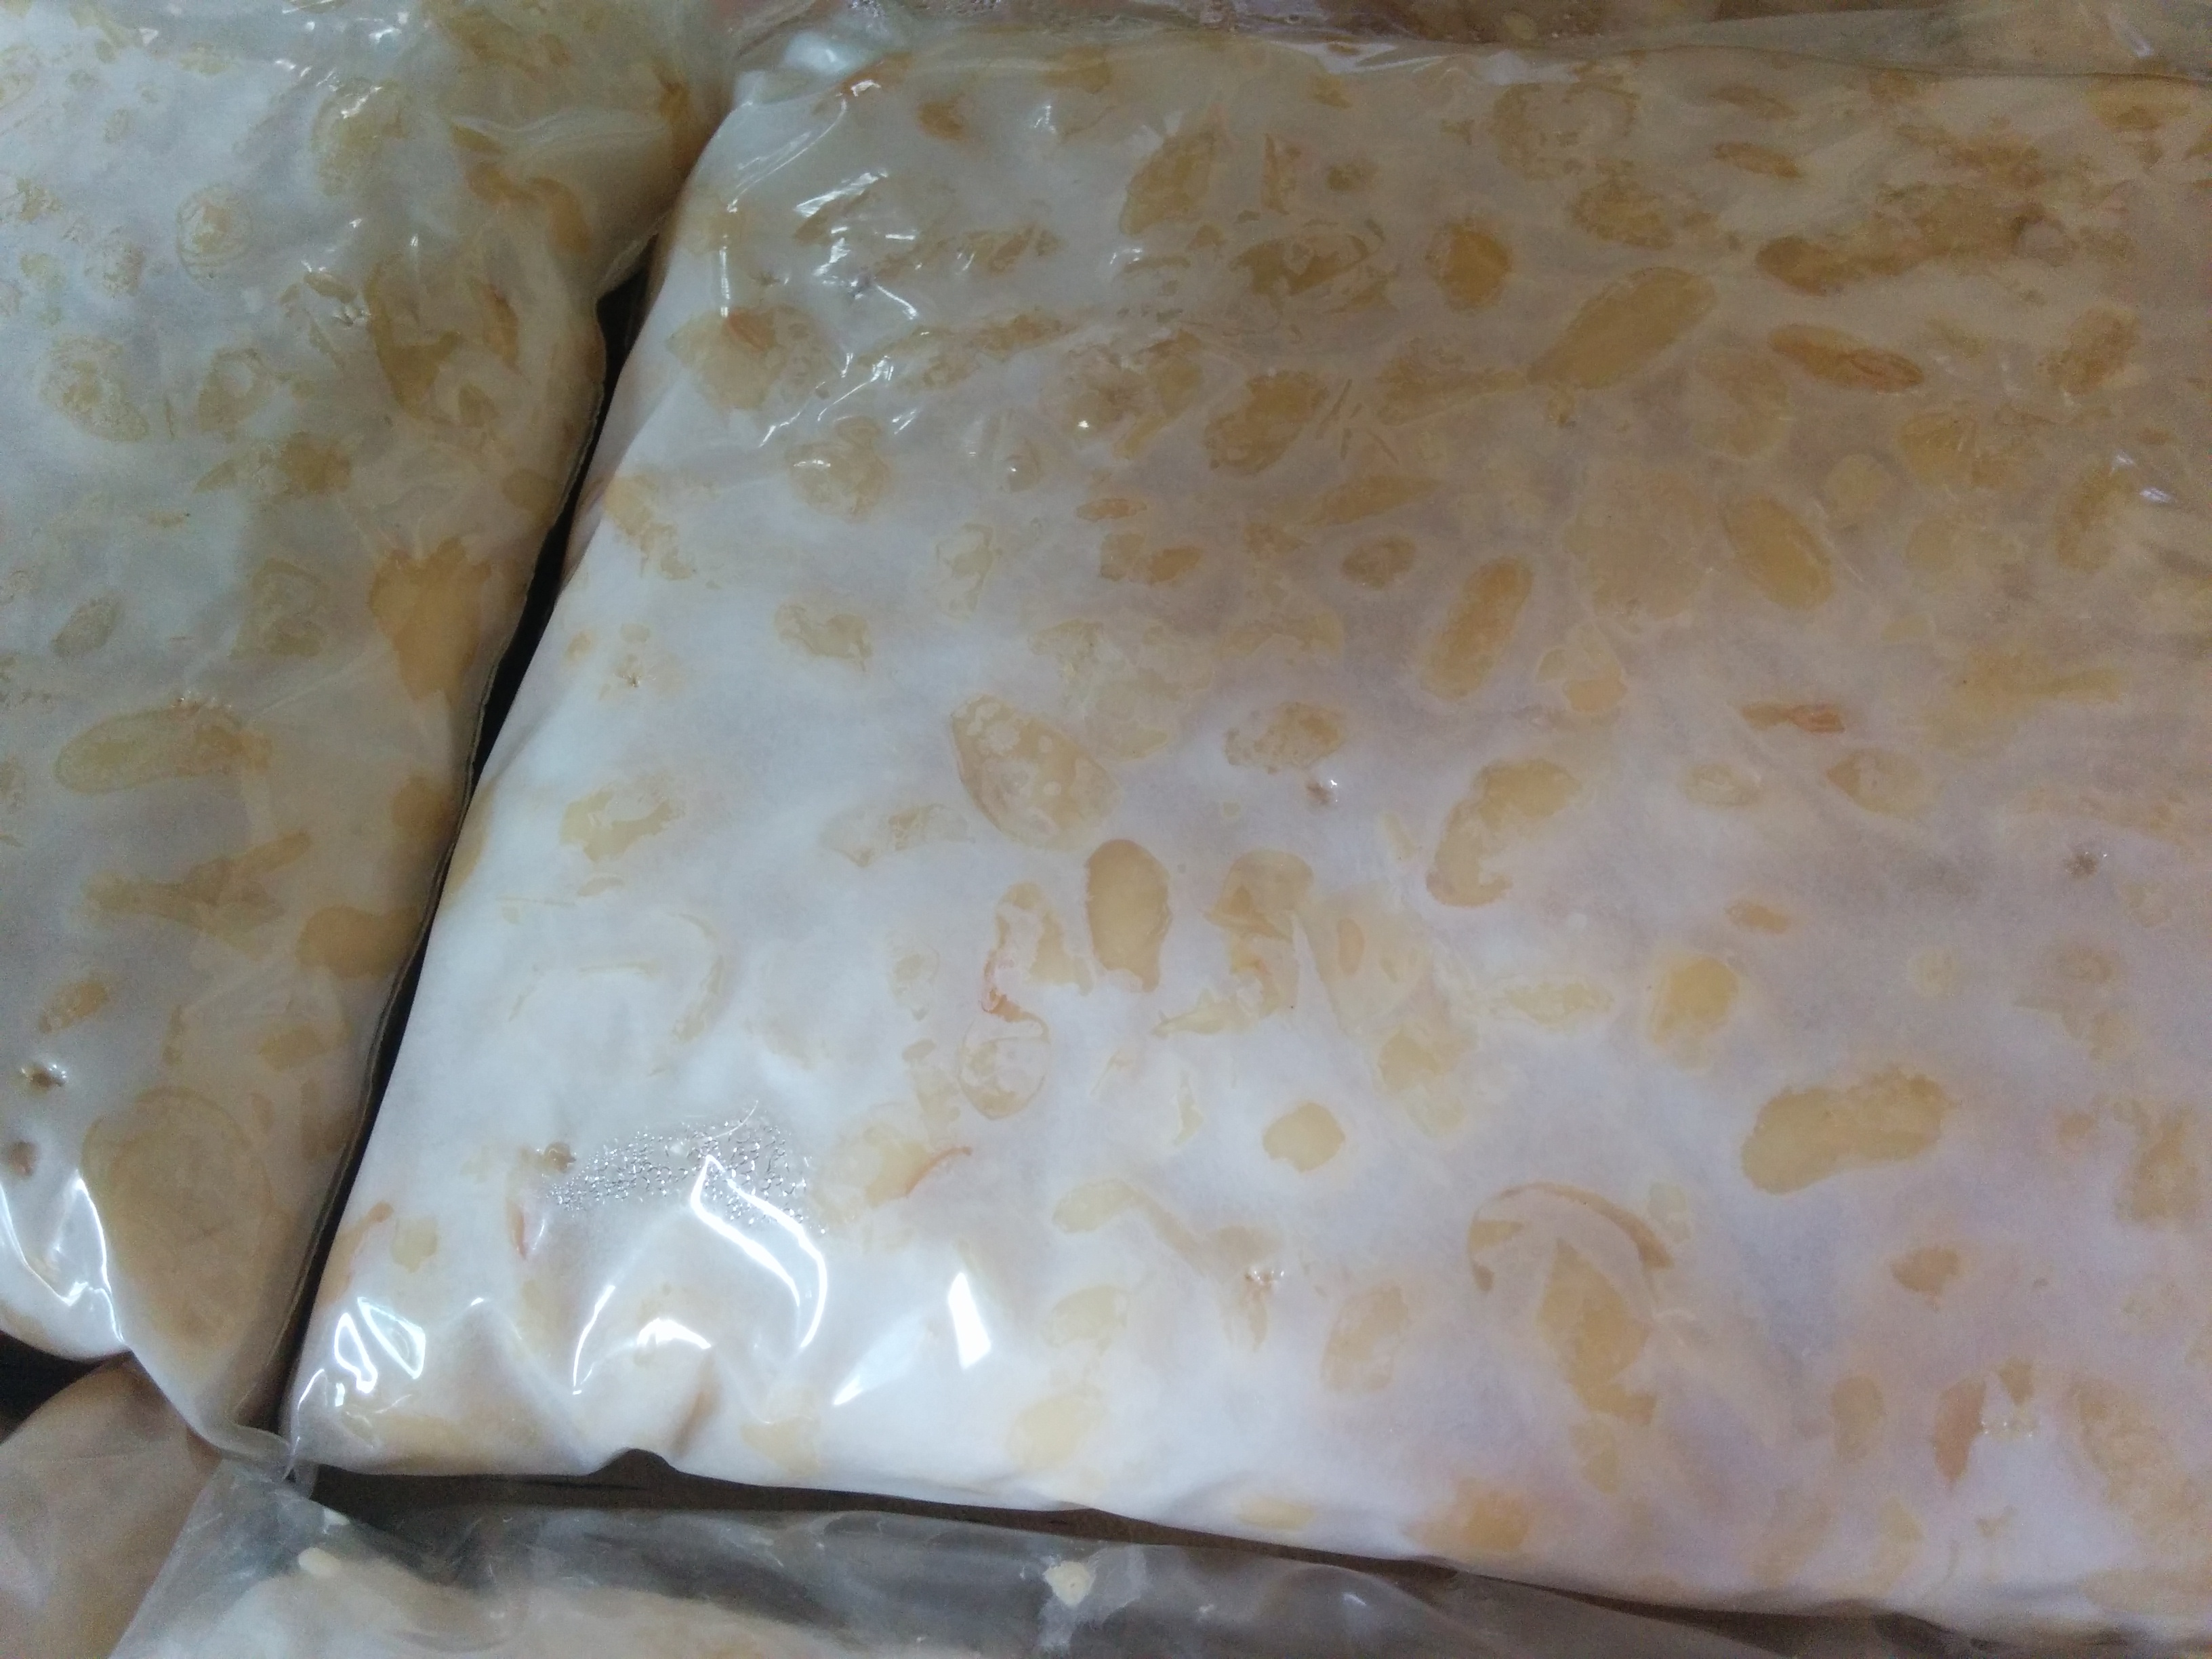
Next, evenly distribute the beans into the bags (mine made just under 500g cooked beans per bag) and working as fast as possible, carefully shape them into small rectangular cakes, expel excess air and zip-lock them. Finally, put the cakes on a clean board or non-metallic tray and weigh them down with another board, keeping them somewhere warm and draught free for at least the first 12 hours. After that, the fermentation will generate enough heat to keep it going.
I put a scrupulously clean wooden board on top of my monster dehydrator (to take advantage of the escaping heat) and placed the bags on the board, weighing them down with my old and very heavy ceramic lasagne dish.
Within 12 hours, it was clear there was fermentation and the bags were quite warm, a great sign!
By 24 hours the fungus was clearly visible and looked very clean, white and with no discolouration – more great signs!

By 36 hours I called it as a successful experiment and carefully removed the first cake from the plastic bag and sliced it up.

It worked out incredibly well and it was a very easy way to make one of my favourite foods. I’ll certainly be making more of this while the weather stays warm and freezing it for use in the cooler months. Next, I want to try making chickpea tempeh.
But tomorrow night, Tempeh Stir Fry for dinner!